
F 550 2WD Super Duty V10-6.8L (2009)
Entertainment System Control Panel: Service and Repair
Rear Entertainment Module (RETM)
Removal
NOTE: Module configuration is required when a new Rear Entertainment Module (RETM) is being installed.
1. Upload the RETM configuration to the scan tool. For additional information, refer to Programmable Module Installation (PMI) in Information
Bus. See: Powertrain Management/Computers and Control Systems/Information Bus/Testing and Inspection/Programming and Relearning
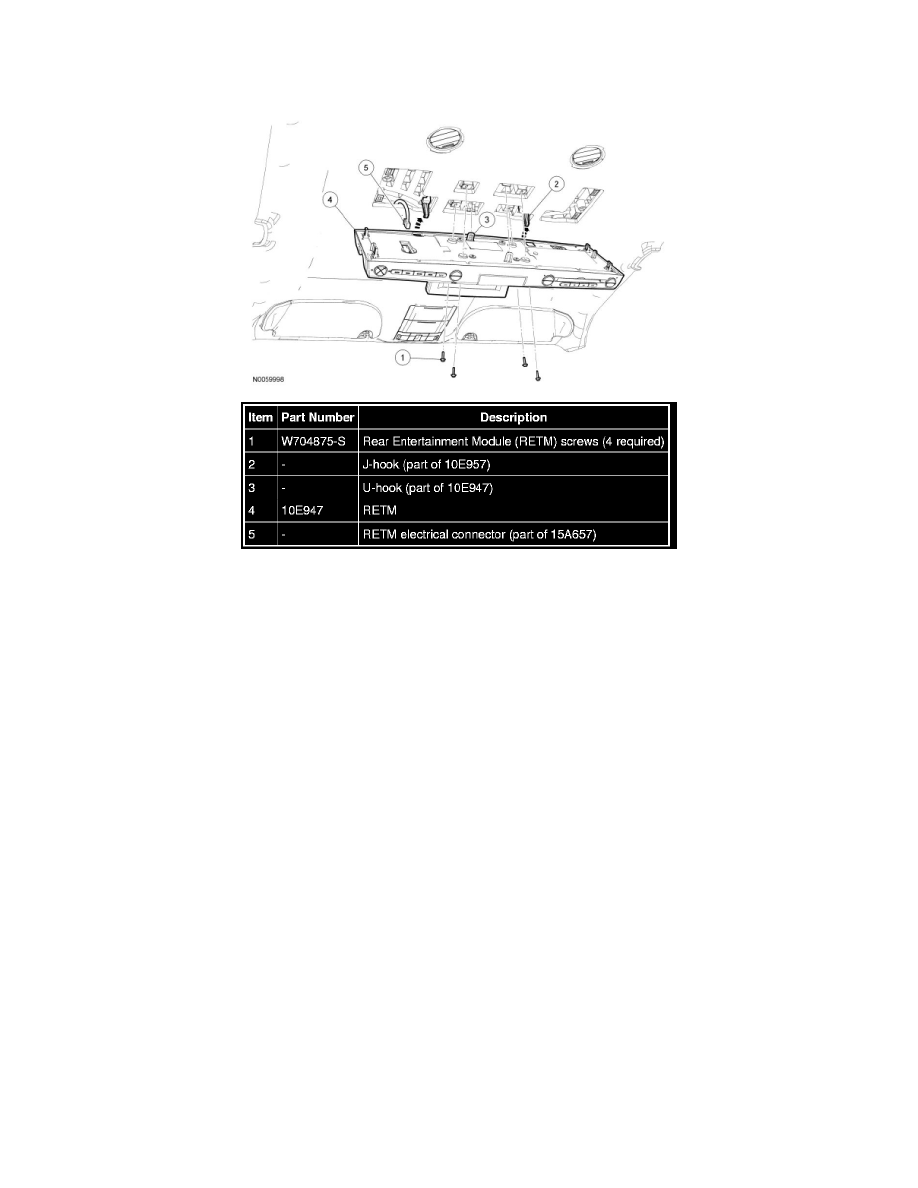
2. NOTE: Open the RETM display.
Remove the 4 screws.
3. Remove the RETM.
-
Pull down on the sides of the RETM to disengage the clips from the bracket.
-
Using a suitable tool, push the rear most U-hook forward and release the U-hooks.
-
Hang the RETM on the J-hooks and disconnect the electrical connector.
-
Remove the RETM from the J-hooks.
Installation
1. Hang the RETM on the J-hooks.
2. Connect the electrical connector.
3. Remove the RETM from the J-hooks.
4. NOTE: Tilt the RETM, as necessary, to align it correctly.
Align the left side guide pin with the left side locating hole.
5. Lift up the right side of the RETM and engage the U-hooks.