
F 550 2WD Super Duty V10-6.8L VIN V (2005)
All vehicles
1. With the vehicle in NEUTRAL, position it on a hoist.
2. Disconnect the battery ground cable.
Midship fuel tank equipped vehicles
3. Remove the spare tire.
4. Disconnect the spare tire carrier extension tube.
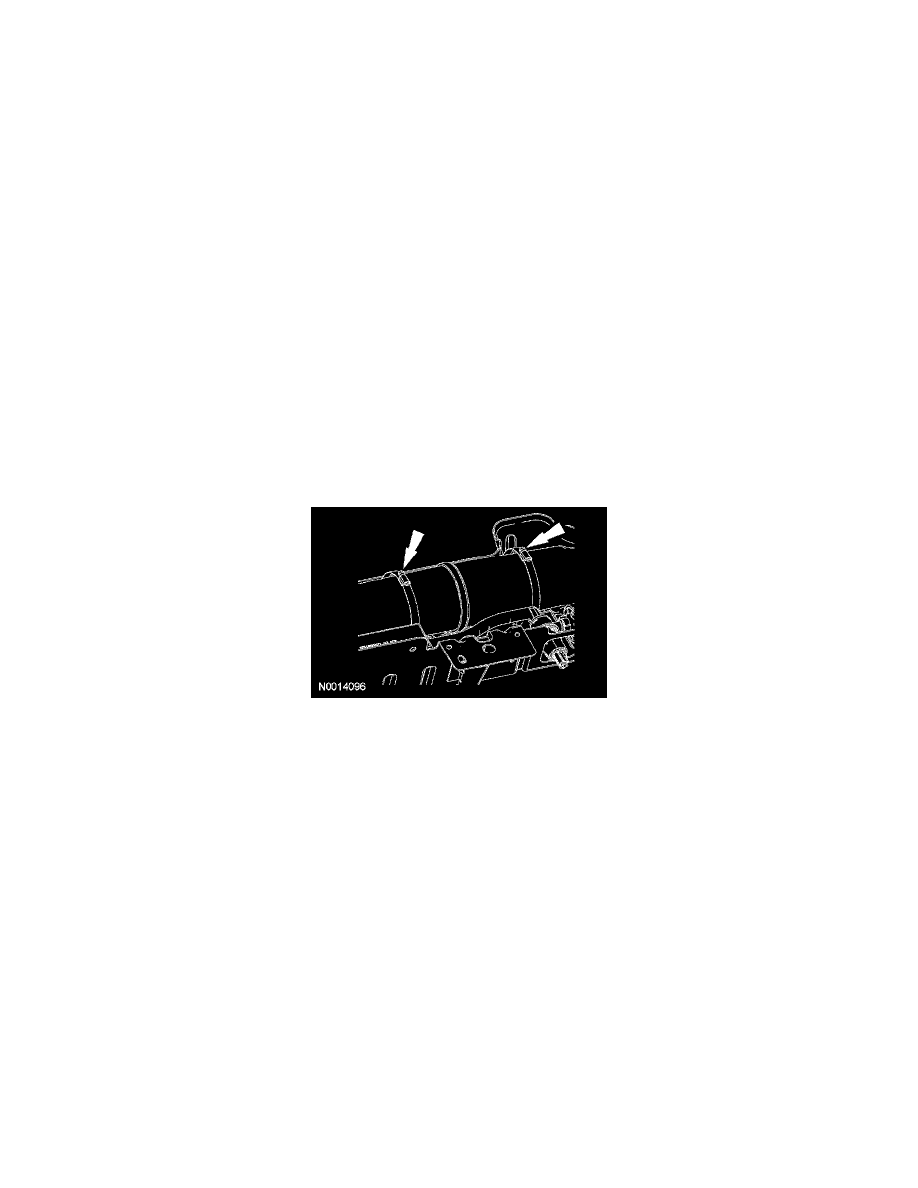
5. Disconnect the evaporative emissions (EVAP) canister vent solenoid electrical harness retainer from the spare tire carrier assembly.
6. Remove the 2 EVAP canister assembly bracket bolts.
-
To install, tighten to 17 Nm (13 lb-ft).
7. Remove the 4 spare tire carrier assembly bolts.
-
To install, tighten to 150 Nm (111 lb-ft).
All vehicles
8. Disconnect the EVAP canister vent solenoid electrical connector.
9. Disconnect the fuel vapor tube from the EVAP canister.
10. Disconnect the fuel vapor vent tube from the dust separator.
Midship fuel tank equipped vehicles
11. Remove the 2 bolts and the EVAP canister assembly.
-
To install, tighten to 17 Nm (13 lb-ft).
Aft axle fuel tank equipped vehicles
12. Remove the 4 bolts and the EVAP canister assembly.
-
To install, tighten to 17 Nm (13 lb-ft).
13. Remove the clamps from the EVAP canister assembly.
All vehicles
14. Place the EVAP canister bracket assembly on a clean work surface.
15. Disconnect the EVAP filter assembly-to-EVAP canister tube.
16. Remove the EVAP canister assembly from the EVAP canister bracket.
17. To install, reverse the removal procedure.
-
Carry out the evaporative emission system leak test. See: Testing and Inspection/Evaporative Emission System Leak Test
-
Carry out the evaporative emissions repair verification drive cycle. See: Testing and Inspection/Evaporative Emission Repair Verification
Drive Cycle