
F 550 2WD Super Duty V8-6.4L DSL Turbo (2008)
All vehicles
15. NOTE: Refer to manufacturer's instructions before using the special tool.
Lubricate the urethane adhesive with water to aid the special tool when cutting the urethane adhesive.
16. WARNING:
-
Always wear eye protection when servicing a vehicle. Failure to follow this instruction may result in serious personal injury.
-
Wear protective gloves when handling components or parts that have pointed or sharp edges. Failure to follow this instruction may
result in serious personal injury.
CAUTION: To avoid rust formation, use extreme care not to scratch the paint or primer or otherwise damage the pinch weld during
glass removal.
NOTE:
-
Insert the blade into the special tool so that the flat side is against the glass. This will leave the entire urethane adhesive bead on the pinch weld
and allow a dry fit of the replacement rear glass.
-
Support the rear glass as necessary to prevent the glass from dropping while cutting the urethane adhesive.
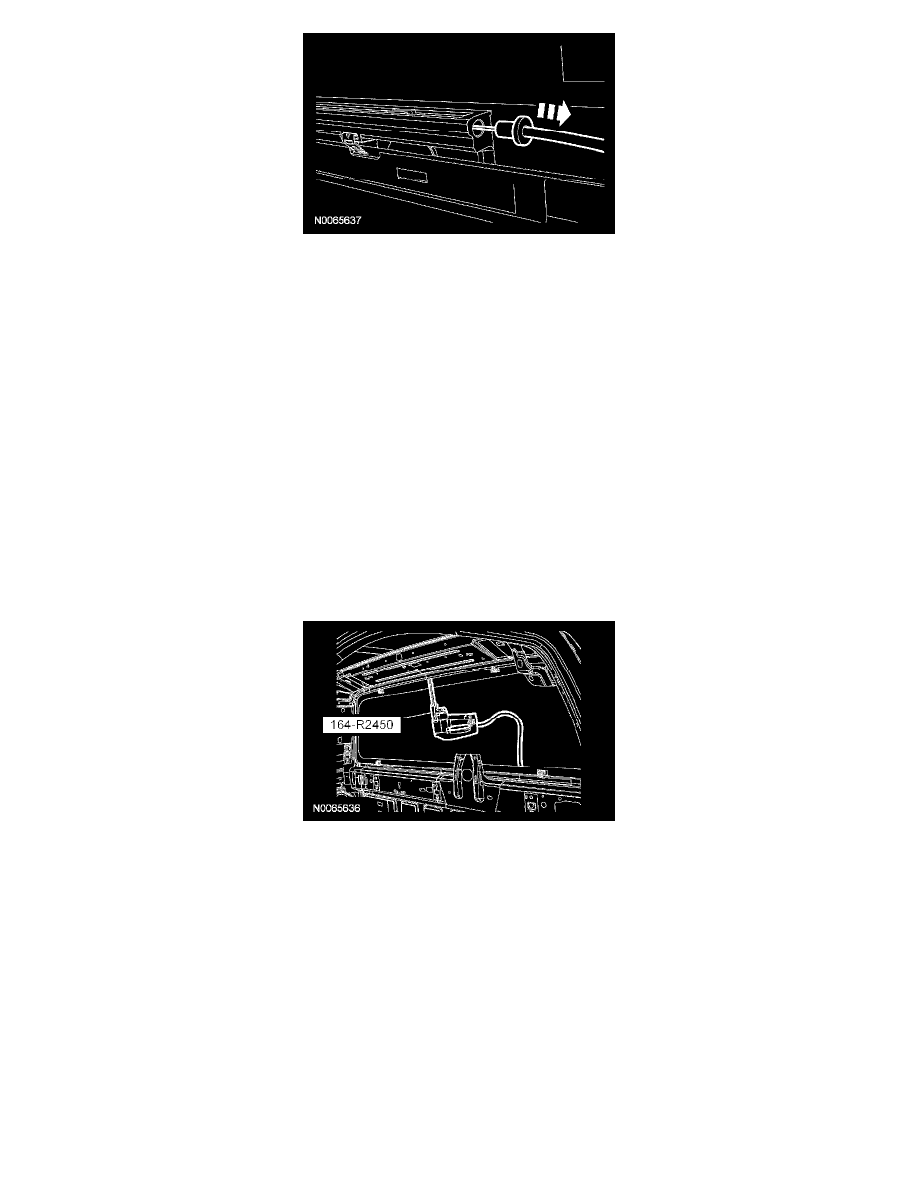
Using the special tool, cut at the upper center of the rear glass and work toward the bottom corners. Then cut through the remaining urethane
adhesive along the bottom of the rear glass.
17. NOTE: Removal of the rear window glass requires an assistant to hold the rear window glass as it is pushed out.
Release the upper and lower retaining clips and remove the rear window glass from the vehicle
Installation
All vehicles
1. NOTE: It is important that the rear glass has a bottom margin of 5 mm (0.19 in).
Dry-fit the new rear glass on the existing urethane bead on the pinch weld.
-
Position the rear glass on the pinch weld. The bottom of the glass should have a 5 mm (0.19 in) margin from the bottom of the pinch weld
area.
-
Center the rear glass in the opening.
-
Make alignment marks with tape or non-staining grease pencil on both the glass and the vehicle body.
2. After the dry-fit alignment, remove the glass assembly from the opening and place on a stable work surface with the interior side of the glass
facing up.