F 550 4WD Super Duty V10-6.8L (2009)

1. Remove the pin-type retainers and the safety belt strap.
-
When installing, make sure to route the safety belt through the safety belt strap.
2. Remove the 2 screws from the LH outer trim cover.
3. Release the LH inner trim cover retainers from the LH outer trim cover.
-
Remove the LH inner trim cover.
4. Slide up to release and remove the LH outer trim cover.
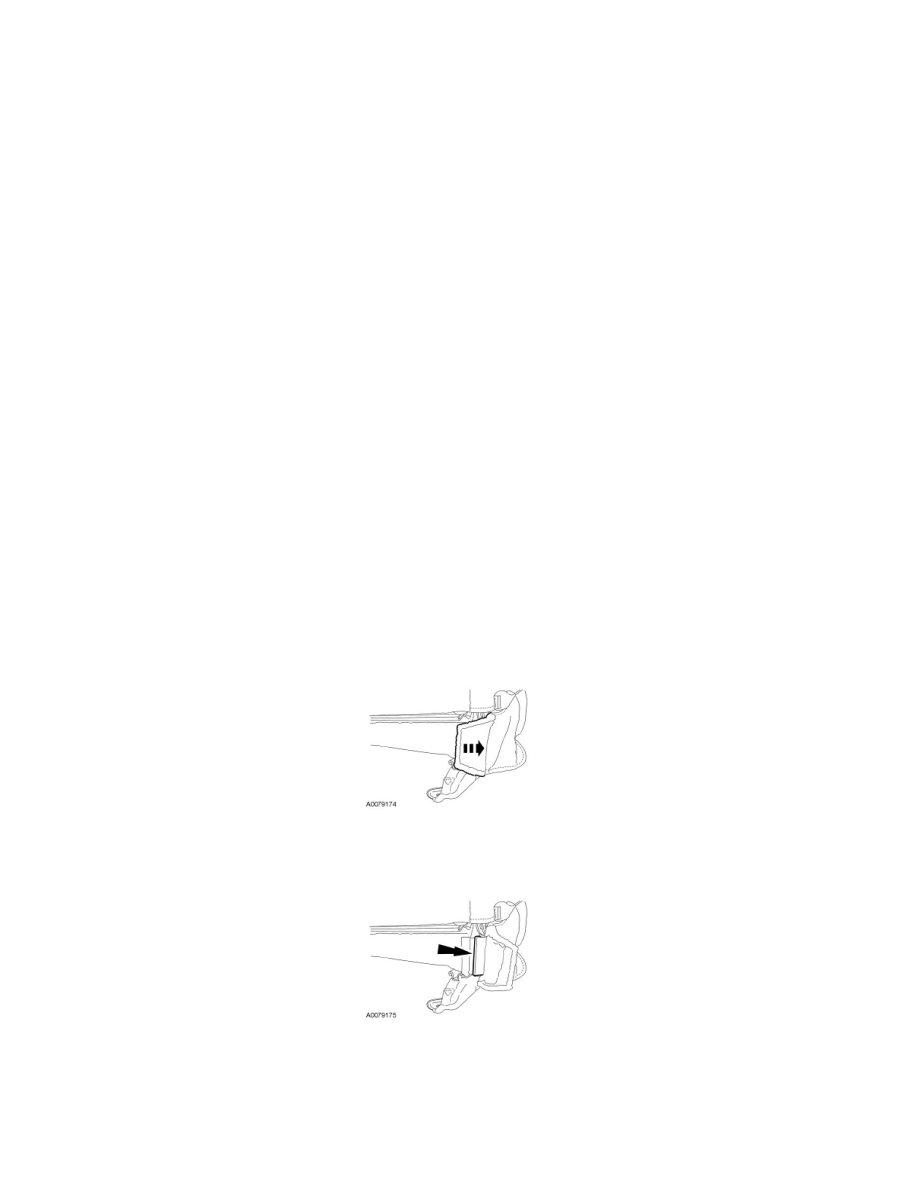
3. Release the RH lower trim cover inner flap attachment tabs and open.
4. Remove the RH trim covers.
-
Pull out to release the pin-type retainer and remove the RH upper trim cover.
5. Remove the latch-to-backrest bolts.
-
To install, tighten to 50 Nm (37 lb-ft).
6. Remove the backrest bracket-to-backrest bolt.
-
To install, tighten to 50 Nm (37 lb-ft).
7. Remove the seat backrest.
8. NOTE: Before installation, make sure the safety belt webbing is not twisted and the safety belts and buckles are accessible to the occupants.
To install, reverse the removal procedure.
Seat Backrest - Front, Bench
Seat Backrest - Front, Bench
Removal and Installation
1. Remove the front seat. For additional information, refer to Seat - Front, Bench See: Service and Repair/Front Seats/Seat - Front, Bench.
2. Release the hook-and-loop strip on the cushion trim cover flap at the RH rear of the seat.
3. NOTE: Pin-type retainer not shown.
Release the RH J-clip and pin-type retainer.
4. Release the latch cable from the RH side.
1. Release the cable anchor.
2. Swivel the cable end and separate.
