
F 550 4WD Super Duty V10-6.8L (2009)
5. Remove the pin-type retainers at the front and back of the cushion side shield.
6. Remove the 2 screws and cushion side shield.
7. Remove the 2 screws and separate the manual lumbar adjuster from the cushion frame.
8. Remove the manual lumbar adjuster.
-
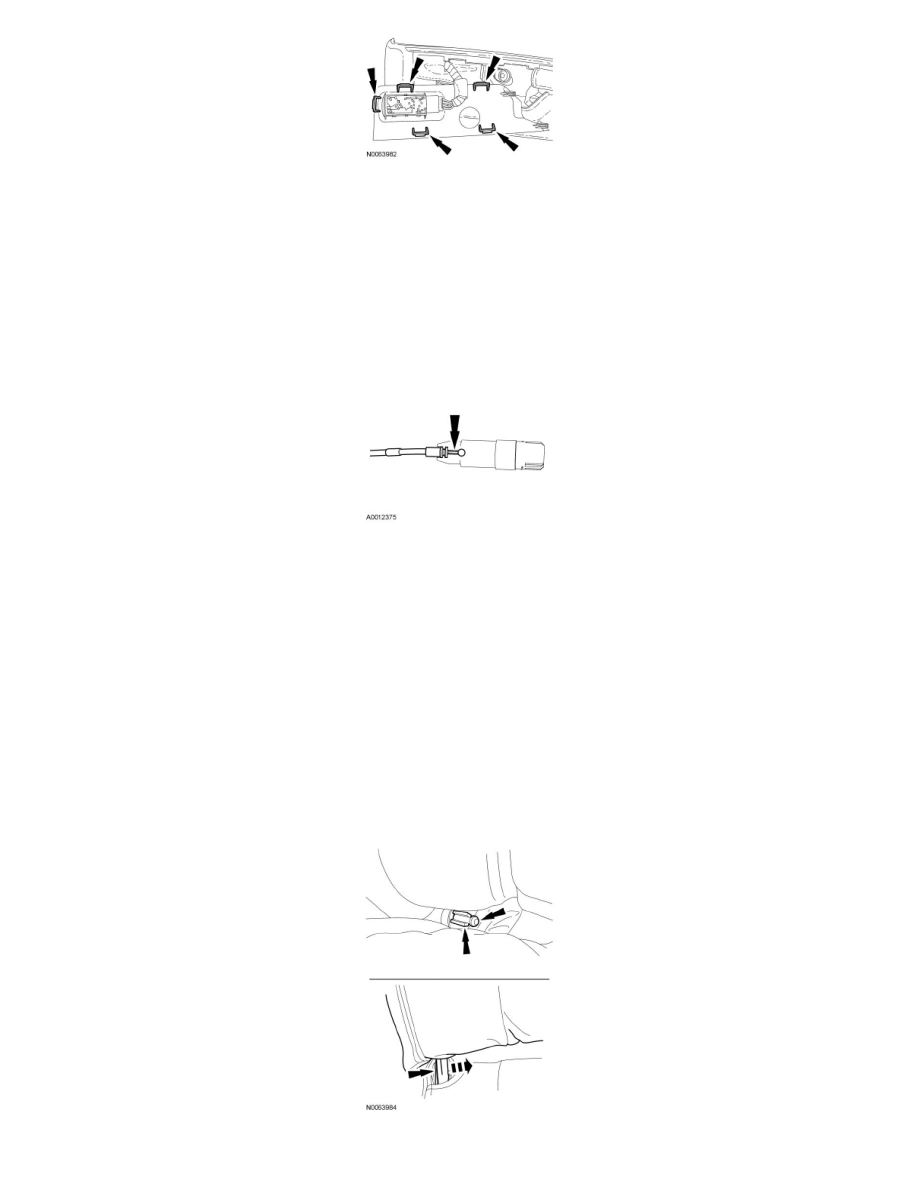
Turn the manual lumbar adjuster until the cable is exposed.
-
Detach the cable case from the manual lumbar adjuster.
-
Slide the cable out and remove the manual lumbar adjuster.
9. Release the rear and inboard side cushion trim cover J-clips to aid routing of the lumbar cable.
10. Remove the 2 recliner-to-cushion frame bolts.
-
To install, tighten to 50 Nm (37 lb-ft).
11. NOTICE: Do not damage the plastic pivot bushing when removing the backrest or the backrest may become loose.
NOTE: When installing, route the lumbar cable and heater mat wire behind the seat hinge (if equipped).
Remove the seat backrest.
-
Release the backrest pivot bushing.
-
Pull the backrest away from the seat hinge.
-
Remove the backrest.
-
Feed the lumbar cable and backrest heater mat wire through the seat cushion opening (if equipped).
12. To install, reverse the removal procedure.