
F 550 4WD Super Duty V10-6.8L (2009)
WARNING: Do not use any fluid other than clean brake fluid meeting manufacturer's specification. Additionally, do not use brake fluid that
has been previously drained. Following these instructions will help prevent system contamination, brake component damage and the risk of
serious personal injury.
WARNING: Carefully read cautionary information on product label. For EMERGENCY MEDICAL INFORMATION seek medical advice.
For additional information, consult the product Material Safety Data Sheet (MSDS) if available. Failure to follow these instructions may result
in serious personal injury.
NOTICE: Brake fluid is harmful to painted and plastic surfaces. If brake fluid is spilled onto a painted or plastic surface, immediately wash it
with water.
All vehicles
1. Remove the wheel and tire.
F-450 vehicles
2. If equipped, remove the 2 brake tube shield nuts and the brake tube shield.
-
To install, tighten the nuts to 35 Nm (26 lb-ft).
3. Remove the upper caliper anchor plate bolt and loosen the lower caliper anchor plate bolt. Pivot the brake caliper and anchor plate to gain access
to the upper brake caliper bolt.
-
To install, tighten to 400 Nm (295 lb-ft) using a butterfly socket torque adapter (such as Snap On(R) stock #SBS30).
All vehicles
4. Remove the brake caliper flow bolt and discard the 2 copper washers.
-
To install, tighten to 35 Nm (26 lb-ft).
5. NOTICE: Do not pry in the caliper sight hole to retract the pistons, as this can damage the pistons and boots.
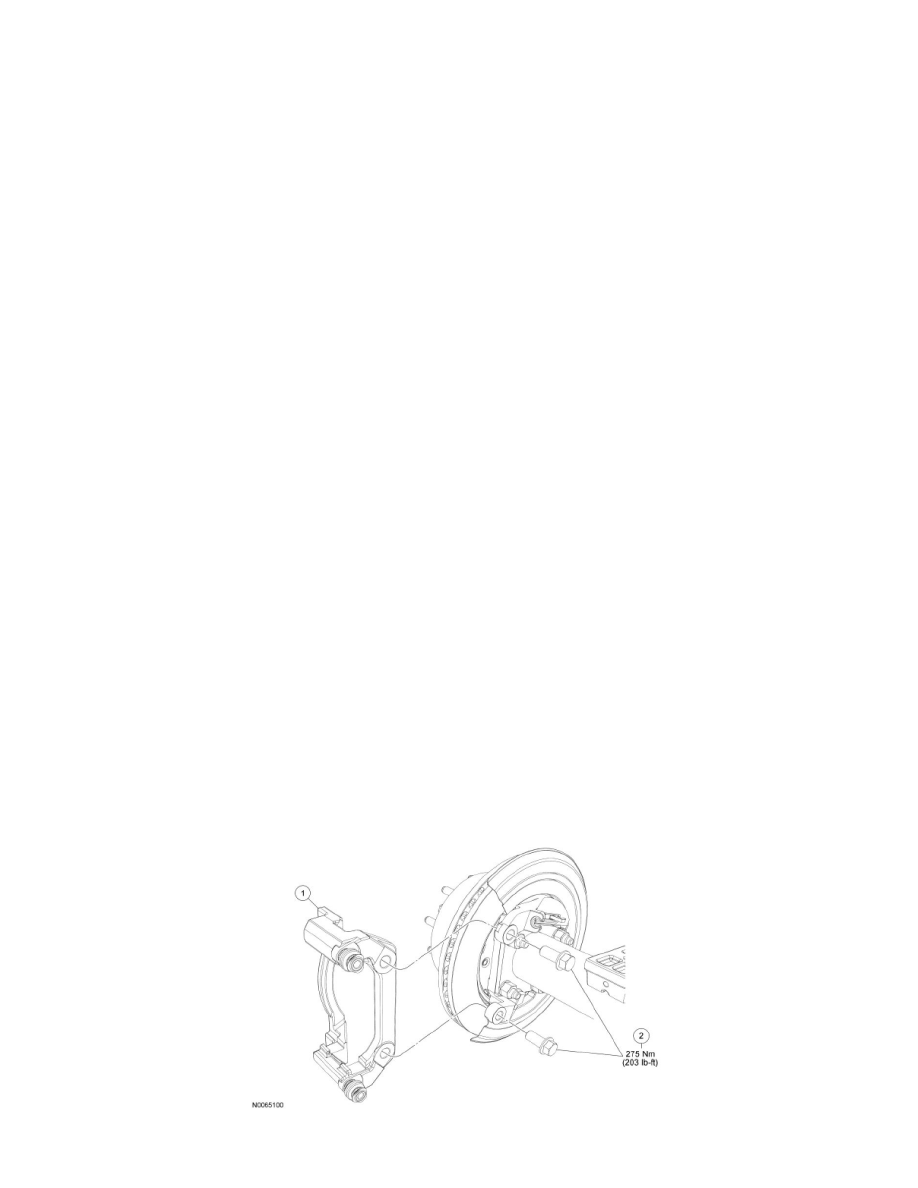
Remove the 2 brake caliper bolts and the caliper.
-
To install, tighten to 62 Nm (46 lb-ft).
6. To install, reverse the removal procedure.
-
Install new copper washers.
-
Bleed the brake caliper.
Brake Caliper Anchor Plate
Brake Caliper Anchor Plate
F-250/350 Vehicles Single Rear Wheel (SRW)