
F 550 4WD Super Duty V10-6.8L (2009)
Installation
1. Lubricate the camshaft and camshaft journals with clean engine oil.
2. NOTICE: Do not remove the Timing Chain Locking Tool at any time during assembly. If the Timing Chain Locking Tool is removed or
out of placement, the engine front cover must be removed and the engine must be retimed. For additional information, refer to Timing
Drive Components See: Timing Components/Service and Repair/Removal and Replacement.
NOTE: Do not allow the roller followers to move out of position when installing the camshaft.
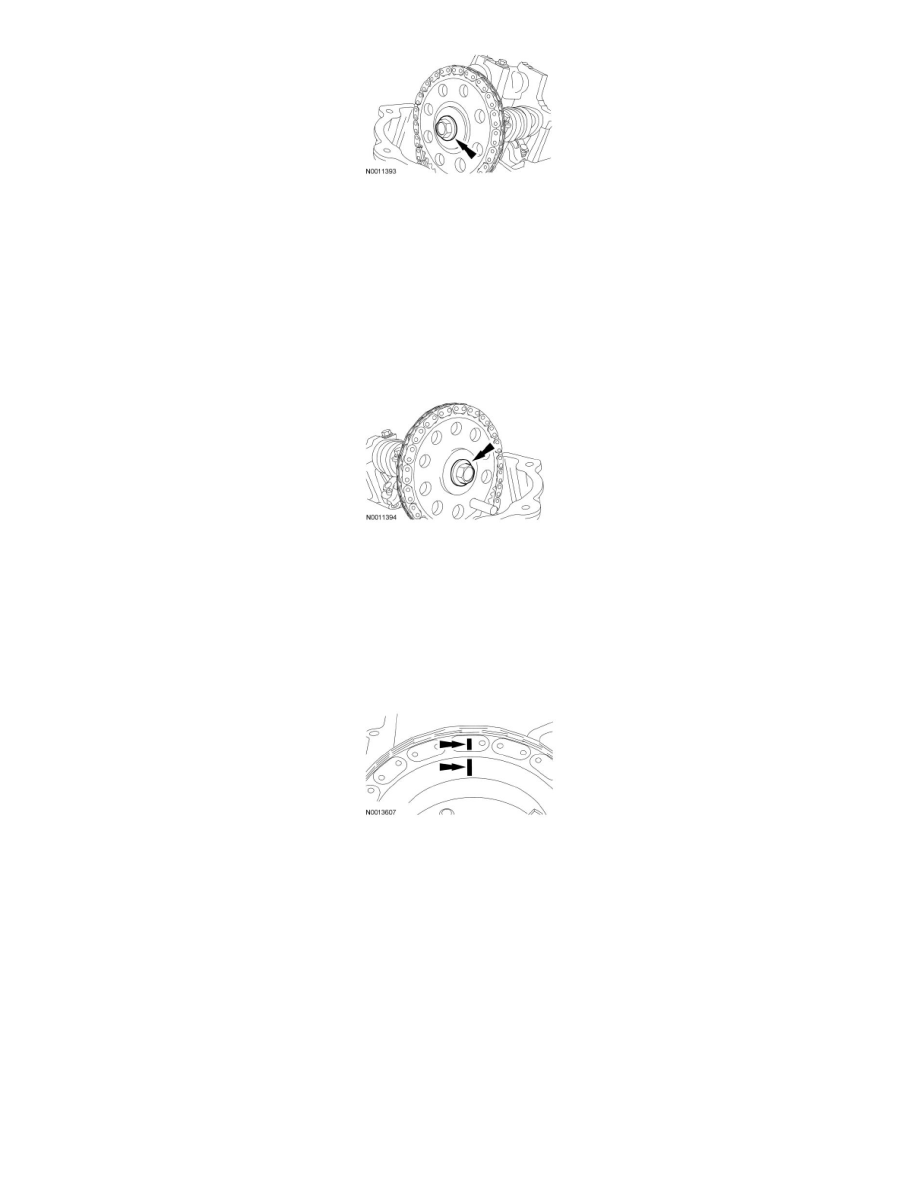
Install the camshaft into the camshaft sprocket assembly and onto the head. Install a new camshaft sprocket bolt finger-tight.
3. NOTICE: Do not remove the Timing Chain Locking Tool at any time during assembly. If the Timing Chain Locking Tool is removed or
out of placement, the engine front cover must be removed and the engine must be retimed. For additional information, refer to Timing
Drive Components See: Timing Components/Service and Repair/Removal and Replacement.
NOTICE: The timing chain must be installed in its original position onto the camshaft sprocket using the scribed marks, or damage to
valves and pistons will result.
Verify the camshaft sprocket and timing chain scribe marks are still in alignment.
4. NOTE: Do not allow the roller followers to move out of position when installing the camshaft.
Install the camshaft bearing caps in their original locations.
-
Lubricate the camshaft bearing caps with clean engine oil.
-
Position the front camshaft bearing cap.
-
Position the remaining camshaft bearing caps.
-
Install the 12 bolts loosely.
5. Tighten the 12 LH camshaft bearing cap bolts in 2 stages:
-
Stage 1: Tighten to 8 Nm (71 lb-in) in the sequence shown.
-
Stage 2: Tighten an additional 45 degrees.