
F 550 4WD Super Duty V10-6.8L (2009)
occur.
NOTE: Install a new Oil-To-Air (OTA) cooler as part of a transmission overhaul, or when installing a remanufactured transmission.
NOTE: Repeat repairs will occur if the transmission fluid flow does not meet specification. To avoid repeat repairs, carry out the fluid cooler flow test.
For additional information, refer to Transmission Fluid Cooler See: TorqShift/Transmission Fluid Cooler.
NOTE: Plug the Turbo-Tank Heated Cooler Line Flusher into a 110-volt outlet and allow it to heat up to the correct temperature.
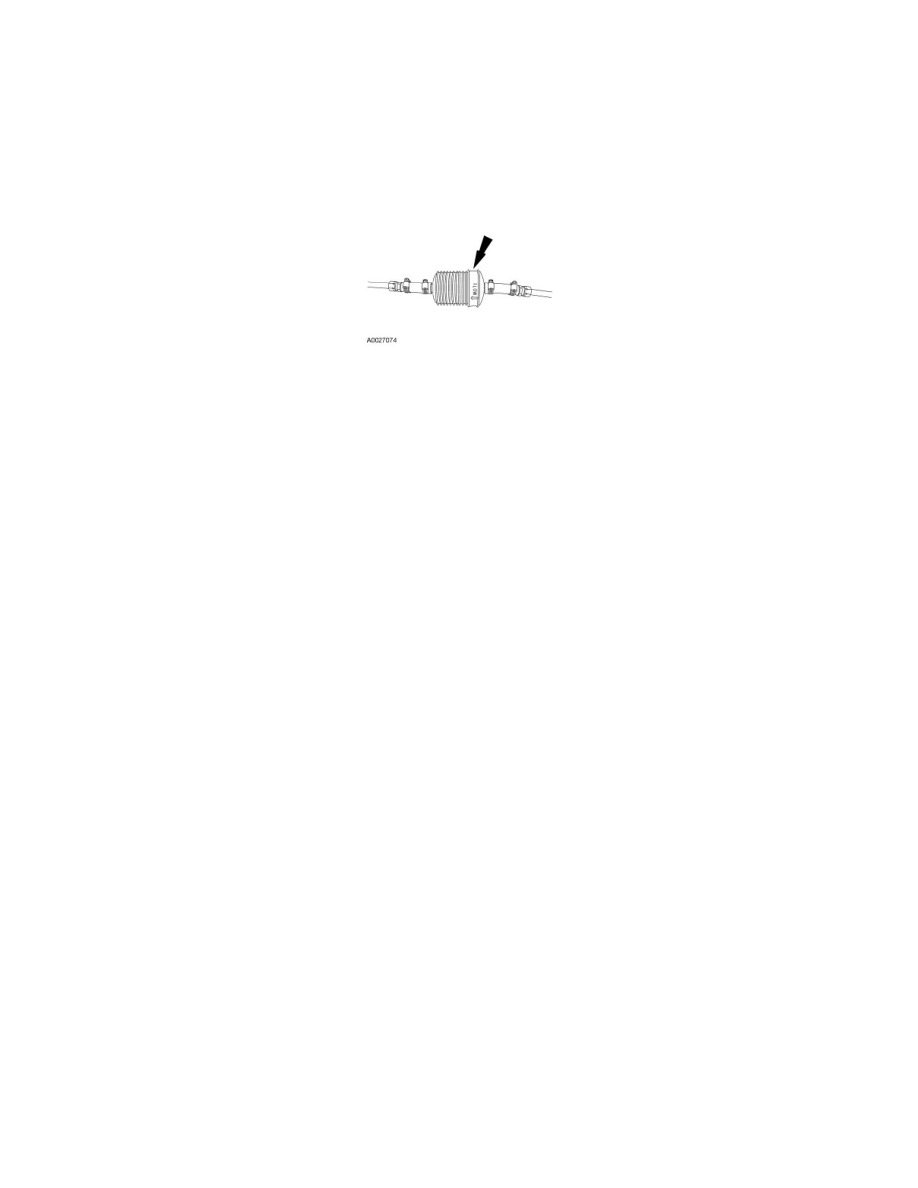
1. If equipped, remove and discard the in-line transmission fluid filter. Install a straight pipe with hose clamps in its place.
2. Flush the transmission cooler return tube first.
1. The transmission cooler return tube can be identified as the tube that runs from the OTA outlet to the rear of the transmission.
2. Using the appropriate fittings and quick disconnects supplied with the Turbo-Tank Heated Cooler Line Flusher, connect the Turbo-Tank
Heated Cooler Line Flusher pressure and return lines to either end of the transmission cooler return tube.
3. Switch the Turbo-Tank Heated Cooler Line Flusher pump on and allow it to run for 60 seconds.
4. Turn the switch off after 60 seconds and disconnect the pressure line.
5. Blow air through the cooler tube until the transmission fluid is drained back into the Turbo-Tank Heated Cooler Line Flusher.
6. Disconnect the Turbo-Tank Heated Cooler Line Flusher return line.
3. Flush the transmission cooler pressure tube and radiator in-tank transmission fluid cooler as follows:
1. The pressure tube and radiator in-tank transmission fluid cooler must be back flushed, then forward flushed. This is necessary to thoroughly
flush the in-tank transmission fluid cooler.
2. The transmission fluid cooler pressure tube can be identified as the tube that runs from the OTA transmission fluid cooler inlet to the front of
the transmission.
3. Using the appropriate fittings and quick disconnects supplied with the Turbo-Tank Heated Cooler Line Flusher, connect the Turbo-Tank
Heated Cooler Line Flusher pressure tube to the radiator in-tank transmission fluid cooler outlet. Connect the Turbo-Tank Heated Cooler Line
Flusher return line to the transmission fluid cooler pressure tube (the cooler tube near the transmission bellhousing).
4. Switch the Turbo-Tank Heated Cooler Line Flusher on and allow it to run for 15 minutes.
5. Turn the switch off after 15 minutes then reverse the Turbo-Tank Heated Cooler Line Flusher lines.
6. Switch the Turbo-Tank Heated Cooler Line Flusher pump on and allow it to run for 15 minutes.
7. Disconnect the Turbo-Tank Heated Cooler Line Flusher pressure tube and blow air through the tube until the transmission fluid is drained back
into the flusher.
8. Disconnect the Turbo-Tank Heated Cooler Line Flusher return line.
4. Install a new in-line transmission fluid filter if equipped. Install the in-line transmission fluid filter kit if the vehicle was not equipped with the kit.
For additional information, refer to Transmission Filter - In Line See: Fluid Filter - A/T/Service and Repair/Transmission Filter - In Line.
Transmission Fluid Cooler Leaks at Radiator
Transmission Cooling
Component Test