
F 550 4WD Super Duty V10-6.8L VIN S (2000)
9. Install the vacuum reservoir retaining nuts.
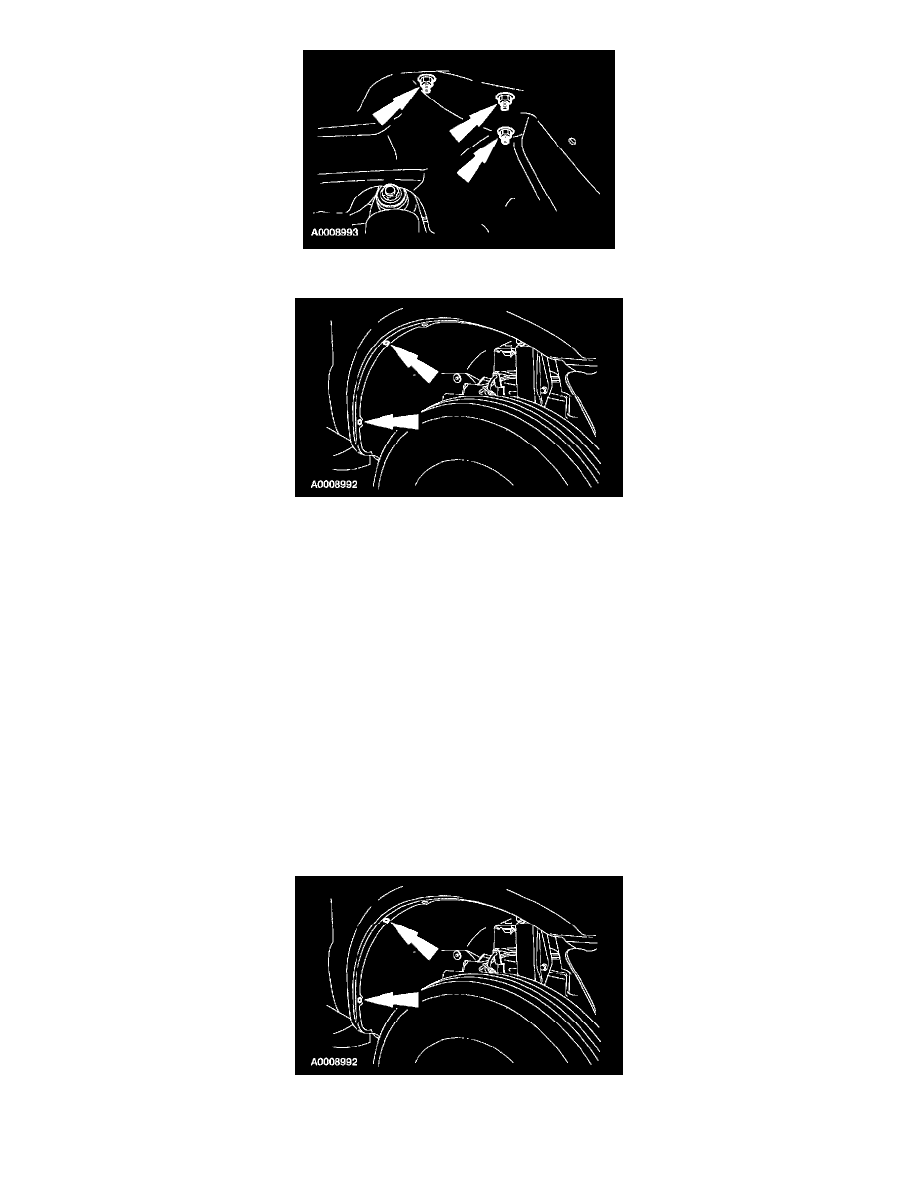
10. Install the fender splash shield fasteners, four screws, three bolts, and three pin-type retainers.
11. Install both RH wheels.
12. Lower the vehicle.
13. Evacuate, leak test and charge the A/C system. Refer to: Heating and Air Conditioning, Service and Repair, Evacuating and Charging
Procedure, See: Heating and Air Conditioning/Service and Repair/Evacuation and Charging Procedure
Evaporator Outlet Line
REMOVAL
CAUTION: It may be necessary to cut the underbody auxiliary line(s) being serviced into sections to facilitate removal. Make sure to correctly identify
the line(s) being serviced before carrying out any cutting of the line(s).
NOTE: Lay out the new lines in vehicle position to assist in the installation.
1. Discharge and recover the refrigerant. Refer to: Heating and Air Conditioning, Service and Repair, Refrigerant Discharging and Recovery
Procedure, See: Heating and Air Conditioning/Service and Repair/Refrigerant Discharging and Recovery procedure
2. Raise and support the vehicle.
3. Remove the front and rear RH wheels.
4. Remove the four screws, three bolts, and three pin-type retainers for the fender splash shield.