F 550 4WD Super Duty V10-6.8L VIN S (2000)

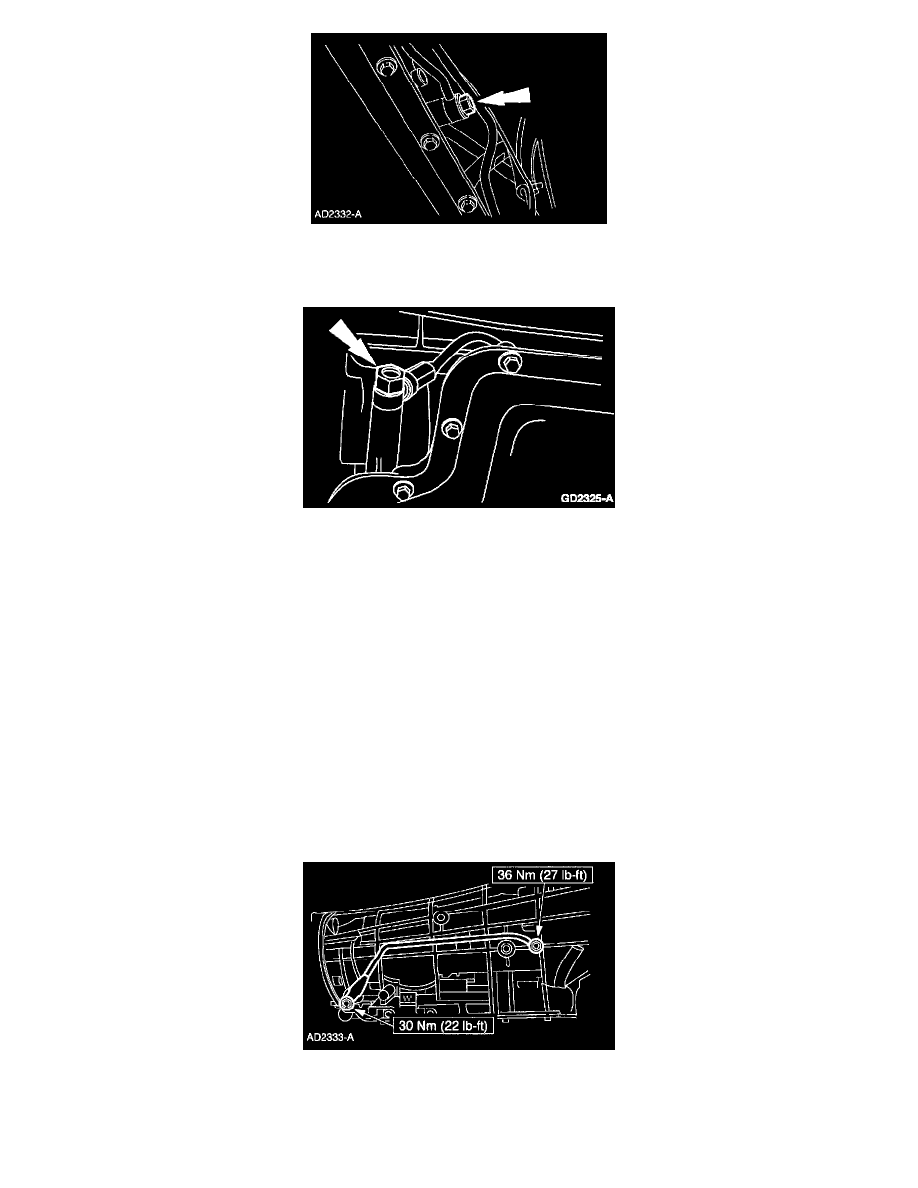
Remove the front CBV bolt cooler case fitting.
6. Note: The rubber coated sealing washers can fall off during removal of the rear CBV bolt cooler line case fitting.
Remove the rear CBV bolt cooler line case fitting.
7. Remove, clean and flush the CBV.
Installation
All vehicles
1. CAUTION: make sure the 4 rubber-coated sealing washers are on the cooler line case fittings and the CBV washers are in place.
Examine the rubber-coated sealing washers for damage. Replace the washers as needed.
2. Using Threadlock and Sealer E0AZ-19554-AA or equivalent meeting Ford. specification WSK-M2G351-A5, coat the line case fitting threads.
3. CAUTION:
-
Make sure the Cooler Bypass Valve (CBV) is properly backflushed. Use dry compressed air to remove solvent.
-
If the cooler line case fitting is over-tightened, the rubber-coated sealing washers and/or cooler line case fittings can be damaged, causing a
transmission fluid leak
Note:
-
The CBV has a check ball in the rear fitting and will only allow flow in one direction. Make sure check ball moves freely.
-
Align the two rubber-coated sealing washers while assembling the fear cooler line case fitting.
Install the CBV fitting.
4. CAUTION: If an overhaul is being performed the Oil-To-Air (OTA) cooler will need to be replaced.
Note: The cooler lines need to be flushed out at this time and install a new OTA cooler.
