
Festiva L4-81 1.3L SOHC EFI (1989)
Timing Belt: Service and Repair
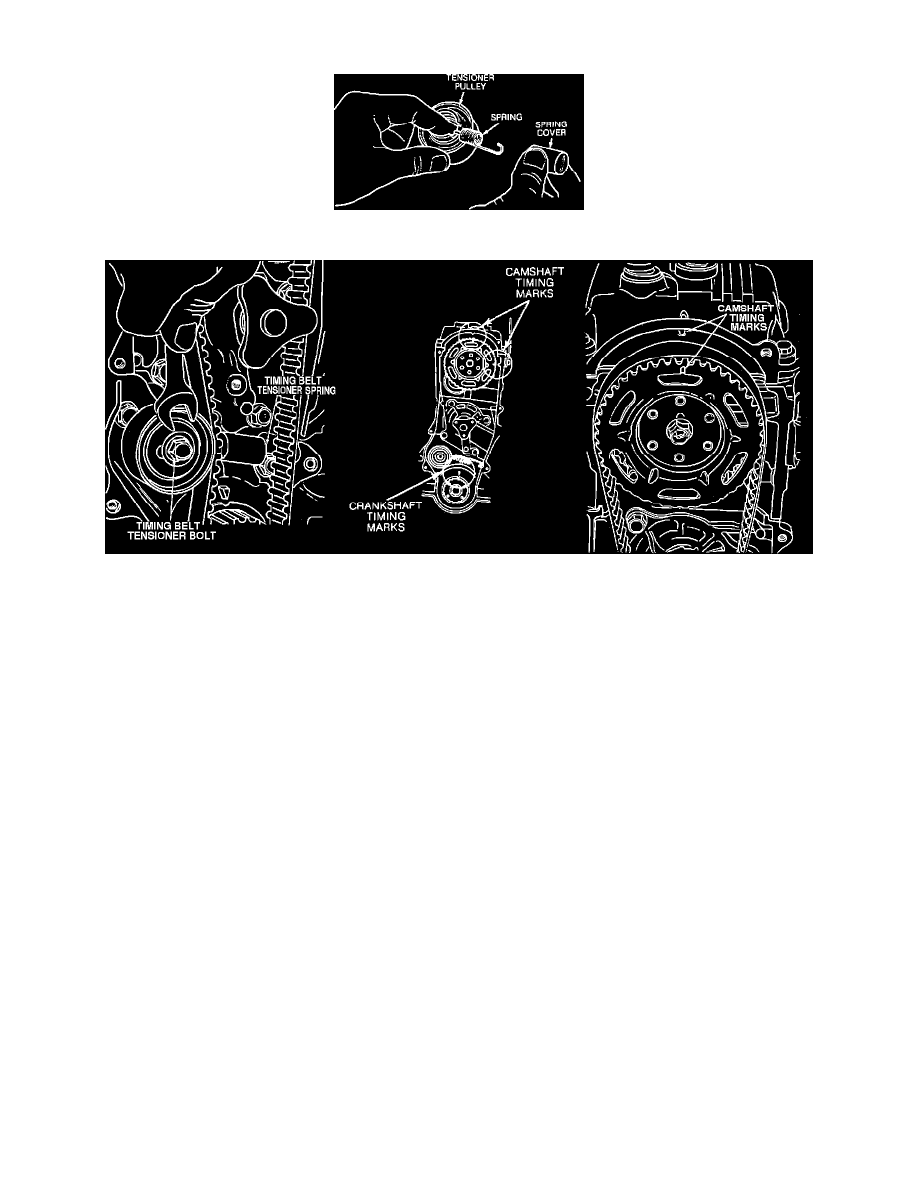
Fig. 10 Timing Belt Tensioner Assembly
Fig. 11 Aligning Valve Timing Marks
1.
Remove timing belt covers as outlined previously.
2.
Remove timing belt tensioner pulley attaching bolt, then the tensioner pulley, spring and spring cover, Fig. 10.
3.
If reusing old belt, mark direction of rotation on belt to aid installation.
4.
Remove timing belt from crankshaft and camshaft sprockets.
5.
Check crankshaft and camshaft sprockets, tensioner pulley and timing belt for wear or damage. Replace components as necessary.
6.
Align camshaft and crankshaft sprocket timing marks with marks on cylinder head and oil pump housing, Fig. 11.
7.
Install timing belt. If reusing old belt, ensure belt is installed so that direction of rotation mark made during removal is positioned correctly.
8.
Install spring and spring cover onto tensioner pulley, Fig. 10, then install pulley and attaching bolt. Do not tighten bolt at this time.
9.
Install tensioner spring onto anchor, then tighten pulley attaching bolt to torque listed at the end of this section.
10.
Reinstall timing belt covers.