Festiva L4-81 1.3L SOHC EFI (1989)

INSTALLATION PROCEDURE
1.
Apply silicone sealer (D6AZ-19562-AA) to the housing groove.
2.
Firmly press the outer lens against the housing to allow the sealer to bond together.
Figure 6
3.
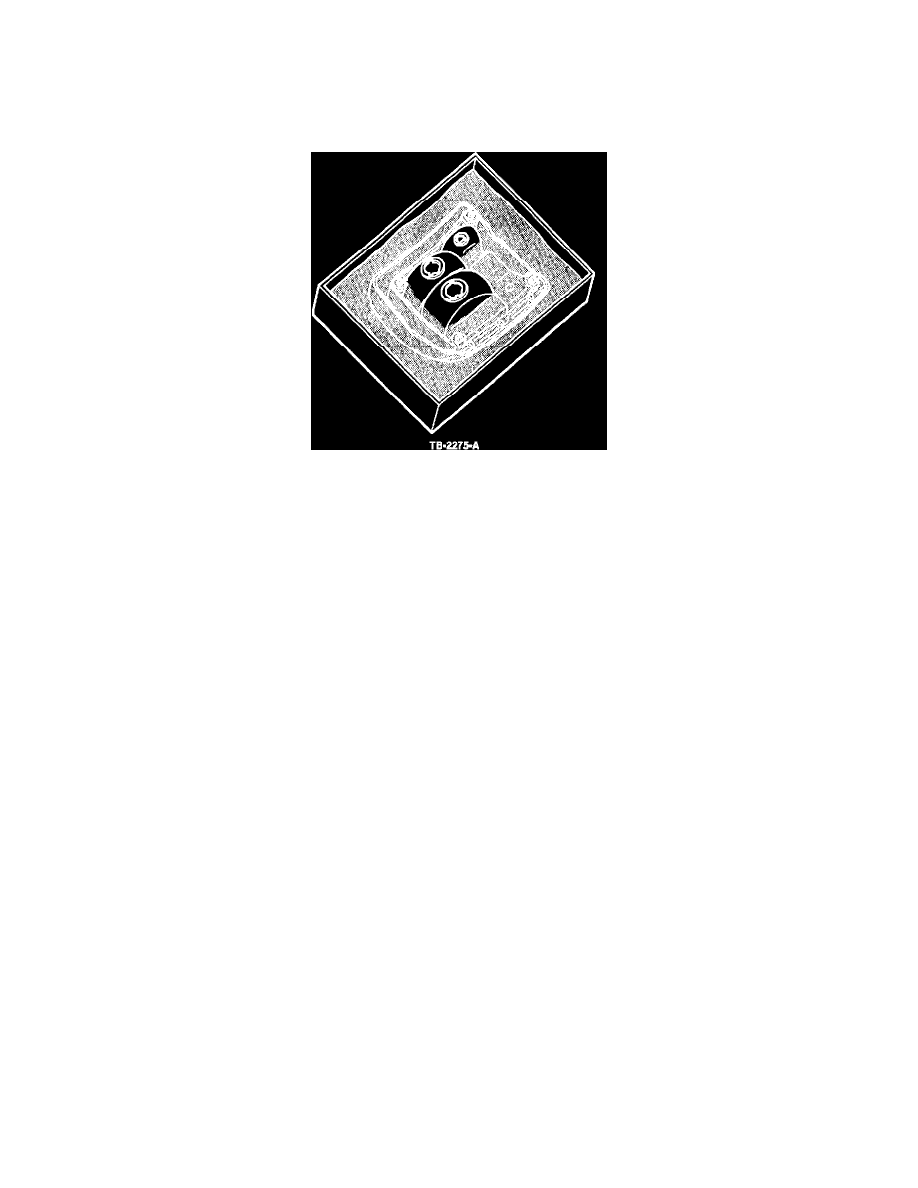
Check the tail lamp assembly for water leaks by immersing it in water. If leakage is observed, apply silicone sealer as needed, Figure 6.
4.
Install the lamp gasket (E8BZ-13A495-A).
5.
Connect the lamp wiring.
6.
Position the lamp assembly on the body and install the attaching nuts.
7.
Confirm that all bulbs function properly.
8.
Install the rear quarter trim panel. Refer to the 1988/92 Festiva Shop Manual, Sections 45-03 or 01-05, for service details.
PART NUMBER
PART NAME
CLASS
E8BZ-13450-A
Lens Assy. RH - Outside Red
B
(1988-89)
E8BZ-13451-A
Lens Assy. LH - Outside Red
B
(1988-89)
E8BZ-13450-B
Lens Asay. RH - Inside Yellow
C
& White (1988-89)
E8BZ-13451-B
Lens Asay. LH - Inside Yellow
B
& White (1988-89)
FOBZ-13450-A
Lens Asay. RH - Outside Red
B
(1990-92)
FOBZ-13451-A
Lens Assy. LH - Outside Red
B
(1990-92)
FOBZ-13450-B
Lens Asay. RH - Inside Yellow
B
& Red (1990-92)
FOBZ-13451-B
Lens Assy. LH - Inside Yellow
B
& Red (1990-92)
E8BZ-13A495-A
Lamp Gasket
C
D6AZ-19562-AA
Silicone Sealer
B
OTHER APPLICABLE ARTICLES: NONE
WARRANTY STATUS: INFORMATION ONLY
OASIS CODES:
108000, 201200
