
Five Hundred 2WD V6-3.0L VIN 1 (2006)
3. Disconnect the 2 rear window defrost electrical connectors.
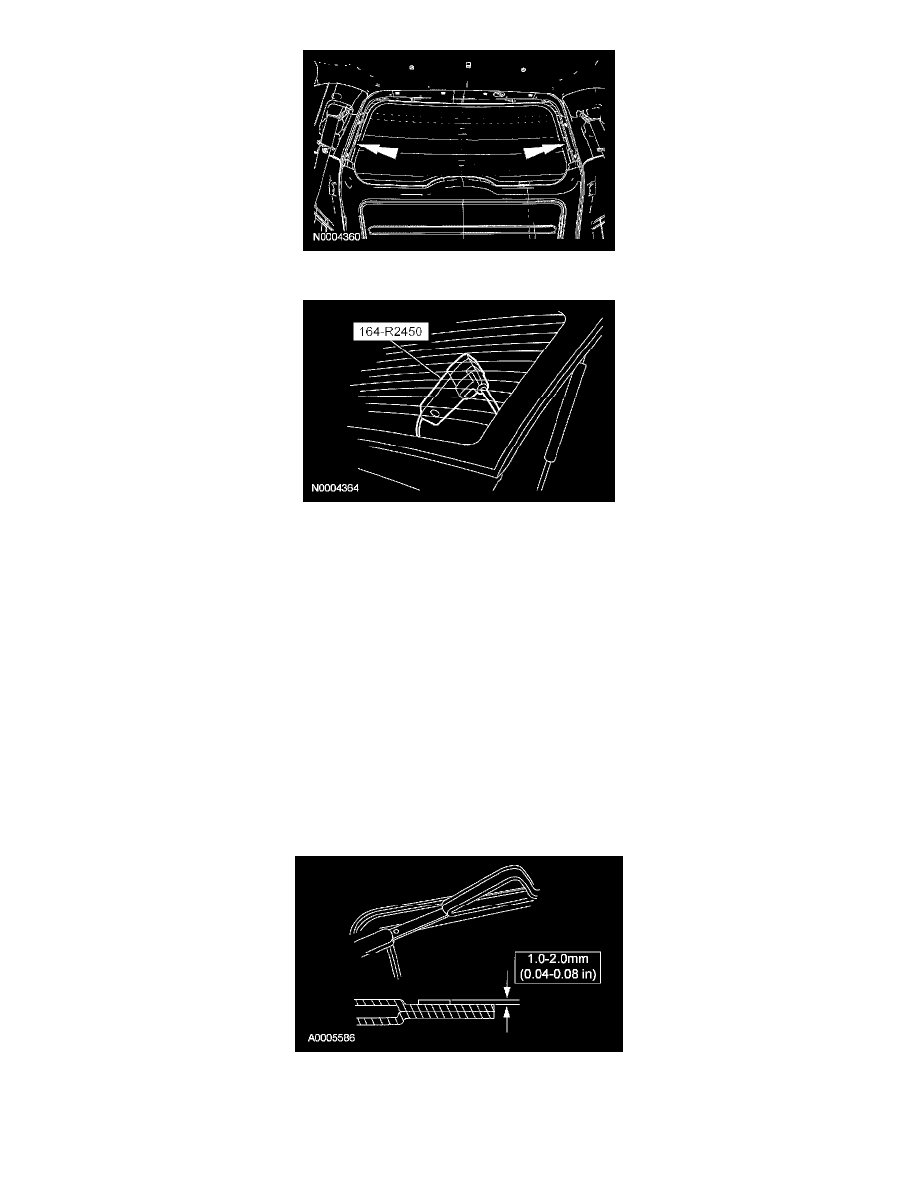
4. NOTE: Lubricate the existing urethane adhesive with water to aid the special tool while cutting.
Using the special tool, cut the adhesive away from the liftgate window glass and remove the liftgate window glass.
5. Using a soft brush or vacuum, remove any dirt or foreign material from the pinch weld.
Installation
CAUTION: When installing urethane-installed glass parts, the vehicle must not be driven until the urethane has cured. Adequate cure time is
specified on the drive away chart for each urethane product as the temperatures and humidity vary. Inadequate or incorrect curing can
adversely affect the retention of the windshield.
NOTE: For additional material guidelines, refer to the manufacturer's installation information.
1. Dry fit the liftgate window glass to the existing urethane adhesive bead on the body pinch weld. Align the liftgate window glass in the opening for
a uniform fit.
2. Use a non-permanent pencil to make alignment marks on the liftgate window glass at the setting blocks and the body to aid in the installation
alignment of the liftgate window glass.
3. Remove the liftgate window glass.
4. NOTE: Avoid scratching the pinch weld. For minor scratches or exposed metal on the pinch weld, see manufacturer's recommendations.
Using an appropriate tool, trim the urethane adhesive leaving a 1 mm to 2 mm base of original equipment urethane on the pinchweld.