
Five Hundred 2WD V6-3.0L VIN 1 (2006)
All Vehicles
1. Drain the fuel tank.
2. Release the fuel system pressure.
3. Disconnect the battery ground cable.
Five Hundred, Montego
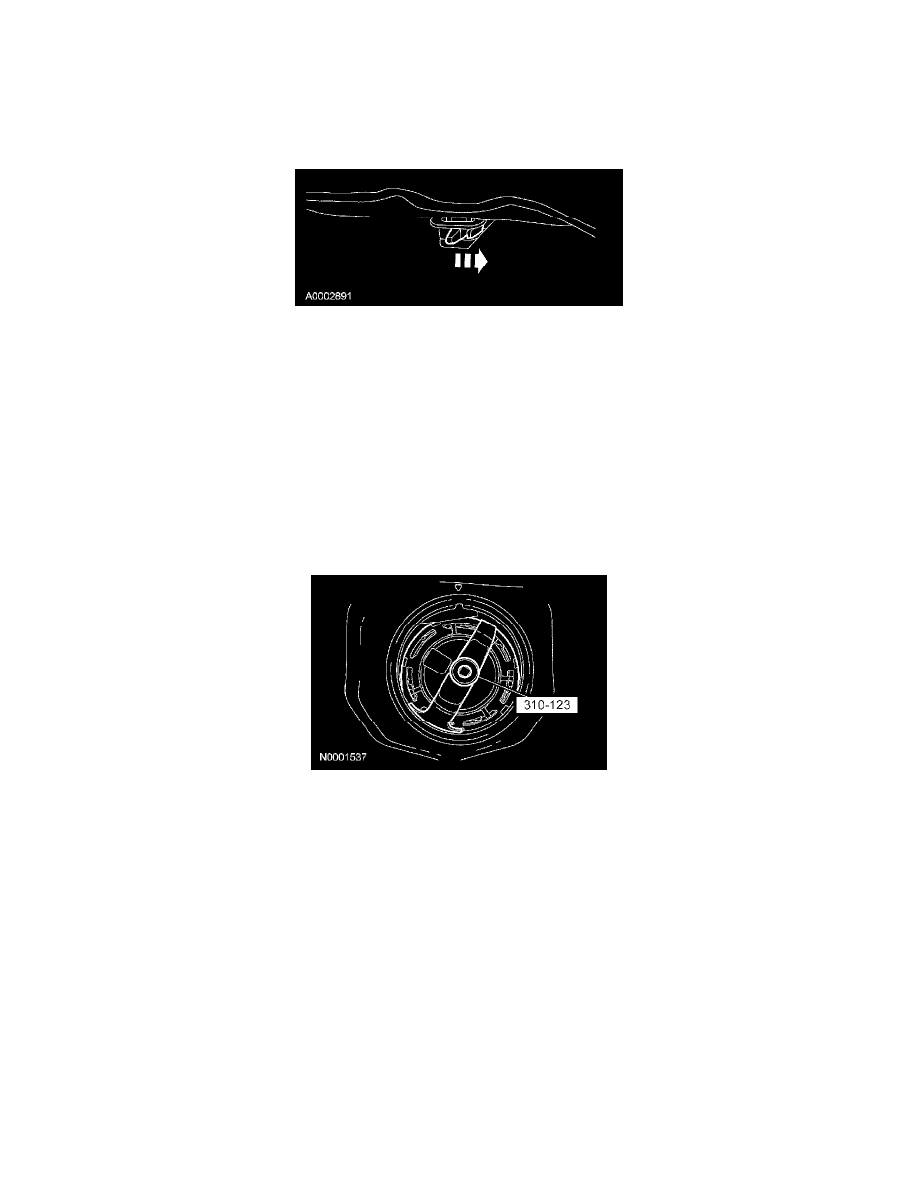
4. Remove the rear lower seat cushion.
-
Release the latches and pull upward on the rear lower seat cushion and remove.
Freestyle
5. Position the second row seat rearward.
6. Remove the rear seat latching brackets.
-
Remove the latching bracket bolts.
-
Remove the latching brackets.
-
To install, tighten to 17 Nm (13 lb-ft).
All vehicles
7. Remove the fuel level sensor access cover.
8. Clean the surrounding area of the fuel level sensor mounting flange.
9. Disconnect the fuel level sensor electrical connector.
10. Install the special tool and remove the fuel level sensor lock ring.
11. Carefully lift the fuel level sensor out of the fuel tank allowing access to disconnect the quick connect coupling.
12. Disconnect the fuel supply tube-to-fuel level sensor quick connect coupling.
13. CAUTION:
-
The fuel level sensor must be handled carefully to avoid damage to the float arm.
-
Place absorbant pads on the floor pan in case of spills. Carefully remove fuel level sensor from the fuel tank to avoid fuel spillage
inside the vehicle.
Completely remove the fuel level sensor from the fuel tank.
14. CAUTION:
-
Inspect the surfaces of the fuel level sensor module flange and the fuel tank. Install a new fuel level sensor or fuel tank if the O-ring
seal contact surfaces are bent, scratched or corroded. Do not polish or adjust the module or fuel tank if the O-ring seal contact area is
bent, scratched or corroded.
-
Make sure to install a new fuel level sensor O-ring seal and lock ring.
NOTE: Upon installation, apply clean engine oil to the O-ring seal.
Remove the fuel level sensor O-ring seal.