
Five Hundred 2WD V6-3.0L VIN 1 (2006)
occurring, possibly causing a fire or explosion if fuel vapor or fuel liquid is present in the area. Failure to follow these instructions may result in
personal injury.
All
1. With the vehicle in NEUTRAL, position it on a hoist.
2. Disconnect the battery ground cable.
Five Hundred, Montego
3. Remove the rear seat lower cushion.
-
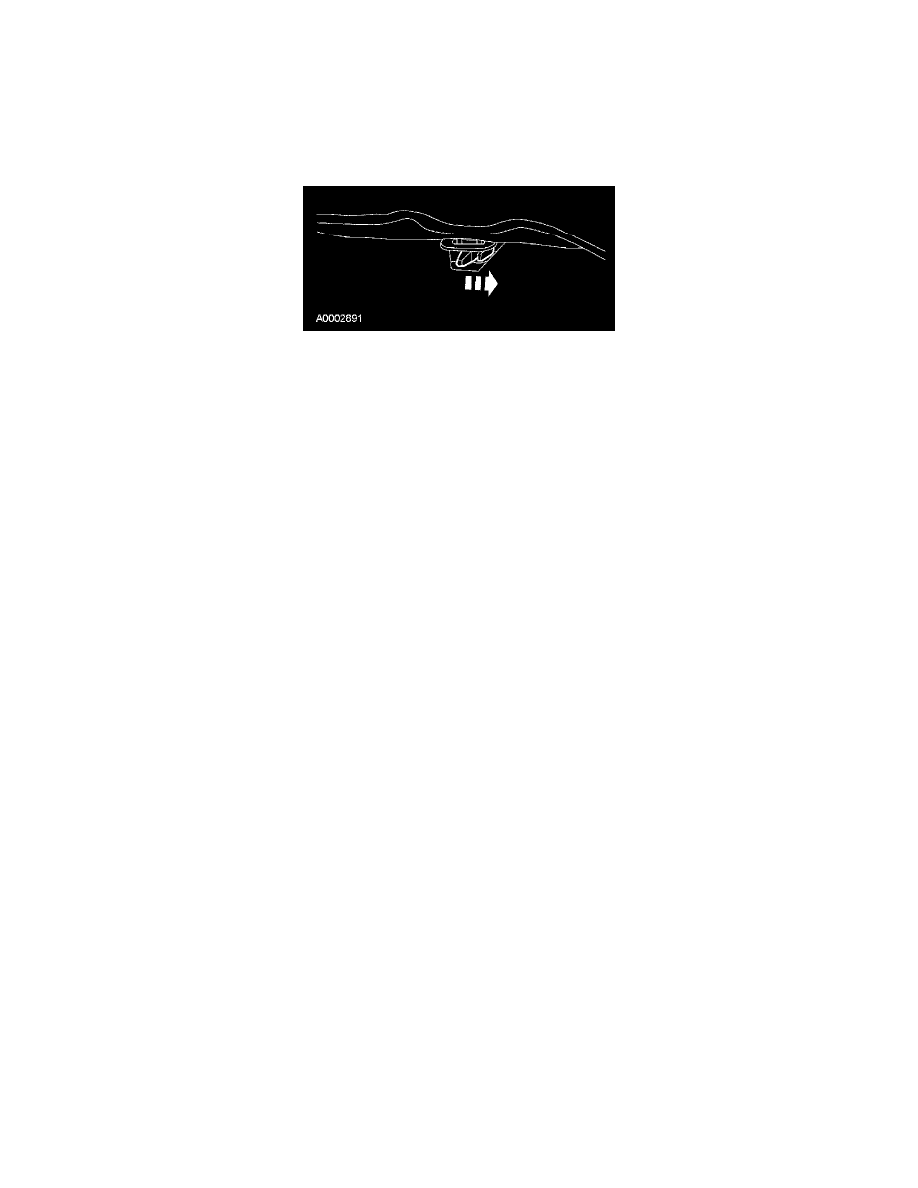
Release the latches and pull upward on the rear lower seat cushion and remove.
Freestyle
4. Position the second row seats rearward.
5. Remove the second row seat latching brackets.
-
Remove the latching bracket bolts.
-
To install, tighten to 17 Nm (13 lb-ft).
-
Remove the latching brackets.
All vehicles
6. Remove the fuel pump module access cover.
7. Disconnect the fuel vapor control tube assembly valve-to-fuel pump module quick connect coupling.
8. Disconnect the fuel vapor control tube assembly valve electrical connector.
9. Disconnect the fuel vapor tube quick connect coupling-to-fuel vapor control tube assembly valve quick connect coupling.
10. Disconnect the fuel vapor control tube assembly valve-to-fuel vapor tube quick connect coupling.
11. Release the fuel vapor control tube assembly valve from the retainer clips on the side of the fuel tank.
12. Remove the fuel vapor control tube assembly valve.
13. To install, reverse the removal procedure.
-
Carry out a leak test. See: Testing and Inspection/Evaporative Emission System Leak Test
-
Carry out the evaporative emission repair verification drive cycle. See: Testing and Inspection/Evaporative Emission Repair Verification
Drive Cycle