
Five Hundred 2WD V6-3.0L VIN 1 (2006)
All vehicles
1. WARNING: The safety canopy must be installed in the vehicle using new torque-prevailing type J-nuts (W520822-S438, 9 per side). Use
of this J-nut is mandatory so as to reduce the risk of loss of fastener effectiveness. Failure to follow these instructions may result in
personal injury in the event of a safety canopy deployment.
Remove all J-nut fasteners and install new.
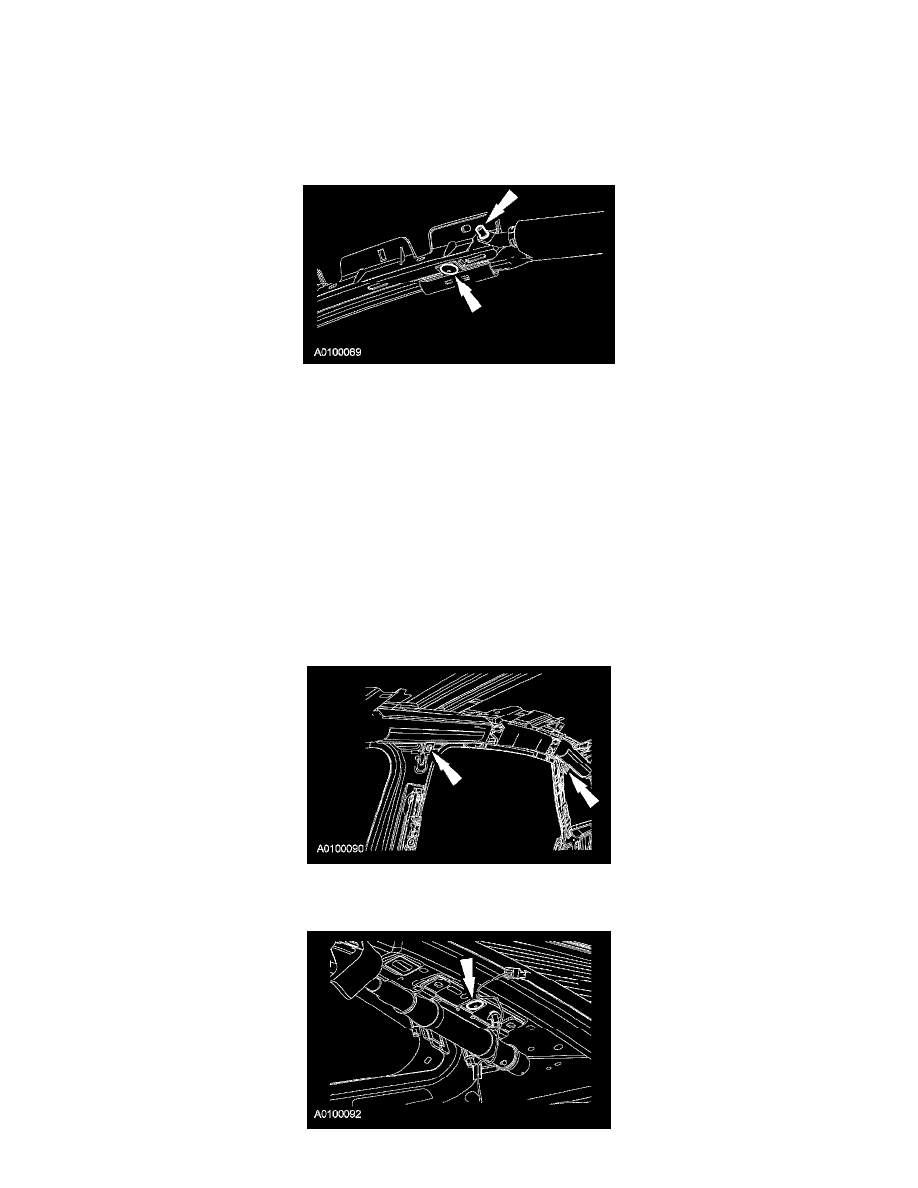
2. Install the safety canopy module bolt and the pin-type retainer to the A-pillar trim bracket.
-
Tighten bolt to 7 Nm (62 lb-in).
3. WARNING:
-
Before installing a safety canopy module, inspect the roof line for any damage. If necessary, the sheet metal must be reworked to its
original condition and structural integrity. All damaged fasteners must be replaced and any foreign objects removed. Failure to do so
may result in personal injury in the event of a safety canopy deployment.
-
Inspect the safety canopy before installation. If the safety canopy is damaged or the cover has separated and the canopy material has
been exposed, a new safety canopy module must be installed. Do not attempt to repair the safety canopy module. Failure to follow
these instructions can result in personal injury in the event of a safety canopy module deployment.
-
Never put any type of fastener or tie strap around any part of the safety canopy module or interior trim panel. This will prevent the
safety canopy module from deploying correctly. Failure to do so can result in personal injury in the event of a safety canopy module
deployment.
Position safety canopy module in vehicle.
-
Route the safety canopy module back through the rear window defroster wiring harness.
4. Install the front and rear safety canopy module guide bolts
-
Tighten bolt to 7 Nm (62 lb-in).