
Five Hundred 2WD V6-3.0L VIN 1 (2006)
Suspension Spring ( Coil / Leaf ): Service and Repair
Front
Removal and Installation
Strut and Spring Assembly
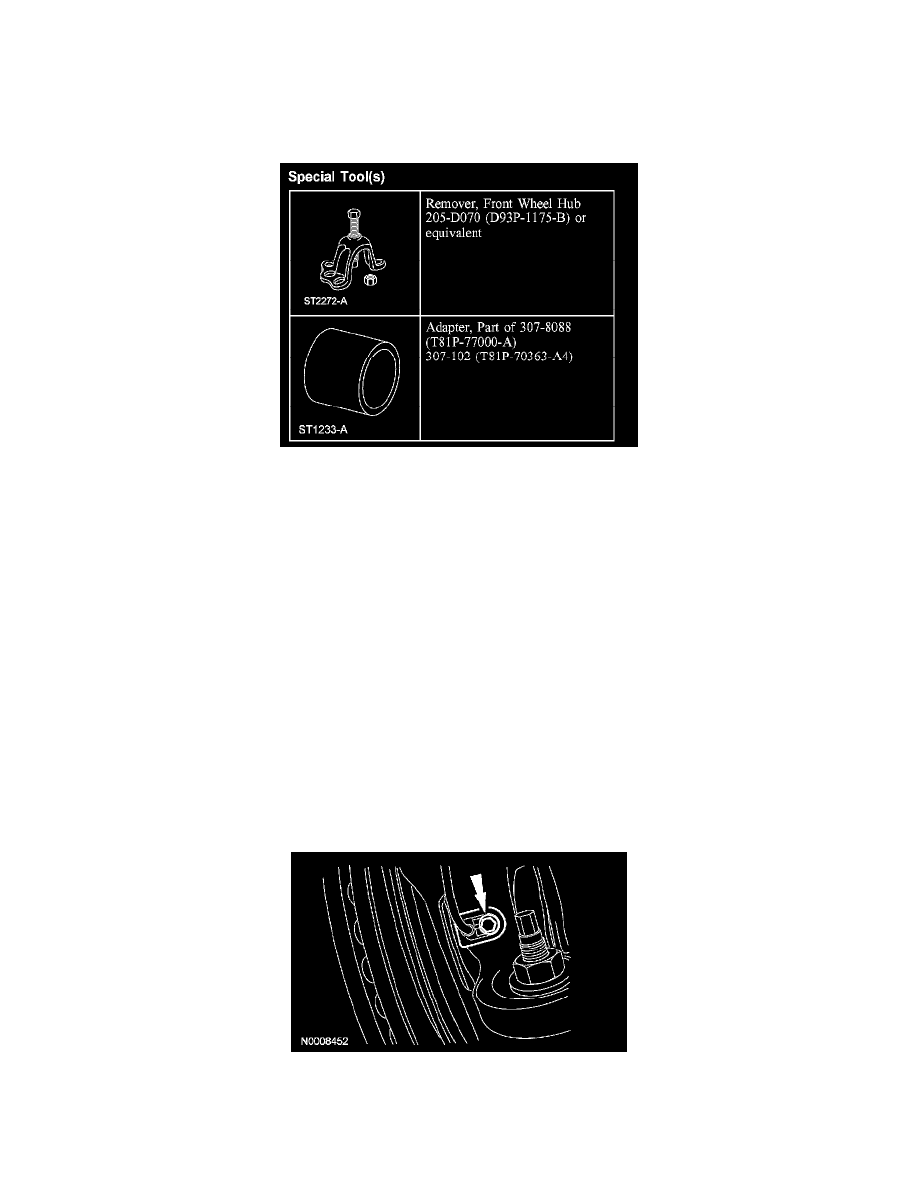
Special Tool(s)
Removal and Installation
WARNING: All vehicles are equipped with gas-pressurized front shock absorbers which will extend unassisted. Do not apply heat or flame to the
front shock absorber during removal or disassembly. Failure to follow these instructions may result in personal injury.
CAUTION: Suspension fasteners are critical parts because they affect performance of vital components and systems and their failure can result in
major service expense. A new part with the same part number must be installed if installation is necessary. Do not use a new part of lesser quality or
substitute design. Torque values must be used as specified during reassembly to make sure of correct retention of these parts.
NOTE: Turn the ignition switch to the UNLOCKED position.
1. Loosen the strut upper mount nuts.
^
Tighten to 25 Nm (18 ft. lbs.).
2. With the vehicle in NEUTRAL, position it on a hoist. For additional information, refer to Maintenance/Service and Repair.
3. Remove and discard the wheel hub nut.
^
Tighten to 200 Nm (148 ft. lbs.).
4. Remove the brake disc.
5. Remove the tie-rod end nut, then separate the tie rod from the wheel knuckle.
^
To install, tighten to 115 Nm (85 ft. lbs.).
6. Detach the wheel speed sensor harness from the strut.
7. Remove the bolt and the wheel speed sensor from the wheel knuckle. Position the wheel speed sensor aside.
^
To install, tighten to 14 Nm (10 ft. lbs.).
8. NOTE: Use the hex-holding feature to prevent the stud from turning while removing the nut.
Using a crow's foot wrench, remove and discard the lower ball joint nut.