
Five Hundred AWD V6-3.0L VIN 1 (2005)
4.
Drill a 15/64" (6 mm) hole through the rear fascia and splash shield.
5.
Remove the mud spat.
6.
Was vehicle built before 9/29/2005?
a.
On vehicles built before 9/29/2005, remove and discard the rear splash shield by removing the screw and scrivets/rivets that attach the rear
splash shield to the rear fascia and rear member. Install a new rear splash shield by attaching the shield to the rear member using scrivets and
to the upper most hole in the rear fascia using a screw.
b.
On vehicles built 9/29/2005 or later add new J-Clip to existing hole in splash shield.
7.
Reinstall mud spat by aligning the holes in the rear fascia to the wheel spat and rear splash shield. Three (3) screws will attach the mud spat, rear
fascia, and splash shield. One (1) screw will attach the mud spat and the splash shield.
8.
Install rear wheel.
9.
Repeat process for other side of vehicle.
FRONT DOOR LOWER BODY SIDE MOLDING INSTALLATION
1.
Clean door surface from bottom edge approximately 6" (15 cm) up with a alcohol wipe.
2.
Remove upper tape strip cover using pull-tab provided.
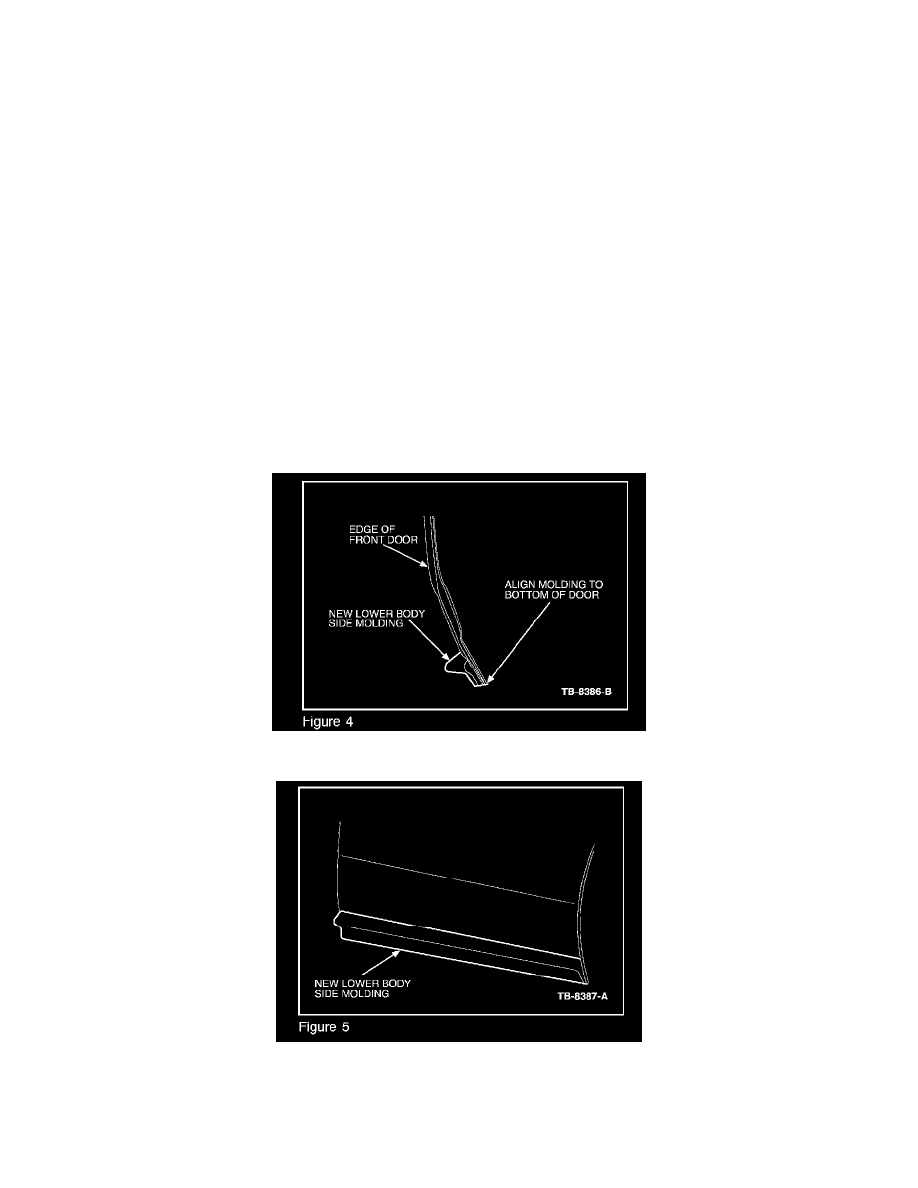
3.
Align lower (thin) edge of molding to lower edge of door (Figure 4).
4.
Align rear edge of molding to the edge of door (Figure 5).
5.
Roll the molding upward and run your hands along the full length of the molding while applying steady pressure toward the vehicle to ensure good
adhesion of the tape.