
Five Hundred AWD V6-3.0L VIN 1 (2005)
-
To reduce the risk of personal injury, do not use any memory saver devices.
NOTE:
-
If a seat equipped with a supplemental restraint system (SRS) component is being serviced, the SRS must be depowered.
-
The air bag warning lamp illuminates when the RCM fuse is removed and the ignition switch is ON. This is normal operation and does not indicate
a supplemental restraint system (SRS) fault.
-
The SRS must be fully operational and free of faults before releasing the vehicle to the customer.
All vehicles
1. Turn all vehicle accessories OFF.
2. Turn the ignition switch to OFF.
3. At the smart junction box (SJB), located below the LH side of the instrument panel, remove the cover and the restraints control module (RCM)
fuse F2.21 (7.5A) from the SJB.
4. Turn the ignition ON and visually monitor the air bag indicator for at least 30 seconds. The air bag indicator will remain lit continuously (no
flashing) if the correct RCM fuse has been removed. If the air bag indicator does not remain lit continuously, remove the correct RCM fuse before
proceeding.
5. Turn the ignition OFF.
6. WARNING: To avoid accidental deployment and possible personal injury, the backup power supply must be depleted before repairing
or replacing any front or side air bag supplemental restraint system (SRS) components and before servicing, replacing, adjusting or
striking components near the front or side air bag sensors, such as doors, instrument panel, console, door latches, strikers, seats and hood
latches.
The front impact severity sensors are located on the radiator support bracket near the front headlamp assemblies.
The first row side impact sensors (if equipped) are located at or near the base of the B-pillars.
The second row side impact sensors (if equipped) are located on the C-pillar.
To deplete the backup power supply energy, disconnect the battery ground cable and wait at least one minute. Be sure to disconnect
auxiliary batteries and power supplies (if equipped).
Disconnect the battery ground cable and wait at least one minute.
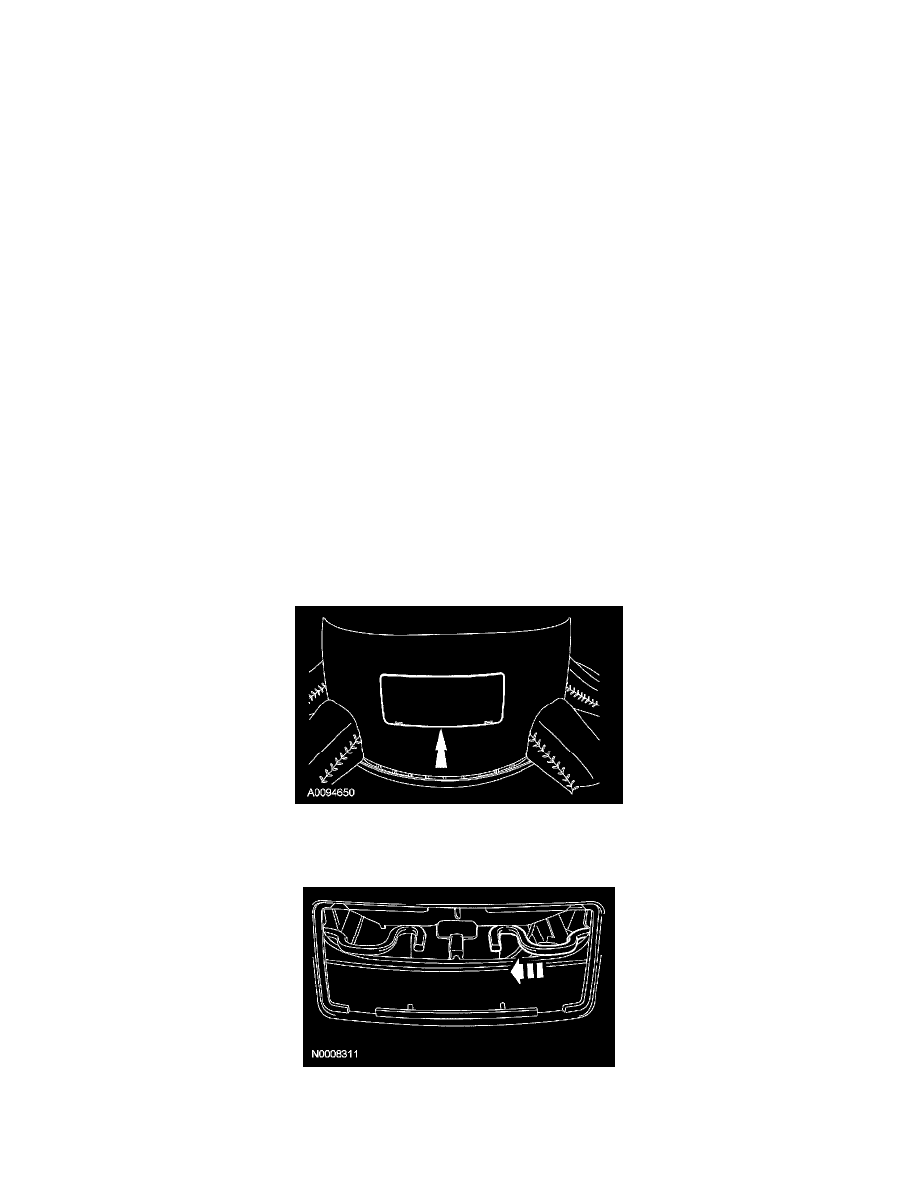
7. NOTE: Follow each step of the procedure precisely to make sure of correct driver air bag module removal and installation
Remove the steering wheel access cover.
8. Release one side of the driver air bag module wire clip.
-
While actuating the horn at the lower part of the air bag cover, use a suitable tool (needle nose pliers, etc.) to release the wire clip until it
touches the center post.