
Five Hundred AWD V6-3.0L VIN 1 (2005)
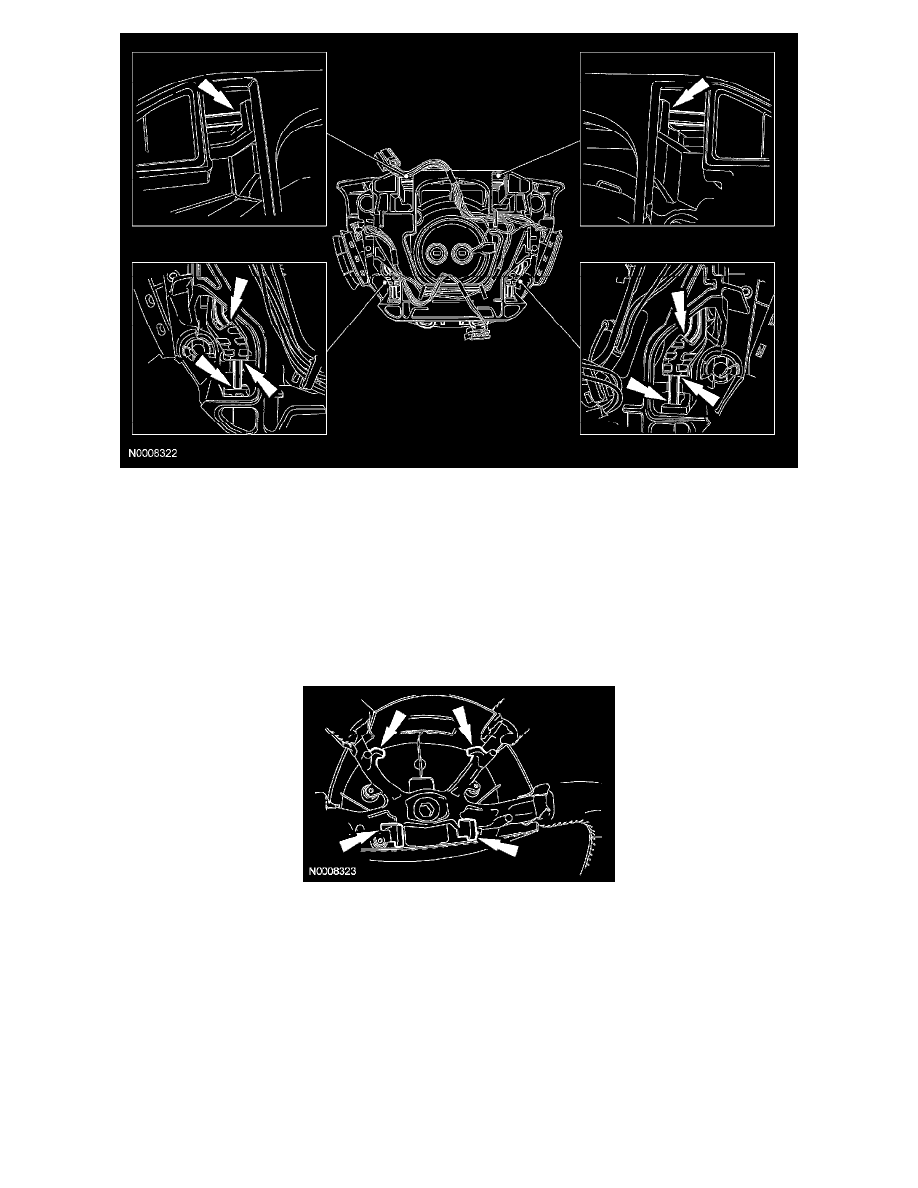
27. Make sure the driver air bag module wire clip is fully seated on all of the tabs and guides.
28. Connect the horn and accessories electrical connectors.
29. CAUTION:
-
The clockspring electrical connectors are unique and cannot be reversed when connected to the driver air bag module. Match the
electrical connector key to the keyway in the driver air bag module. Do not force the electrical connectors into the driver air bag
module.
-
Make sure the driver air bag module wiring is routed clear of the driver air bag mounting hooks on the steering wheel so that the
wiring is not pinched during driver air bag module installation.
Connect the driver air bag module electrical connectors as noted in removal.
30. NOTE:
-
Make sure that all 4 retaining points of the driver air bag module wire clip are fully engaged and seated correctly to the steering wheel.
-
Audible clicks will be heard when the locking tabs are fully engaged.
Attach the driver air bag module to the steering wheel
-
Align the driver air bag module to the 4 hooks on the steering wheel and press in until the driver air bag module wire clip is fully engaged
to the steering wheel.
-
Check the driver air bag module and horn switch cover for clearance and correct movement.
31. Install the steering wheel access cover.
32. WARNING: The restraint system diagnostic tool is for restraint system service only. Remove from vehicle prior to road use. Failure to
remove could result in injury and possible violation of vehicle safety standards.