
Five Hundred AWD V6-3.0L VIN 1 (2005)
Transmission Cooler: Component Tests and General Diagnostics
Fluid Level Check
Fluid Level Check (CVT Vehicles Equipped With a Fluid Level Indicator Without Crosshatch Marks)
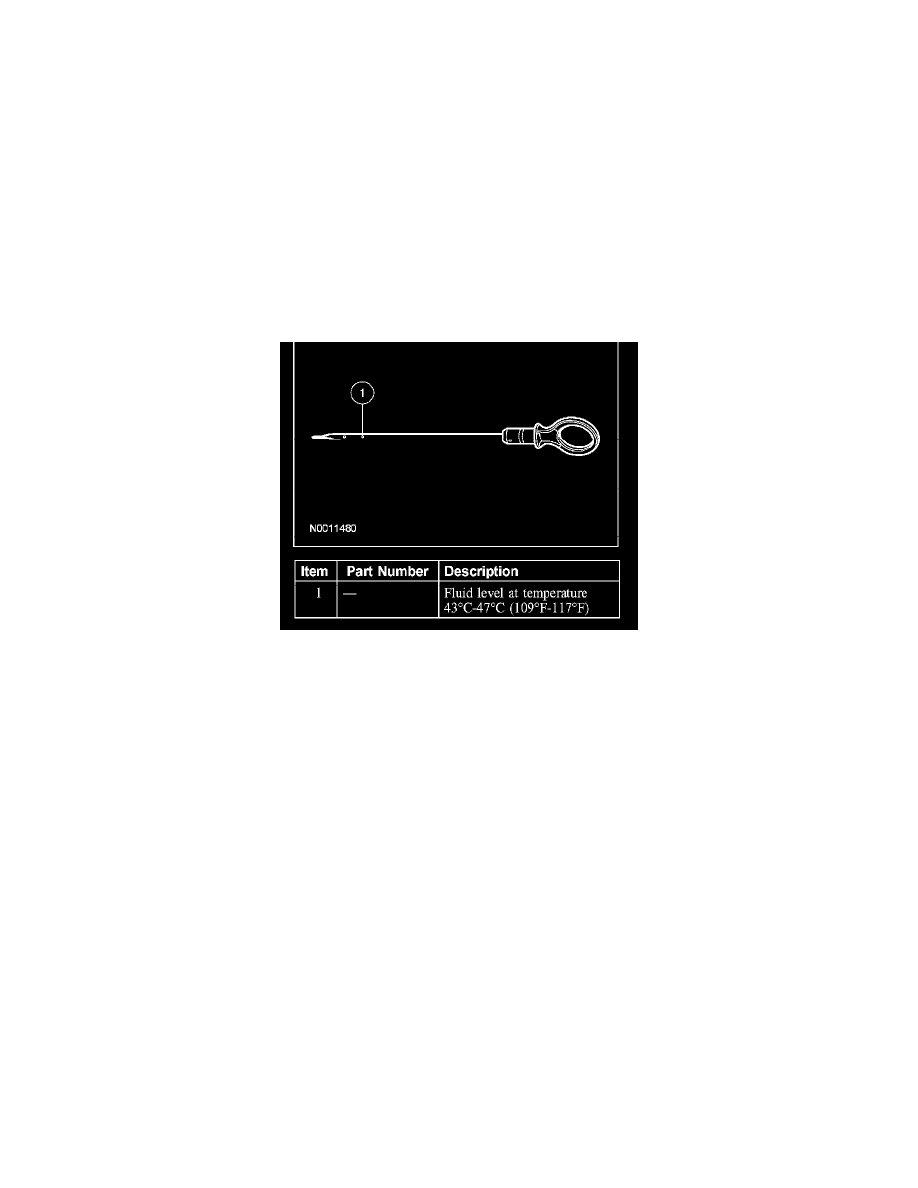
NOTE: In order to get an accurate fluid level reading, the vehicle should be on a level surface and idling between (680-780 rpm) for 5 minutes and
the fluid temperature should be at least 43°C - 47°C (109°F - 117°F) using the WDS.
Under normal circumstances the fluid level should be checked during normal maintenance. If the transaxle starts to slip or shows signs of fluid
leaking, the fluid level should be checked.
1. With the transaxle in PARK, the vehicle on a level surface, the engine at idle (680 - 780 rpm), foot pressed on the brake, move the selector lever
through each gear and allow engagement of each gear. Place the selector lever back in the PARK position.
2. Wipe the fluid level indicator cap and remove the fluid level indicator.
3. Wipe the fluid level indicator with a clean cloth.
4. Install the fluid level indicator back into the fluid indicator tube until it is fully seated, then remove the indicator. The fluid level should be at the
upper most mark on the indicator.
CVT Fluid Level Indicator Without Crosshatch Marks
Fluid Level Check (CVT Vehicles Equipped With a Fluid Level Indicator With Crosshatch Marks)
NOTE: In order to get an accurate fluid level reading, the vehicle should be on a level surface and idling between (680 - 780 rpm) for 5 minutes and
the fluid temperature should be at least 88°C - 92°C (190°F - 198°F) using the WDS.
Under normal circumstances the fluid level should be checked during normal maintenance. If the transaxle starts to slip, shifts slowly or shows signs of
fluid leaking, the fluid level should be checked.
1. With the transaxle in PARK, the vehicle on a level surface, the engine at idle (680 - 780 rpm), foot pressed on the brake, move the selector lever
through each gear and allow engagement of each gear. Place the selector lever back in the PARK position.
2. Wipe the fluid level indicator cap and remove the fluid level indicator.
3. Wipe the fluid level indicator with a clean cloth.
4. Install the fluid level indicator back in the fluid indicator tube until it is fully seated, then remove the indicator. The fluid level should be within the
crosshatch marks on the indicator.