
Five Hundred AWD V6-3.0L VIN 1 (2005)
3. Disconnect the 2 rear window defrost electrical connectors.
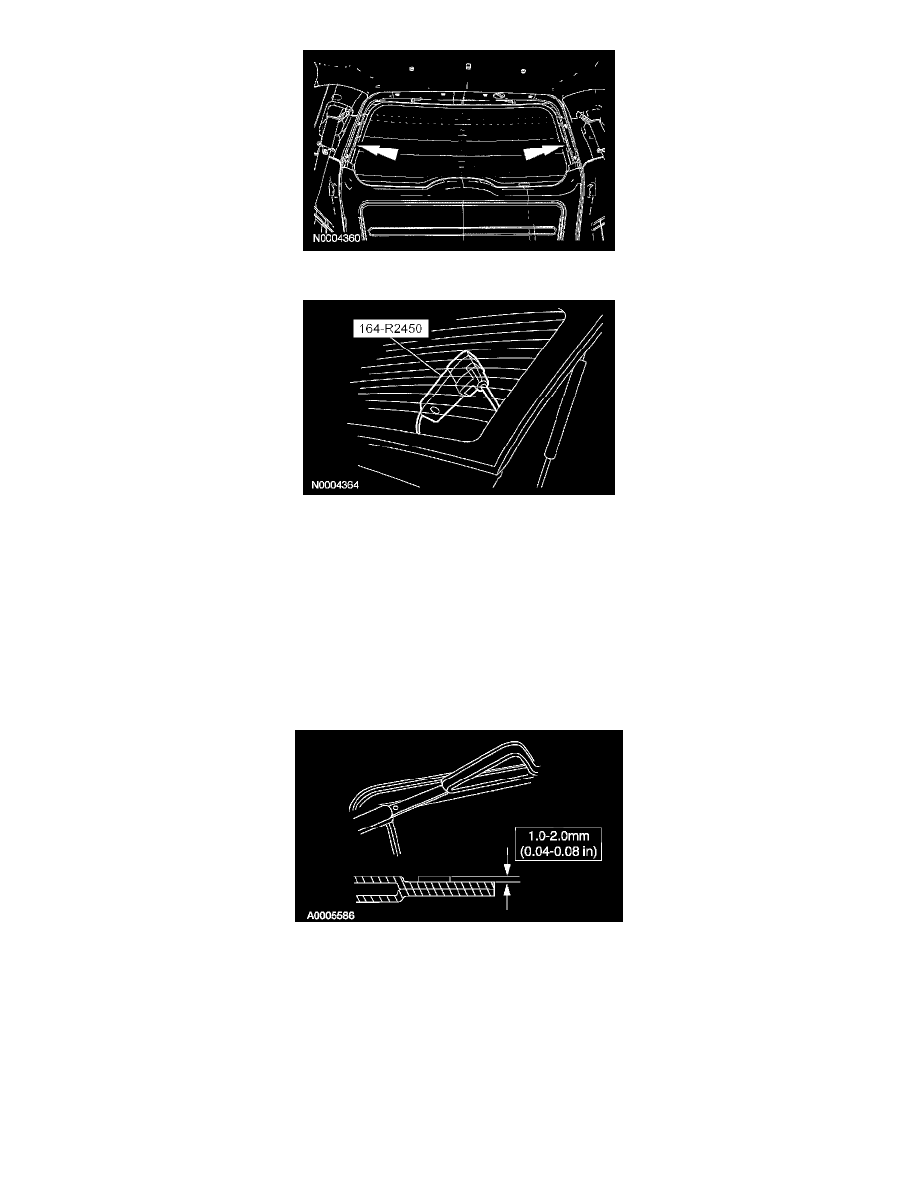
4. NOTE: Lubricate the existing urethane adhesive with water to aid the special tool while cutting.
Using the special tool, cut the adhesive away from the liftgate window glass and remove the liftgate window glass.
5. Using a soft brush or vacuum, remove any dirt or foreign material from the pinch weld.
Installation
CAUTION: When installing urethane installed glass parts, the vehicle must not be driven until the urethane adhesive has cured. At
temperatures above 21°C (70°F) and relative humidities above 50%, adequate cure time is typically 24 hours. (Refer to Essex drive away chart
for the cure times, as temperatures and humidity will cause cure times to vary.) Inadequate or incorrect curing can adversely affect the bonding
of the liftgate window glass.
1. NOTE: Avoid scratching the pinch weld.
Trim the remaining urethane adhesive to specification. The urethane adhesive must be smooth and free of cuts and contamination after trimming.
Avoid touching the urethane adhesive after preparation.
2. Using a clean applicator, apply the Urethane Metal Primer Essex U-413 meeting Ford specification WSB-M2G234-C to any exposed metal on the
pinch weld. Allow 6 to 10 minutes to dry.
3. If reinstalling the original liftgate window glass, remove most of the original urethane adhesive, leaving 1-2 mm on the glass.
4. Clean the liftgate window glass with a non-alcohol based window cleaner.
5. CAUTION: Wipe off the urethane glass prep immediately after each application because it flash dries.