
Flex AWD V6-3.5L (2009)
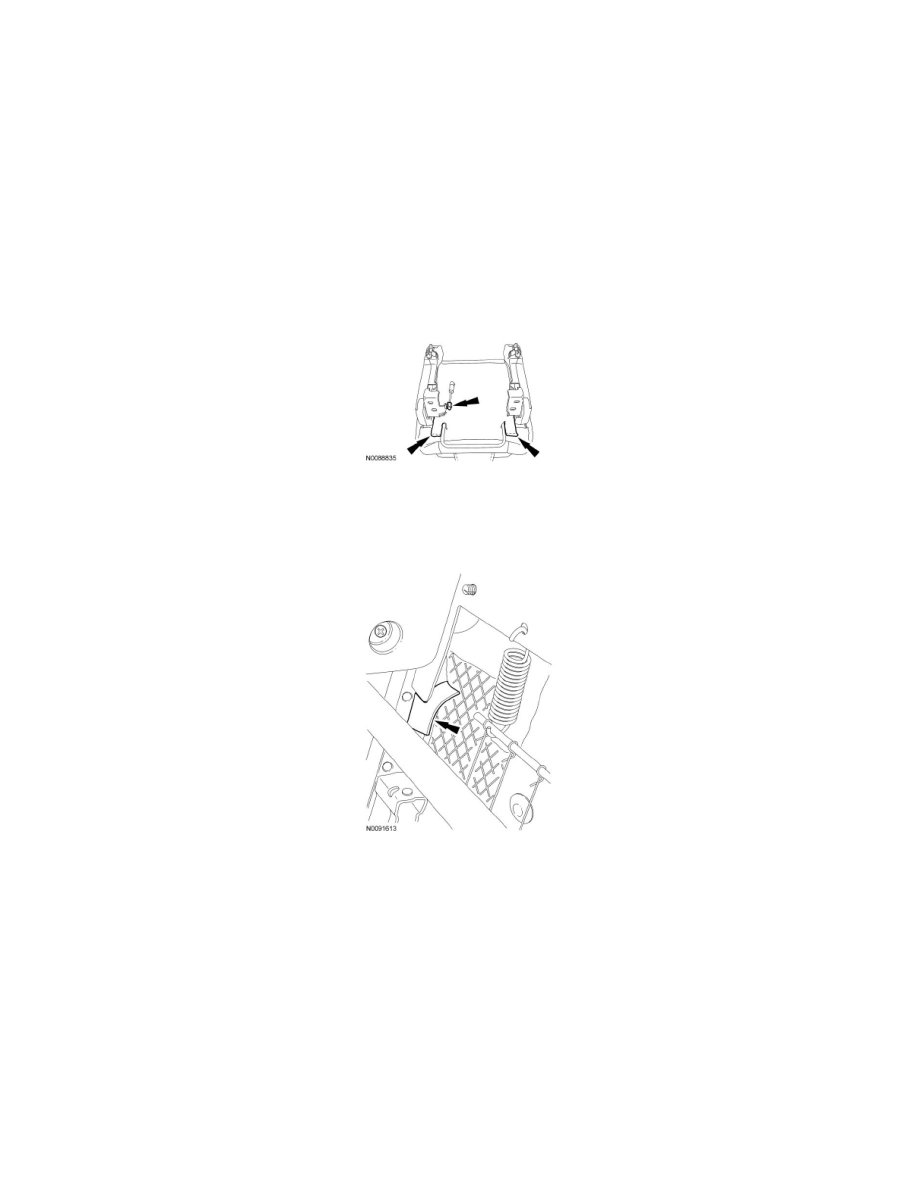
11. NOTE: Note cable routing for installation.
Remove the 2 cables from the recliner.
12. Remove the 4 bolts and the recliner.
-
To install, tighten to 50 Nm (37 lb-ft).
Power-fold seat
NOTE: With the seat out of the vehicle and the backrest in the fold-flat position, the inboard latch foot must be in the latched position to pivot the
backrest back to the upright position.
13. Remove the seat backrest. For additional information, refer to Seat Backrest - Second Row, 40 Percent See: Second Row Seating/Seat Backrest -
Second Row, 40 Percent.
14. Release the clip, separate the strut and the cushion trim cover hook-and-loop strips.
15. Release the outer and inner J-clips at the rear of the cushion trim cover.
16. From under the seat, release the cushion trim cover retainer from the outboard and inboard cushion frame.
-
Pull the inboard and outboard cushion trim cover retainers out from between the seat track and the cushion frame.
17. Remove the screw and recliner handle.
18. Remove the screw, pull and remove the recliner outer cover.
-
On assembly, make sure the release strap is through the cover opening.
19. Remove the pin-type retainer and screw, release the locator tabs and remove the recliner inner cover.
20. NOTE: Note cable routing and orientation for installation.
With the recliner in the released (folded) position, detach the 3 cables.
-
Disconnect the power-fold seat motor cable from the recliner.
-
Rotate the cable end guide to release.
-
Disconnect the cable jacket from the cable clamp.
-
Detach the inboard and outboard latch cable jackets from the retainers.