
Flex FWD V6-3.5L (2010)
5. Remove the 2 front floor console rear lower bolts.
-
To install, tighten to 6 Nm (53 lb-in).
6. Position the front seats rearward.
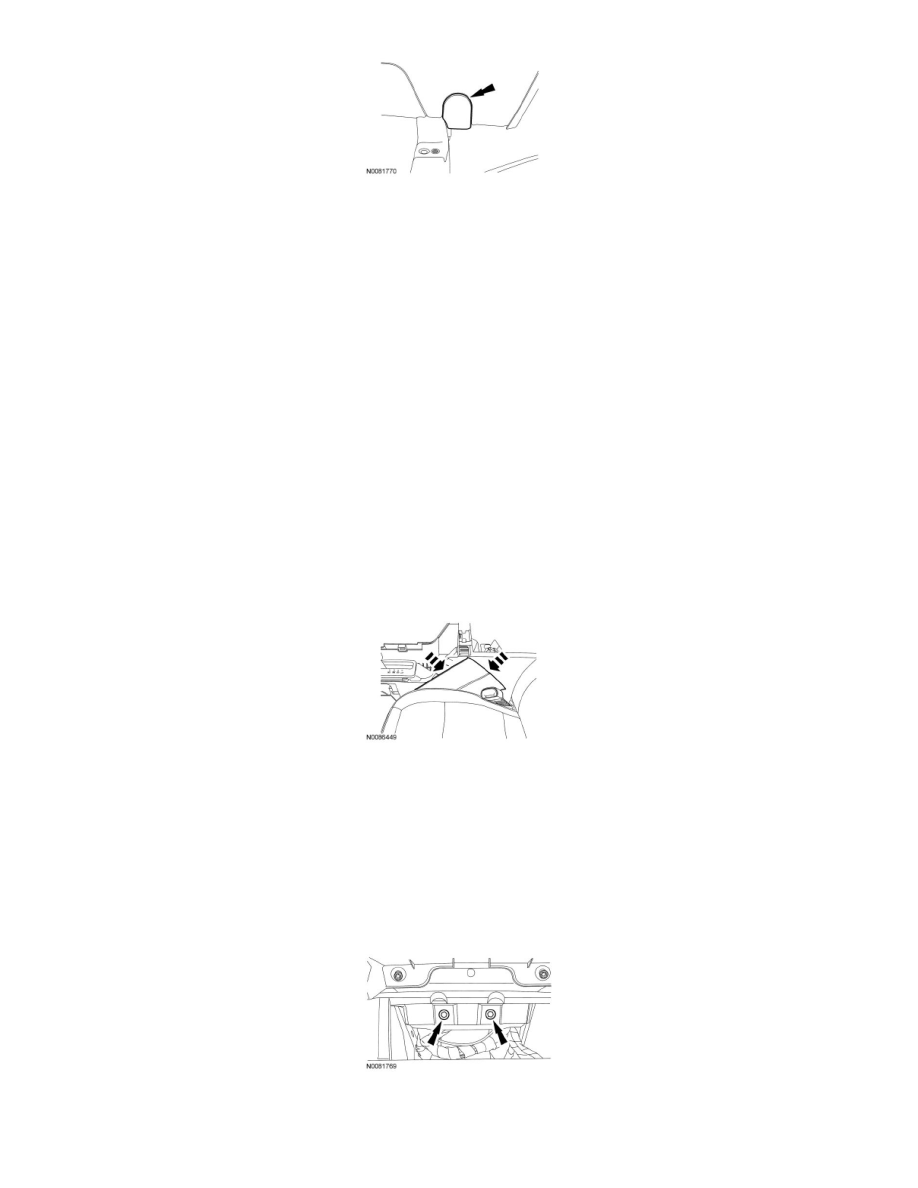
7. Remove the selector lever trim ring.
8. Remove the floor console finish panel in the following sequence.
1. Lift upward and open the storage compartment lid.
2. Lift the floor console finish panel upward to release the retaining clips.
3. If equipped, disconnect the electrical connector.
9. Pull the middle and rear of the LH and RH floor console trim panels outward to release the retaining clips.
10. Pull the front of the LH and RH floor console trim panels downward to detach the trim panel from the pin-type retainers.
11. NOTICE: Damage to the floor console may occur if cardboard is not used to remove the floor console trim panels.
NOTE: LH floor console trim panel shown, RH floor console trim panel similar.
Position a piece of cardboard between the LH and RH floor console trim panels and the floor console.
12. Remove the LH floor console trim panel and cardboard simultaneously.
-
If equipped, disconnect the electrical connectors.
13. Remove the RH floor console trim panel and cardboard simultaneously.
-
If equipped, disconnect the electrical connectors.
14. Remove the 4 front floor console lower bolts.
-
To install, tighten to 6 Nm (53 lb-in).
15. Remove the 2 floor console upper bolts.
16. Disconnect the floor console bulkhead connector.