Flex FWD V6-3.5L (2010)

Removal and Installation
All engines
1. Drain the cooling system. For additional information, refer to Cooling System Draining, Filling and Bleeding See: Service and Repair/Cooling
System Draining, Filling and Bleeding.
2. Remove the Air Cleaner (ACL) outlet pipe. For additional information, refer to Fuel Delivery and Air Induction.
3.5L engine
3. Disconnect the 5 coolant hoses from the thermostat housing and position them aside.
4. Remove the 3 thermostat housing bolts.
-
To install, tighten to 10 Nm (89 lb-in).
5. NOTE: Do not pull the other end of the coolant tube out of the engine block when separating the thermostat housing.
Separate the thermostat housing from the coolant tube and remove the thermostat housing.
-
Remove and discard the O-ring seals.
3.5L Gasoline Turbocharged Direct Injection (GTDI) engine
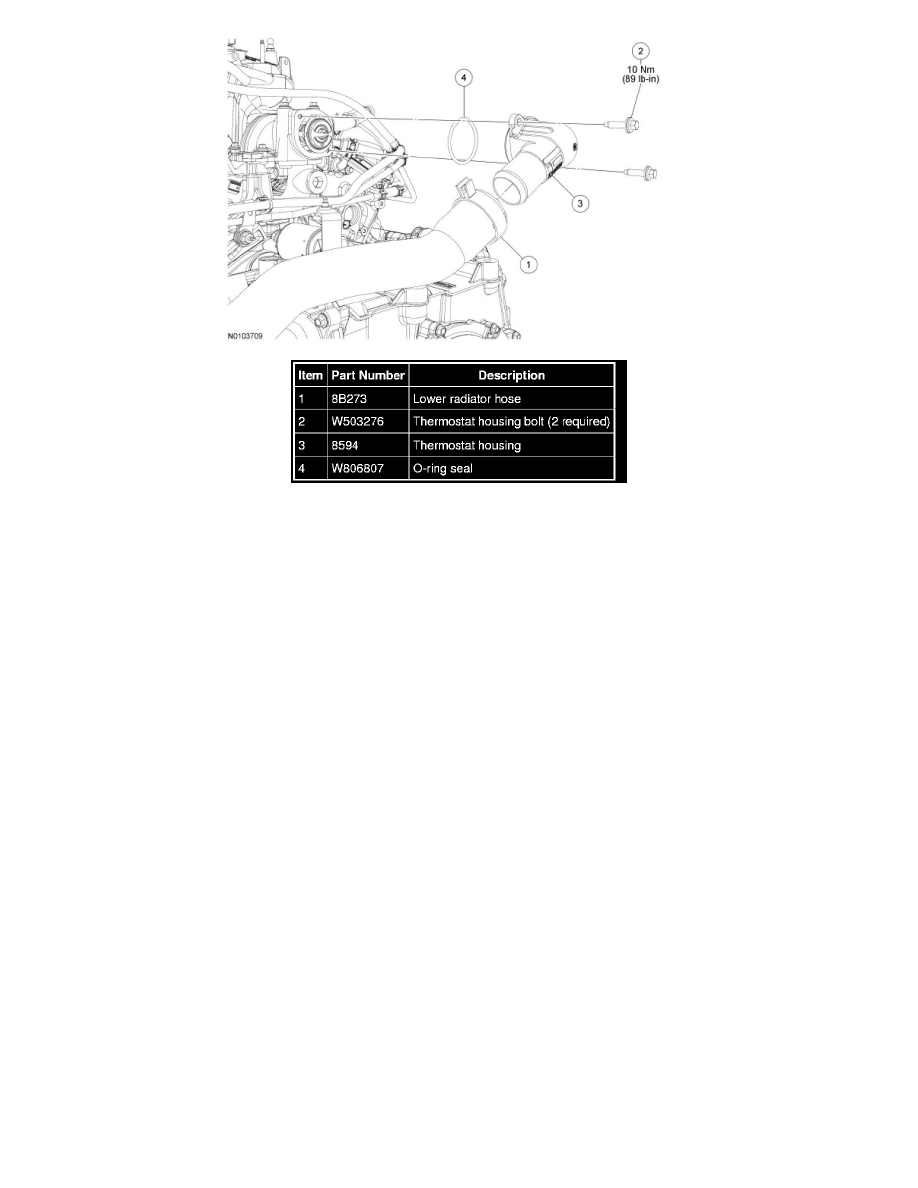
6. Disconnect the lower radiator hose from the thermostat housing.
7. Remove the 2 bolts and the thermostat housing.
-
Clean the bolts and apply Thread Sealant with PTFE before installing the bolts.
-
To install, tighten to 10 Nm (89 lb-in).
8. Remove the O-ring seal.
-
Clean and inspect the O-ring seal. Install a new seal if necessary.
All engines
9. To install, reverse the removal procedure.
-
NOTICE: Genuine Mazda(R) Extended Life Coolant and Motorcraft(R) Specialty Green Engine Coolant are very sensitive to light.
