Flex FWD V6-3.5L (2010)

Removal
NOTICE: During engine repair procedures, cleanliness is extremely important. Any foreign material, including any material created while
cleaning gasket surfaces that enters the oil passages, coolant passages or the oil pan, may cause engine failure.
1. With the vehicle in NEUTRAL, position it on a hoist. For additional information, refer to Vehicle Jacking and Lifting.
2. Recover the A/C system. For additional information, refer to Heating and Air Conditioning.
3. Remove the Air Cleaner (ACL) outlet pipe. For additional information, refer to Fuel Delivery and Air Induction.
4. Remove the front wheels and tires. For additional information, refer to Wheels and Tires.
5. Remove the accessory drive belt, tensioner and the power steering belt. For additional information, refer to Drive Belts, Mounts, Brackets and
Accessories.
6. Remove the degas bottle. For additional information, refer to Cooling System &/or Engine Block Heater.
7. Remove the Evaporative Emission (EVAP) canister purge valve. For additional information, refer to Evaporative Emissions System.
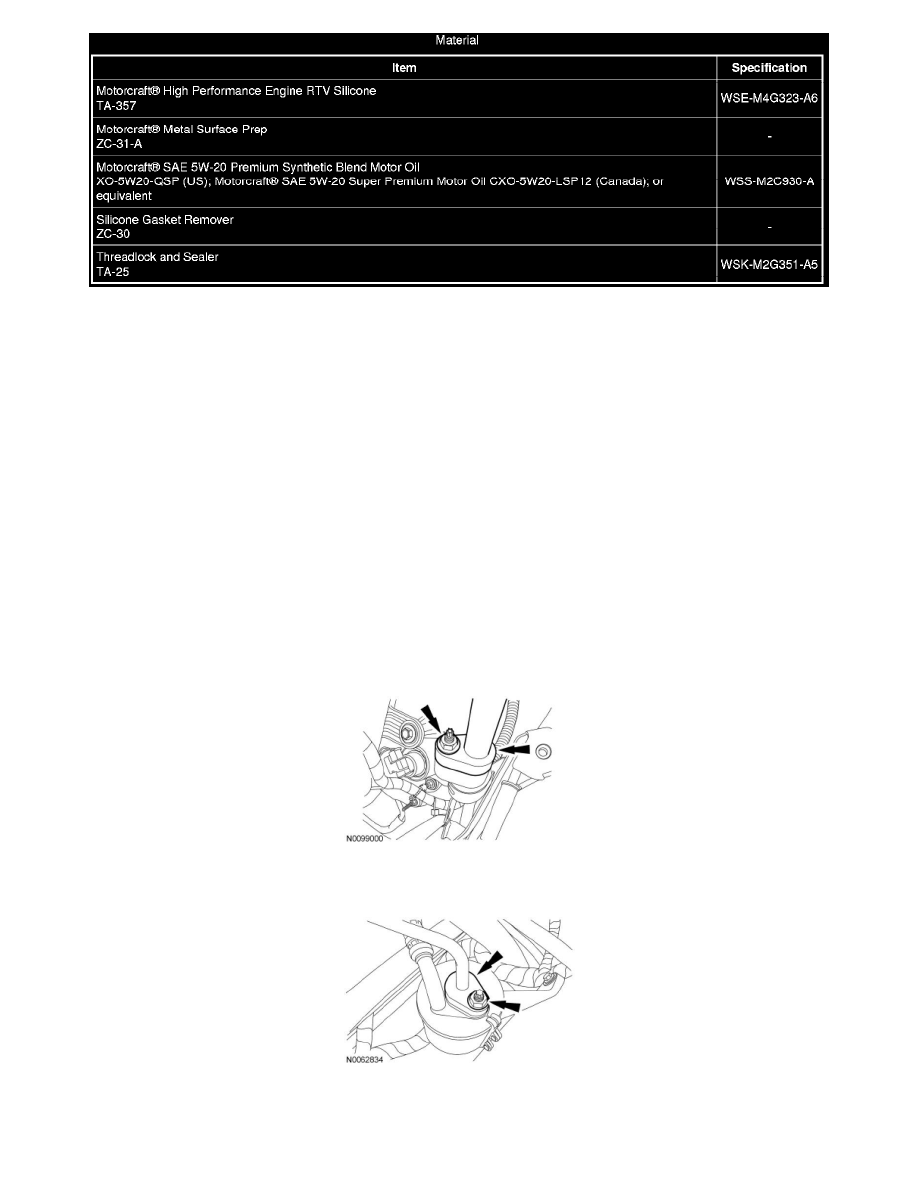
8. Remove the nut and disconnect the A/C tube.
-
Discard the O-ring seal and gasket seal.
9. Remove the nut and the A/C tube.
-
Discard the O-ring seal and gasket seal.
10. Remove the nut and disconnect the rear A/C tube.
-
Discard the O-ring seal and gasket seal.
