
Flex FWD V6-3.5L (2010)
Removal and Installation
All vehicles
1. Recover the refrigerant.
2. Remove the 4 cross-vehicle beam nuts and remove the beam.
-
To install, tighten to 30 Nm (22 lb-ft).
3.5L vehicles
3. Remove the air cleaner outlet tube. For additional information, refer to Fuel Delivery and Air Induction.
All vehicles
4. Remove the auxiliary evaporator outlet and inlet line fitting nuts and position the auxiliary lines aside.
-
Discard the O-ring seals and gasket seals.
-
To install, tighten to 15 Nm (133 lb-in).
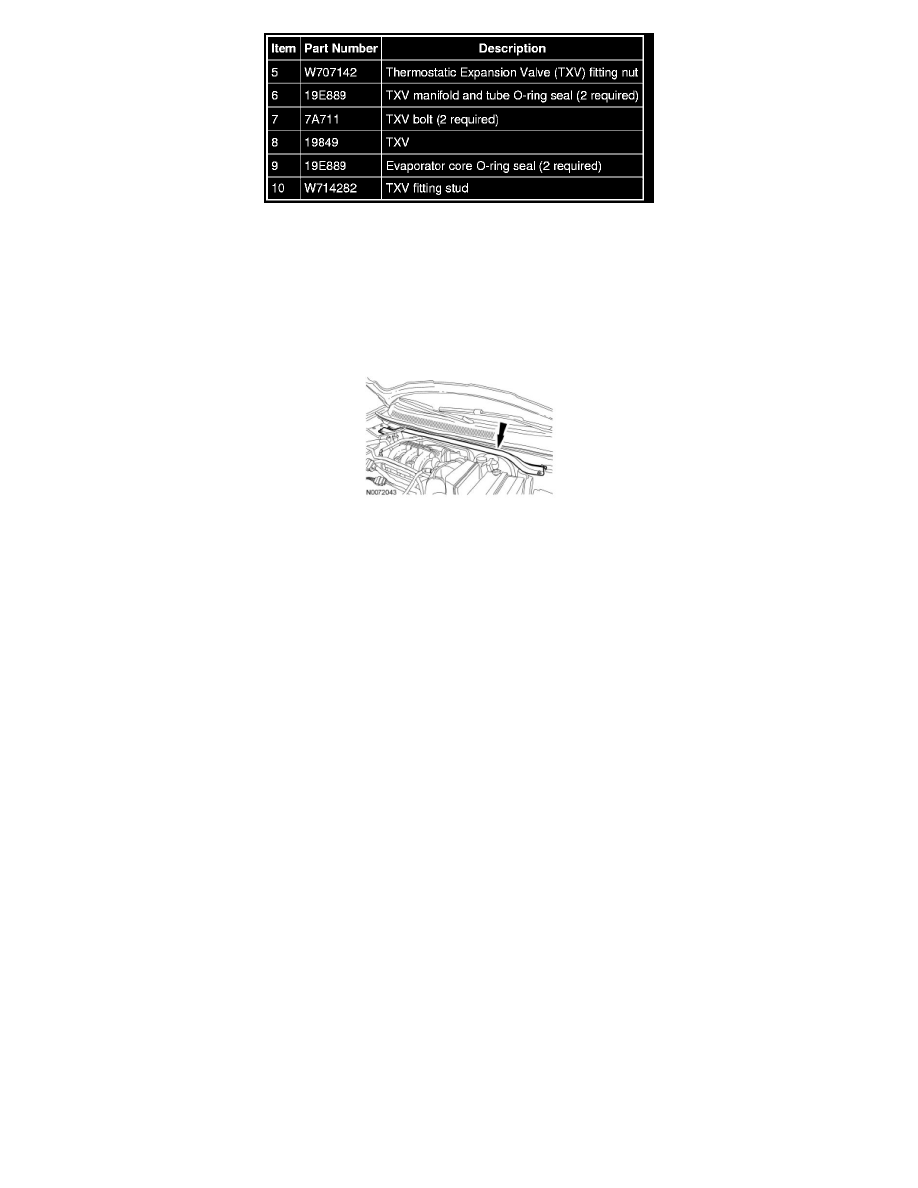
5. Remove the Thermostatic Expansion Valve (TXV) fitting nut.
-
Discard the O-ring seals.
-
To install, tighten to 8 Nm (71 lb-in).
6. Remove the 2 TXV bolts.
-
To install, tighten to 8 Nm (71 lb-in).
7. Remove the TXV.
-
Discard the O-ring seals.
8. Remove the TXV fitting stud.
-
To install, tighten to 8 Nm (71 lb-in).
9. To install, reverse the removal procedure.
-
Install new O-ring seals and gasket seals.
-
Add the correct amount of clean PAG oil.
10. Evacuate, leak test and charge the refrigerant system.