
Focus L4-2.0L (2009)
-
To install, make sure to align the trim panel retaining clips to the retaining clip holes in the body.
B-Pillar Trim Panel - 4-Door
B-Pillar Trim Panel - 4-Door
Removal and Installation
Lower B-pillar trim panel
1. Remove the front and rear door scuff plate trim panels. For additional information, refer to Scuff Plate Trim Panel See: Scuff Plate/Service and
Repair.
2. Position aside the front and rear door weatherstrips.
3. Position the front seat forward.
4. Remove the lower B-pillar trim panel.
-
Pull the lower B-pillar trim panel toward the center of the vehicle to release the lower B-pillar trim panel retaining clips.
Upper B-pillar trim panel
5. Lower the safety belt height adjuster to the lowest position.
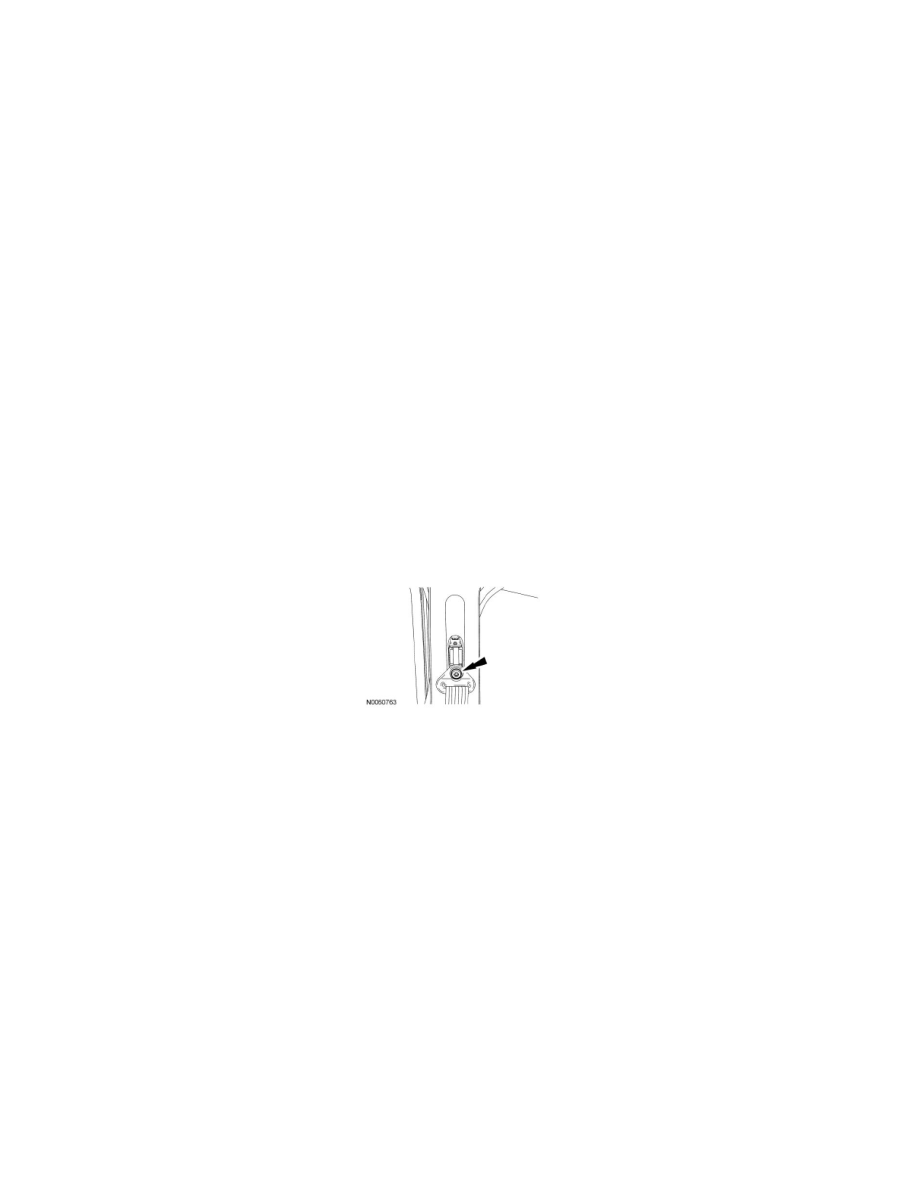
6. NOTE: Inspect the safety belt D-ring bolt cover for damage. If the safety belt D-ring bolt cover does not remain in place, install a new cover.
Remove the safety belt D-ring bolt cover.
7. Remove the safety belt D-ring bolt.
-
To install, tighten to 40 Nm (30 lb-ft).
8. Remove the upper B-pillar trim panel bolt cover.
9. Remove the upper B-pillar trim panel bolt.
10. Remove the upper B-pillar trim panel.
-
Pull the upper B-pillar trim panel toward the center of the vehicle to release the upper B-pillar trim panel retaining clips.
All vehicles
11. NOTICE: To avoid damage to the B-pillar trim panel, remove any retaining clips from the body and attach them to the B-pillar trim
panel before installing.
To install, reverse the removal procedure.
-
To install, make sure to align the trim panel retaining clips to the retaining clip holes in the body.
C-Pillar Trim Panel
C-Pillar Trim Panel
Removal and Installation
1. Remove the C-pillar trim panel bolt cover.