
Focus L4-2.0L (2009)
Removal and Installation
WARNING: Never probe the electrical connectors on air bag, safety canopy or side air curtain modules. Failure to follow this instruction may
result in the accidental deployment of these modules, which increases the risk of serious personal injury or death.
WARNING: If the seat side air bag cover has been damaged or separated from its mounting, or if the air bag material has been exposed, install
a new seat side air bag module. Never try to repair the seat side air bag module. Failure to follow these instructions may result in the seat side
air bag deploying incorrectly, which increases the risk of serious personal injury or death in a crash.
WARNING: Front seat backrest trim covers installed on seats equipped with seat side air bags cannot be repaired. A new trim cover must be
installed. Cleaning is permissible. Failure to follow these instructions may result in the seat side air bag module deploying incorrectly and
increase the risk of serious personal injury or death in a crash.
NOTE: If a side air bag deployment took place, a new seat backrest pad, trim cover, side air bag module and nuts must be installed. A new seat backrest
frame should be installed if necessary.
NOTE: For component identification and locations, refer to Seat - Exploded View, Front See: Service and Repair/Front Seats/Seat - Exploded View,
Front.
NOTE: LH shown, RH similar.
1. Remove the seat. For additional information, refer to Seat - Front See: Service and Repair/Front Seats/Seat - Front.
2. Remove the 2 head restraint guide sleeves. For additional information, refer to Head Restraint Guide Sleeve See: Head Rest/Service and Repair.
3. Release the 2 backrest cover elastic straps from the rear of the cushion frame.
-
Release the side shield rear retainer to access the outboard backrest cover strap.
4. NOTICE: Use caution when pulling the J-clip through the seat bight line to avoid damaging the backrest wiring.
Release the lower J-clip and partially invert the backrest cover up the backrest to expose the 2 tensioning rods and hog rings.
-
For installation, make sure the wiring is routed correctly before fastening the J-clip.
-
Route the side air bag wire harness to the outboard side of the backrest.
-
If equipped, route the heater mat wire harness out the inboard side of the driver seat backrest or the outboard side of the passenger seat
backrest.
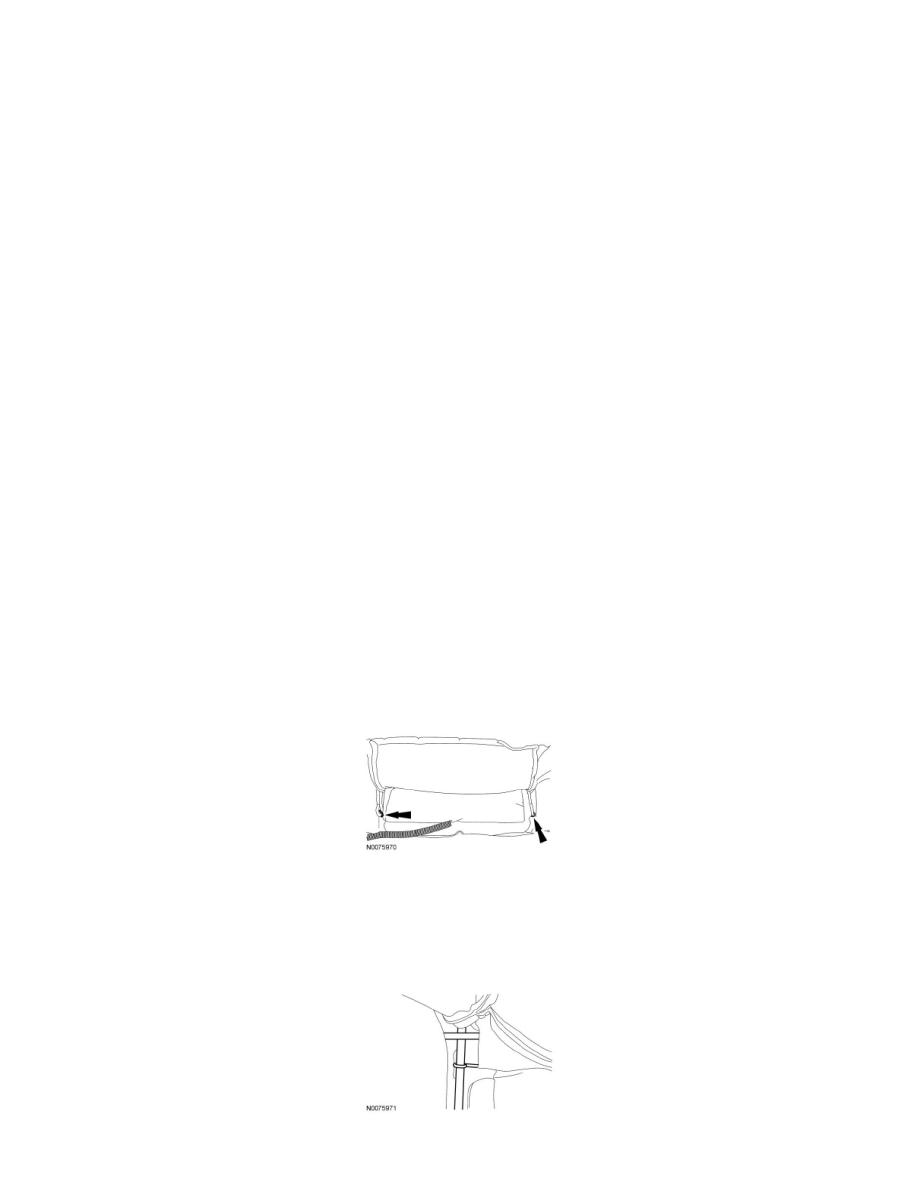
5. Remove the 2 hog rings attaching the tensioning rods to the lower end of the foam pad.
6. NOTE: The tensioning rods are removed from the backrest trim cover for clarity.
Pull out and remove the 2 tensioning rods from the backrest cover.
-
For installation, make sure the upper ends of the tensioning rods are correctly positioned behind the listing wire in the foam pad for correct
fitting of the backrest cover.
7. Invert the backrest trim cover to the row of hog rings and side air bag module deployment chute.