
Focus L4-2.0L SOHC VIN P (2000)
For vehicles equipped with 2.0L SPI engines, go to Step 25. Do not perform the under-vehicle inspection.
24.
Perform under-vehicle inspection.
a)
Inspect the harness for any signs of damage.
b)
Make sure the harness does not contact any sharp edges, components, or surfaces that may damage the harness. Reposition the harness as
necessary.
^
If the harness assembly shows any signs of damage as listed in Battery Cable Harness Inspection Table, the cable must be replaced.
Proceed to the Battery Cable Harness Removal procedure.
^
If the harness assembly does not show any signs of damage, continue with Step 25.
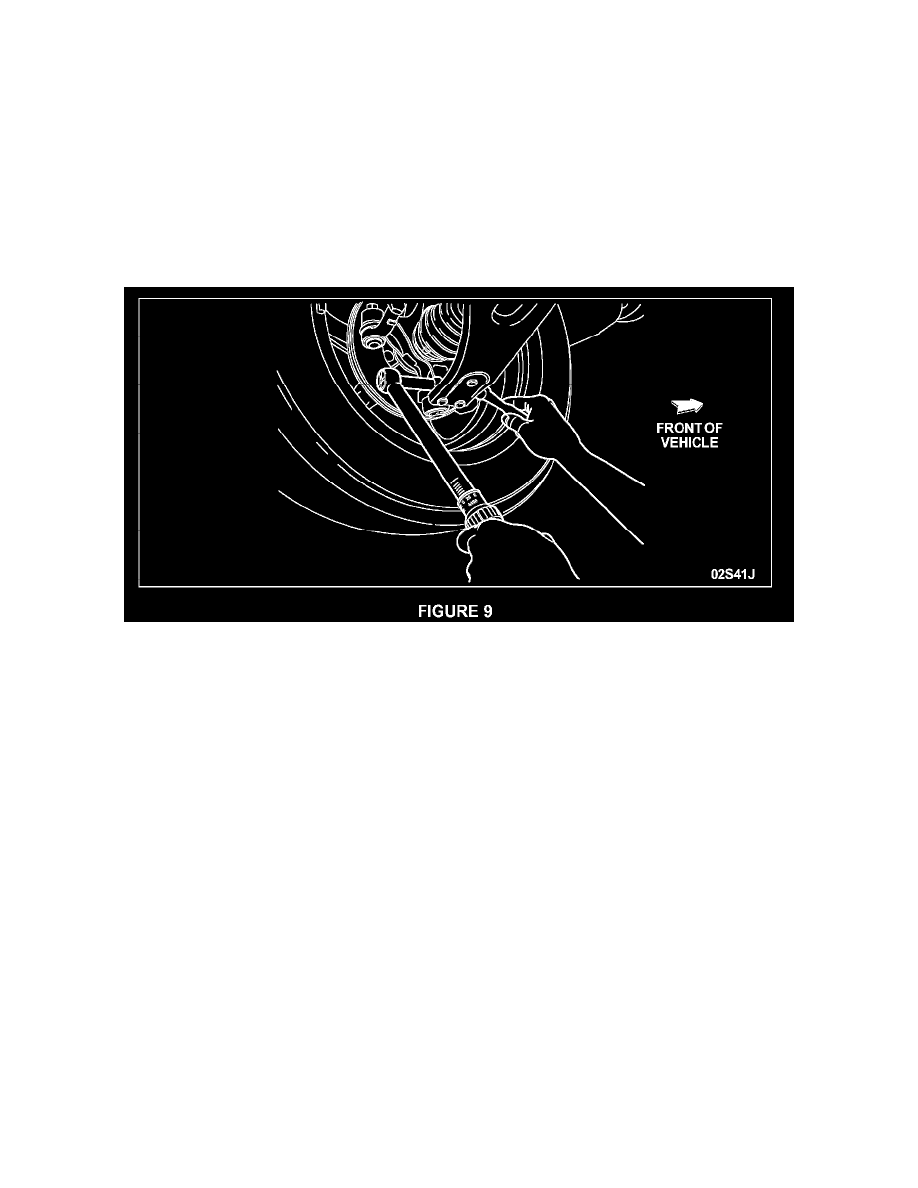
25.
Verify the torque on both front lower arm ball joint pinch bolts as follows. See Figure 9.
a)
Using a suitable wrench with the T-50 Torx-head bit, hold the pinch bolt to keep it from turning.
b)
Tighten the attaching nut to 50 Nm (37 lb-ft).
c)
Repeat Steps A and B on the opposite side.
d)
If the vehicle is equipped with a 2.0L SPI engine, no further service action is required. Lower the vehicle, close the hood and release the
vehicle.
e)
If the vehicle is equipped with a 2.0L ZETEC engine, continue with Step 26.
26.
Tighten the following fasteners to their specified torque:
^
Generator positive cable nut: 8 Nm (71 lb-in).
^
Starter battery positive cable nut: 12 Nm (106 lb-in).
^
Starter solenoid nut: 6 Nm (53 lb-in).
27.
Lower the vehicle.
28.
Install the air cleaner assembly as follows:
a)
Position the air cleaner assembly into the vehicle.
b)
Tighten the air cleaner tube at the throttle body.
c)
Connect the PCV tube.