
Focus L4-2.0L SOHC VIN P (2000)
NOTE:
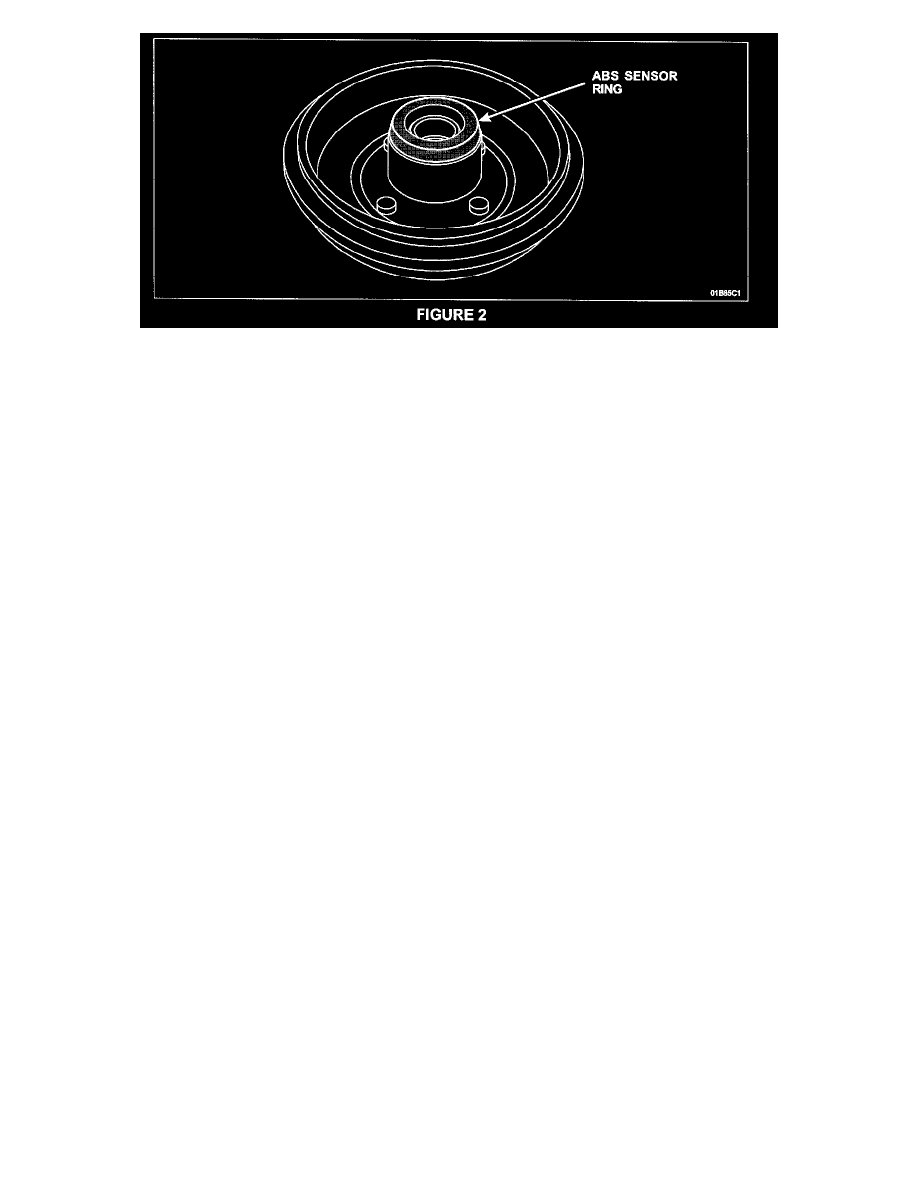
All figures in this document, except Figures 1 and 2, show rear drum brake configuration. Rear disc brake configuration is similar.
1.
Raise the vehicle and remove both rear wheels.
^
For vehicles with rear drum brakes: Proceed to Step 6.
^
For vehicles with rear disc brakes: Continue with Step 2.
2.
Remove the bolt securing the parking brake cable to the rear knuckle assembly, then disconnect the cable from the caliper. See Figure 1.
3.
Remove the caliper bolts and position the caliper out of the way.
4.
Remove the brake pads from the caliper bracket, then remove the caliper bracket.
5.
Remove the brake rotor from the wheel hub.
6.
Remove and discard the grease cap from the wheel hub assembly.
7.
Remove and discard the wheel bearing retaining nut.
8.
NOTE: For vehicles with rear drum brakes, tension in the parking brake system may need to be released to remove the wheel hub assembly.
Remove the wheel hub assembly from the vehicle.
9.
Repeat all steps applicable to the vehicle being repaired on the opposite side of the vehicle, then proceed to Hub Cleaning/Inspection And Wheel
Bearing Replacement-All Vehicles, in this Attachment III.
HUB CLEANING/INSPECTION AND WHEEL BEARING REPLACEMENT - ALL VEHICLES
NOTE:
Perform this procedure on both removed hubs.
1.
If equipped, remove and discard the ABS sensor ring from the wheel hub assembly. See Figure 2.
2.
Remove the circlip that retains the wheel bearing in the hub assembly. Retain the circlip for reinstallation.
3.
Using a suitable drift and press, press the wheel bearing out of the hub assembly.
4.
NOTE: If the hub is found to be excessively pitted, even after cleaning, it must be replaced.