| Removal and Installation Special Tool(s) | | Remover/Installer, Cooling Hose Clamp 303-397 (24-003) | | | Disconnect Tool, Spring Lock Coupling 5/8 inch (black) 412-081 (34-003) | Removal Vehicles with air conditioning All vehicles | | -
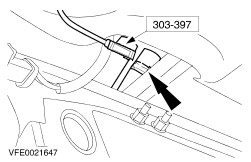
Using the special tool, disconnect the coolant hoses from the heater core. | | | -
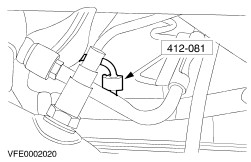
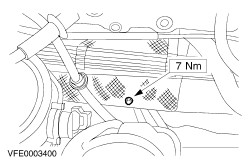
Using the special tool, disconnect the refrigerant lines from the evaporator core (pressure pipe shown from below). - Discard the O-ring seals.
| | | -
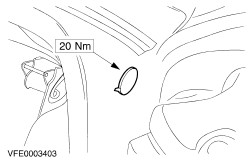
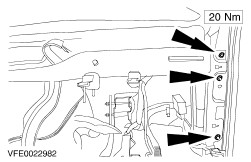
Remove the left-hand and right-hand in-vehicle crossbeam retaining bolts. - Remove the blanking caps.
| | | -
Remove the right-hand air ducts. | | | -
Remove the in-vehicle crossbeam right-hand retaining bolts. - Unclip the wiring harness from the in-vehicle crossbeam.
| | | -
Remove the left-hand air ducts. | | | -
Detach the central junction box (CJB) from the in-vehicle crossbeam. | | | -
Remove the in-vehicle crossbeam left-hand retaining bolts. - Unclip the wiring harness from the in-vehicle crossbeam.
| | | -
Remove the air duct. - Unclip the wiring harness from the in-vehicle crossbeam.
| | | -
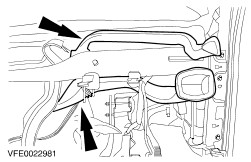
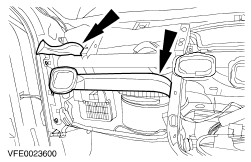
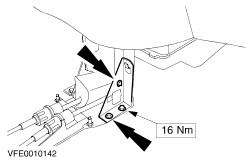
Remove the left-hand and right-hand in-vehicle crossbeam bracket (right-hand side shown). - Push the in-vehicle crossbeam back.
| | | -
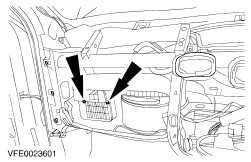
Remove the rear footwell vent air ducts. | | | -
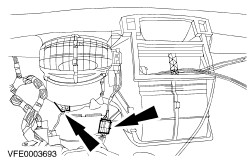
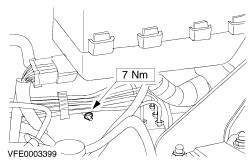
Unclip the wiring harness from the heater core housing. | | | -
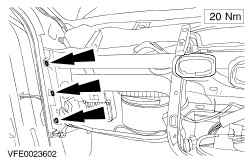
Remove the heater core housing retaining nut passengers side. | | | -
Remove the heater core housing retaining nut drivers side. | | | -
Remove the heater core housing right-hand retaining nut. | | | -
Remove the heater core housing. - Remove the heater core housing left-hand retaining nut.
| Installation All vehicles NOTE:Procedure if there is a concern over poor interior ventilation or misted-up windows. | | -
Remove the rear bumper cover. For additional information, refer to Section 501-19 Bumpers. | | | -
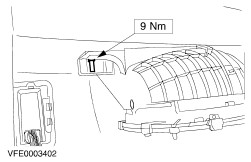
Remove the forced air extraction cover (left-hand side shown). - Press down the release clip on the forced air extraction frame and unclip the frame.
- Push back the inner part of the forced air extraction.
- Release the clip on the forced air extraction cover at the bottom and unclip the cover.
| | | -
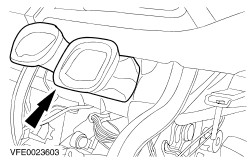
Install the new forced air extraction cover. | | | -
Repeat steps 2 and 3 for the right-hand side of the vehicle. | | | -
NOTE:Install new refrigerant line O-ring seals. NOTE:Coat the refrigerant line O-ring seals in clean refrigerant oil prior to installation. To install, reverse the removal procedure. | |