
Focus ZTS L4-2.0L DOHC VIN 3 (2001)
6. Tighten the clamp bolts.
-
Tighten the bolts in the sequence shown in two stages.
-
Stage 1: Tighten bolts 1 through 2 to 50 Nm.
-
Stage 2: Tighten bolts 1 through 2 to 70 Nm.
7. Remove the stabilizer bar supports.
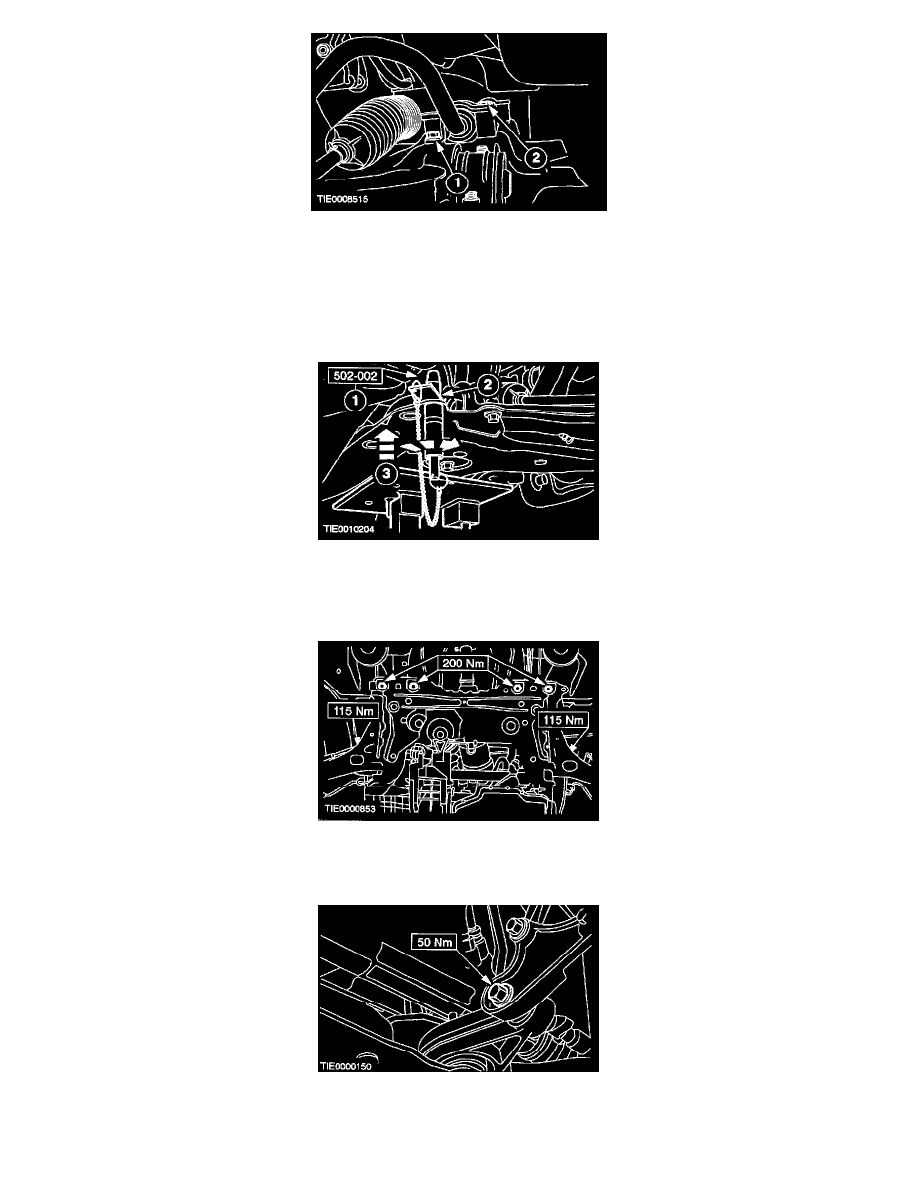
8. CAUTION: Make sure the crossmember ball bearing washers and captives are installed correctly.
Using the special tool, align the crossmember.
1. Insert the guide pins through the crossmember alignment holes.
2. Slide the locking plates into the grooves and tighten the guide pin sleeve.
3. Raise the crossmember, engaging the guide pins into the chassis aligning holes.
9. Install the crossmember bolts.
10. Remove the transmission jack.
11. Remove the subframe alignment pins.
12. Install the support insulator center bolt.
13. CAUTION: Make sure the heat shield is installed to prevent damage to the ball joint.