
Focus ZTS L4-2.0L DOHC VIN 3 (2001)
CAUTION: Make sure the cutting blades are changed where the cutting depth changes to avoid damage to the body and trim panels.
NOTE:
^
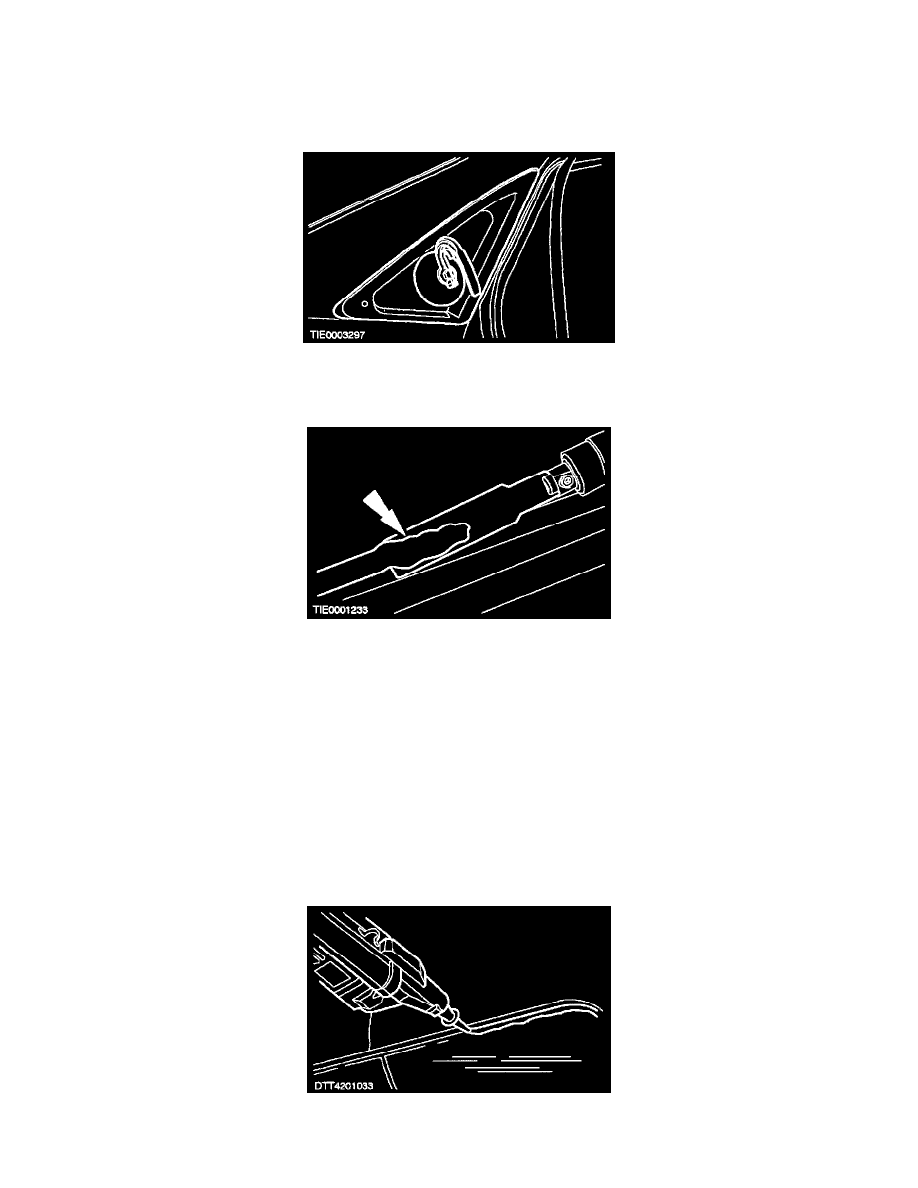
Some resistance may be encountered when cutting through the glass locating pegs in the top and bottom rear corners of the glass.
^
Carefully remove the remaining part of the locating pegs from the window opening flange.
5. With the aid of another technician, use suction cups to remove the rear quarter window glass.
INSTALLATION
1. Remove the excess PU adhesive from the opening flange.
^
Carefully trim the remaining PU adhesive from the rear quarter window opening to leave approximately 1 mm of trimmed PU adhesive
adhered to the opening flange.
CAUTION:
^
During the curing period of the PU adhesive, the door windows must be left open to avoid a build up of pressure when the doors are opened
and closed.
^
Avoid touching the trimmed surface as this will inhibit the bonding of the new adhesive.
2. Check the pinch weld sealing area for damaged sheet metal, rust or foreign material which may have caused, or may cause glass breakage.
3. Using a hot air gun, apply warm air (25°C) to the rear quarter window opening flange and glass bond line to remove all traces of moisture.
CAUTION: To make sure that the PU adhesive cures, it is essential that all bonding surfaces are free of moisture.
4. Prepare the glass, rear quarter window opening flange and trimmed PU adhesive in accordance with the instructions supplied with the adhesive kit.
5. Apply the PU adhesive in a continuous bead of between 11 and 15 mm height to the rear quarter window opening flange along the bond line.