
Focus ZX5 L4-2.0L DOHC VIN 3 (2002)
Refrigerant: Testing and Inspection
Electronic Leak Detection
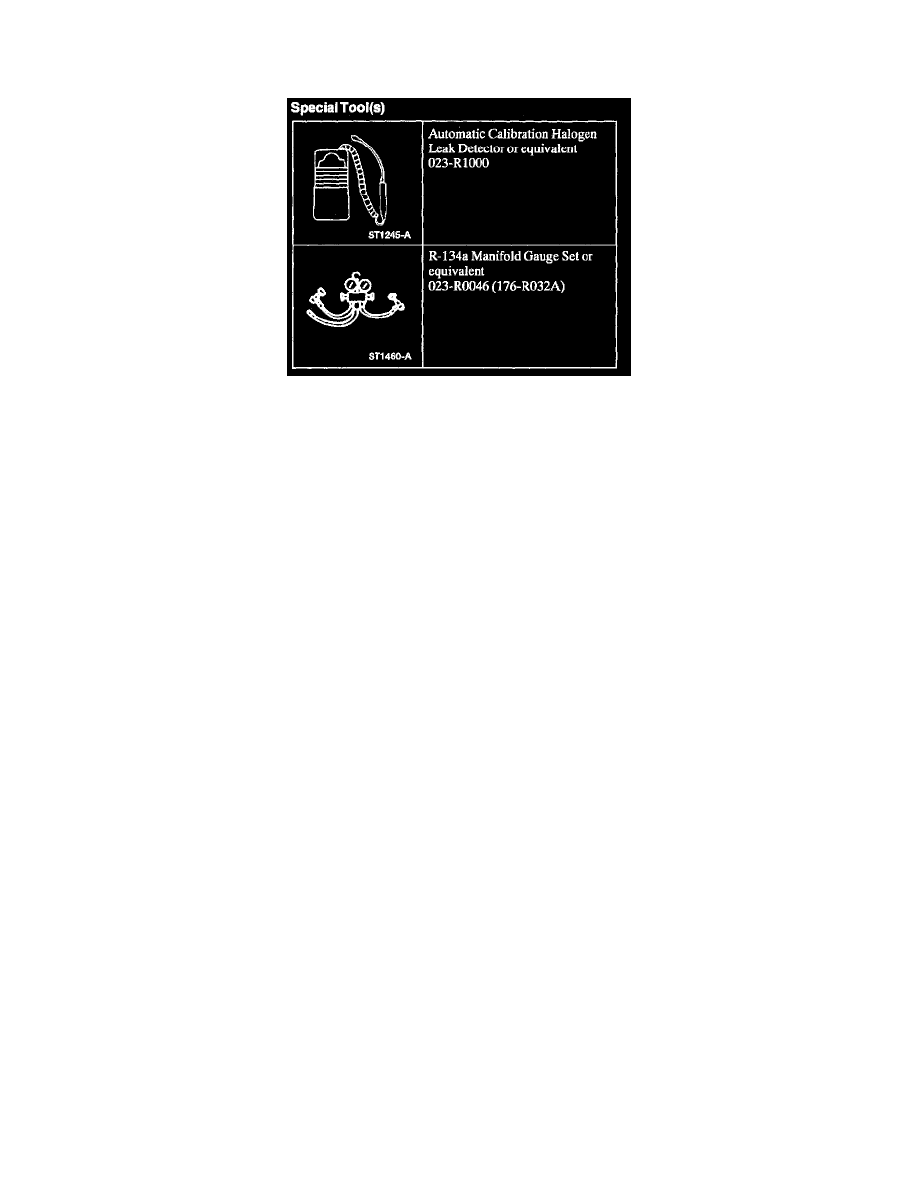
Special Tool(s)
SPECIAL TOOL(S)
WARNING: GOOD VENTILATION BEFORE LEAK DETECTION IS NECESSARY IN THE AREA WHERE IT IS TO BE PERFORMED.
IF THE SURROUNDING AIR IS CONTAMINATED WITH REFRIGERANT GAS, THE LEAK DETECTOR WILL INDICATE THIS GAS
ALL THE TIME. ODORS FROM OTHER CHEMICALS SUCH AS ANTIFREEZE, DIESEL FUEL, DISC BRAKE CLEANER, OR OTHER
CLEANING SOLVENTS CAN CAUSE THE SAME PROBLEM. WHILE LEAK DETECTION AIR MOVEMENT MUST BE PREVENTED.
1. Attach R-134a Manifold Gauge Set to the service gauge port valves.
-
Leave both R-134a Manifold Gauge Set valves closed.
-
Both gauges should indicate 4.1 - 5.5 bar (413 - 551 kPa, 60 - 80 psi) at 24°C (75°F) with the engine off.
-
If little or no pressure is indicated, charge the system with approx. 300 g of refrigerant.
2. Use R-134a Automatic Calibration Halogen Leak Detector to leak test the refrigerant system. Follow the instructions included with leak detector
for handling and operation techniques.
3. If a leak is found, reclaim the refrigerant if necessary.
NOTE: Refilling the system is only permitted when the amount of refrigerant is well-known.