
Freestar V6-4.2L VIN 2 (2004)
direction.
Inspect the alignment of the C-pillar wire striker in the latch. If striker is not centered, proceed as follows:
-
Mark the edges of the striker.
-
Slightly loosen the screws.
-
Tap the striker into the correct position.
-
Tighten the screws.
5. NOTE: The vehicle may be equipped with either an M6 or M8 size bolt at this location.
If the lower front portion of the sliding door does not meet the sliding door to front door flushness specification, proceed as follows:
-
Loosen the lower roller bolt.
-
Move the bracket until the lower portion of the sliding door is flush with the lower portion of the front door.
-
Tighten the M6 size lower roller bolt to 12 Nm (9 lb-ft) or the M8 size bolt to 20 Nm (15 lb-ft).
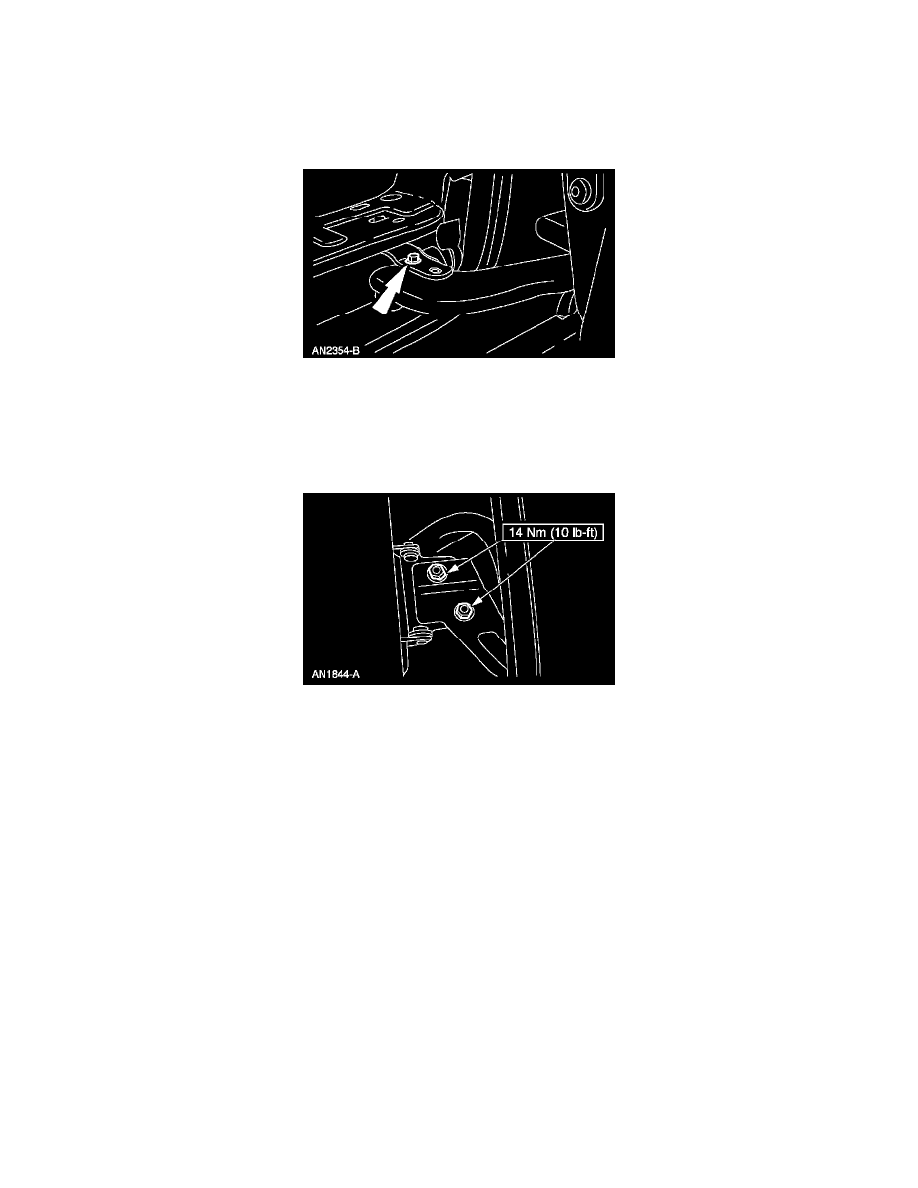
6. If the upper front portion of the sliding door does not meet the sliding door to front door flushness specification or if the sliding door to quarter
panel does not meet specification, proceed as follows:
-
Mark the forward and rearward edges of the bracket.
-
Loosen the upper roller nuts.
-
Move the sliding door to gain flushness specification.
-
Tighten the nuts.
7. The B-pillar and C-pillar wire strikers should be centered after steps 5 and six 6 completed. For further adjustment, refer to steps 3 and 4.