
Freestar V6-4.2L VIN 2 (2004)
2. Disconnect the two rear window defrost electrical connectors.
3. Using a soft brush or vacuum, remove the dirt and foreign material from the pinch weld.
WARNING: To prevent glass splinters from entering the eyes or cutting the hands, wear safety glasses and heavy gloves when cutting the
glass from the vehicle.
CAUTION: Care must be taken to avoid scratching the pinch weld.
4. NOTE: Lubricate the existing urethane adhesive with water to aid the special tool while cutting.
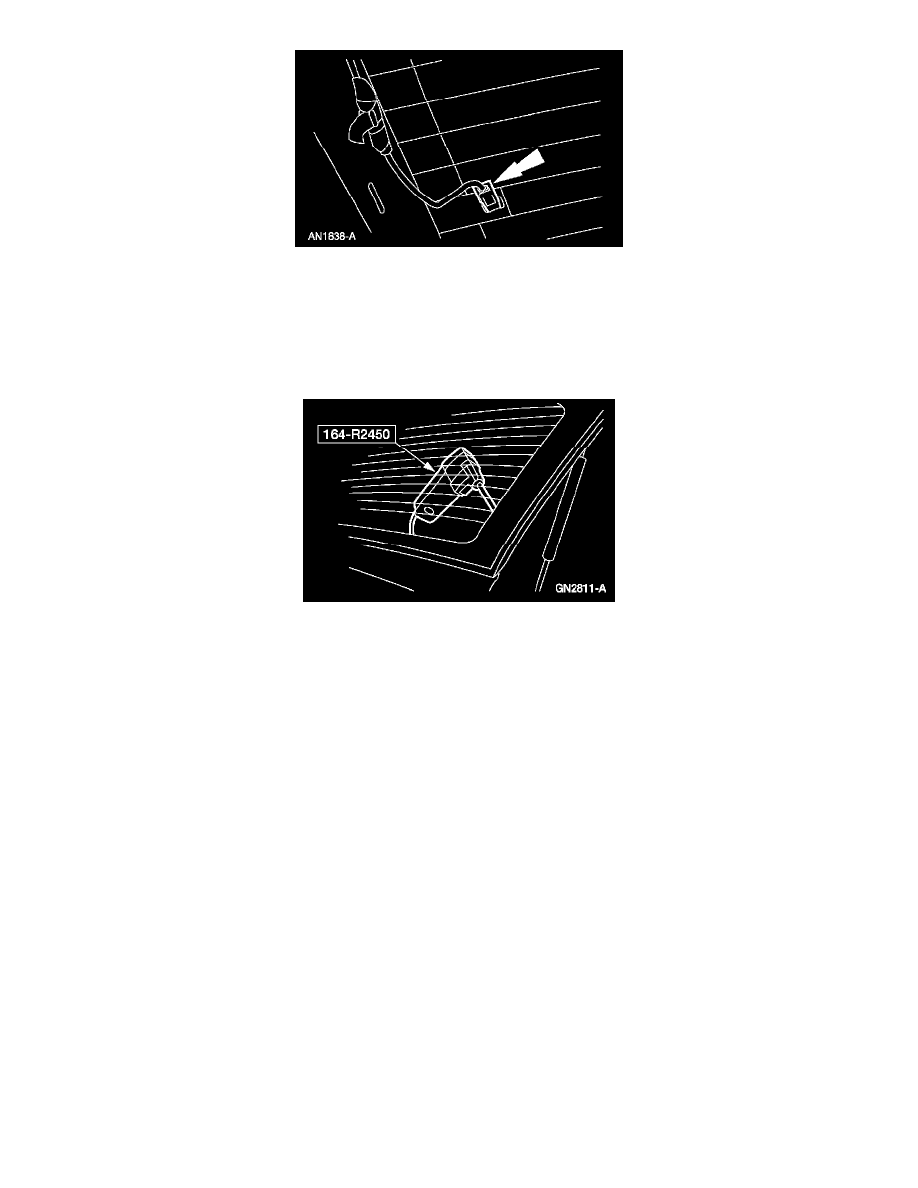
Using the special tool, cut the adhesive away from the liftgate window glass and remove the liftgate window glass.
5. Using a soft brush or vacuum, remove the dirt and foreign material from the pinch weld.
INSTALLATION
1. To install, reverse the removal procedure.
Item 1: Liftgate Window Glass Installation Note
CAUTION: After installing the new urethane-installed liftgate window glass, the vehicle should not be driven until the urethane adhesive
has cured. The curing time at temperatures above 13°C (55°F) and relative humidity above 50% is 12-24 hours. (Refer to the Essex drive
away chart for the cure times as the temperatures and humidity vary). Inadequate curing of the urethane adhesive may adversely affect the
strength of the urethane adhesive bond.
1. Dry-fit the liftgate window glass by centering it side-to-side and by adjusting the setting blocks (if equipped ) to get the correct position top and
bottom. Use tape or non-permanent marking pencil to make alignment marks on the glass and the vehicle body.
2. After alignment, remove the rear window glass and molding assemblies from the vehicle and place them on a stable work surface.
CAUTION: Care must be taken to avoid scratching the pinch weld.
3. Trim the remaining urethane adhesive on the pinch weld using only the full-cut method. In this method, most of the existing urethane adhesive is
removed leaving a level bead around the entire pinch weld.
4. WARNING: All rust found on the pinch weld must be removed and the pinch weld restored to OEM specifications. If surface rust is
found, remove completely down to clean, bare metal. Prime pinch weld metal with an OEM recommended curing automotive paint
primer and allow to cure correctly. If rust has penetrated through the pinch weld metal, repair the pinch weld sheet metal at a body shop
before proceeding.
Check the pinch weld for damaged sheet metal, raised sheet metal at the spot welds, rust or foreign material that may cause glass breakage. Clean