
Freestar V6-4.2L VIN 2 (2004)
Part 3 Of 3
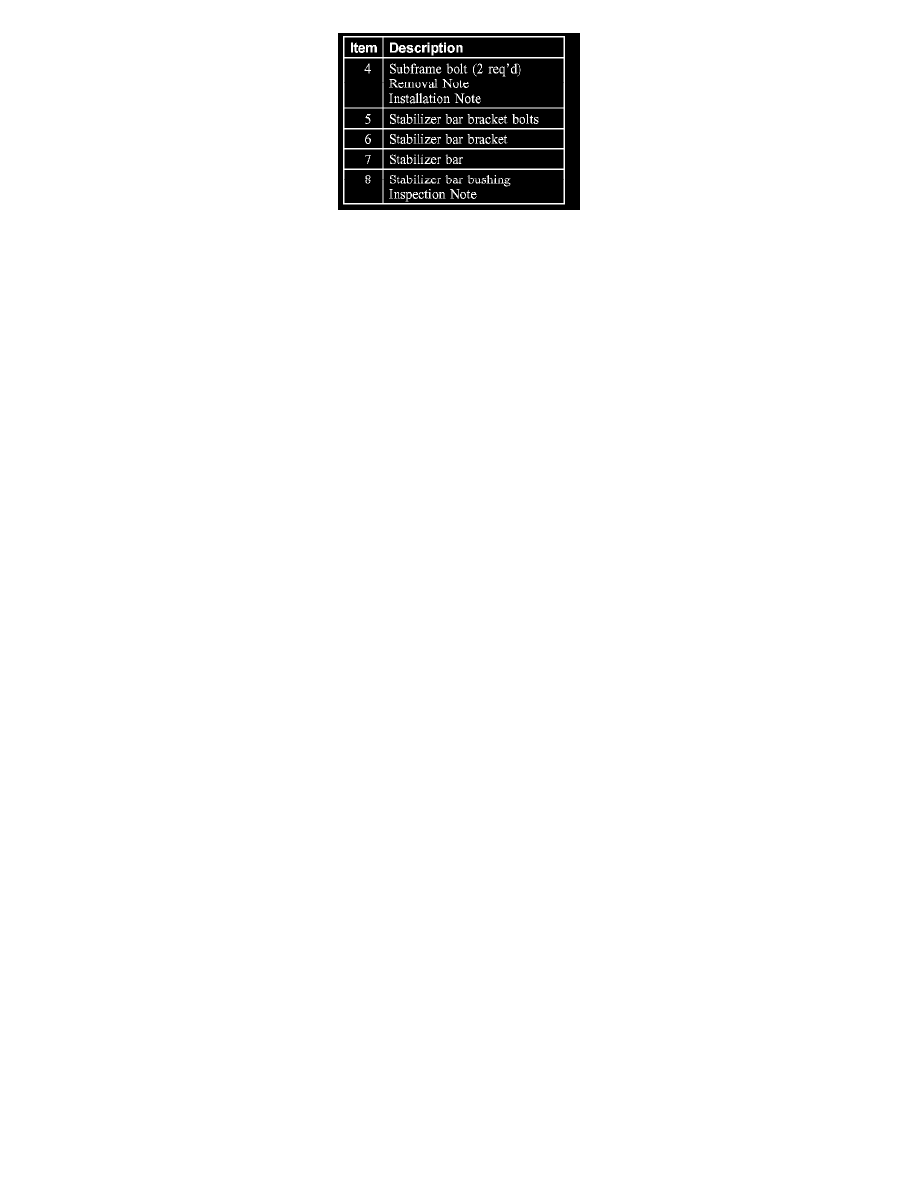
2. Remove the parts in the order indicated in the following illustration and table.
3. To install, reverse the removal procedure.
Item 3: Stabilizer Bar Links Inspection Note
1. Inspect the stabilizer bar link ball Joints and boots for wear. If necessary, install new parts.
Item 4: Subframe Bolt Removal Note
1. Remove and discard the subframe bolts.
2. Lower the rear of the subframe 5 to 8 cm (2 to 3 inch) to gain access to the stabilizer bar bracket retaining bolts.
Item 8: Stabilizer Bar Bushing Inspection Note
1. Inspect the stabilizer bar bushings for wear. If necessary, install new parts.
Item 4: Subframe Bolt Installation Note
1. CAUTION: Do not use power tools to install the subframe bolts.
Install new subframe bolts using hand tools.