
Fusion L4-2.3L VIN Z (2006)
3. Fill the fluorescent dye injector reservoir with 7 ml (0.25 oz) of fluorescent dye.
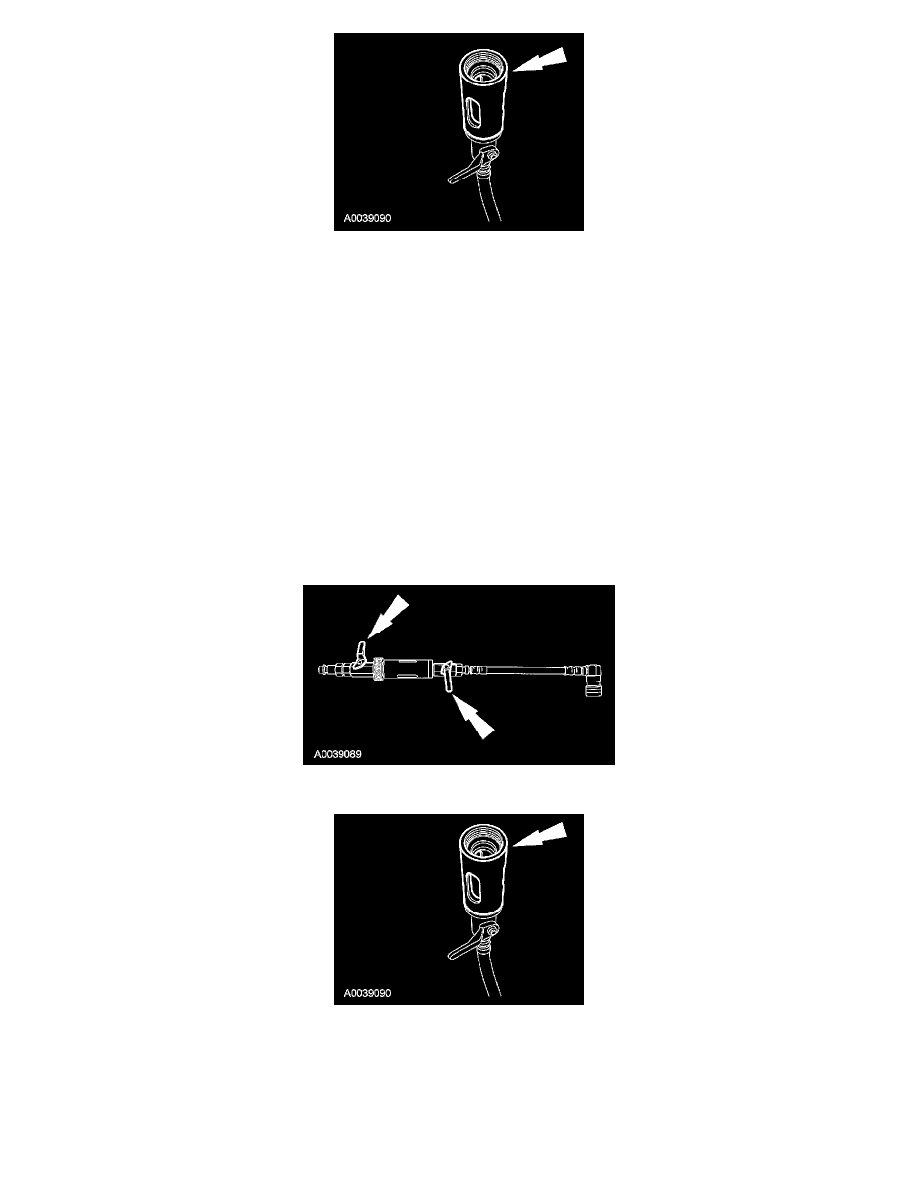
4. Install the fluorescent dye injector between the low-pressure service gauge port valve and the R-134a refrigerant service center or manifold gauge
set.
5. Open all valves and inject the fluorescent dye into the refrigerant system.
6. When fluorescent dye injection is complete, close all valves.
7. Recover the refrigerant from the R-134a fluorescent dye injector.
8. Remove the fluorescent dye injector from the low-pressure service gauge port valve and the R-134a A/C refrigerant service center or manifold
gauge set.
Fluorescent Dye Injection - Using a Dye Injector Loop Kit
NOTE:
-
Fluorescent refrigerant system dye is added to the refrigerant system at the factory to assist in refrigerant system leak diagnosis using a
Rotunda-approved ultraviolet blacklight. It is not necessary to add additional dye to the refrigerant system before diagnosing leaks, even if a
significant amount of refrigerant has been removed from the system. Additional refrigerant system dye should only be added if more than 50% of
the refrigerant system lubricant capacity has been lost due to a fitting separation, hose rupture or other damage.
-
Before using the R-134a fluorescent dye injector for the first time, refer to the equipment manufacturers instructions on evacuation of
non-condensable gasses from the hoses.
-
Refrigerant system pressure should be between 413-551 kPa (60-80 psi) at 24°C (75°F).
1. Verify that the valves on the deluxe injector loop kit are closed.
2. Fill the deluxe injector loop kit reservoir with 7 ml (0.25 oz) of fluorescent dye.
3. Install the deluxe injector loop kit between the high-pressure and low-pressure service gauge port valves.
4. CAUTION: Make sure all tools and hoses are clear of the engine cooling fan and drive belt before starting the engine.
Start the engine.