
Fusion AWD L4-2.3L (2008)
Removal
CAUTION: During engine repair procedures, cleanliness is extremely important. Any foreign material, including any material created while
cleaning gasket surfaces, that enters the oil passages, coolant passages or the oil pan can cause engine failure.
1. Remove the ignition coil-on-plugs.
2. Remove the engine wiring harness bracket from the valve cover stud.
3. Remove the oil level indicator.
4. Disconnect the crankcase vent hose.
5. Disconnect the variable camshaft timing (VCT) solenoid electrical connector.
6. Disconnect the cylinder head temperature (CHT) sensor electrical connector.
7. Disconnect the camshaft position (CMP) sensor electrical connector.
8. Detach all of the wiring harness retainers from the valve cover and the valve cover studs.
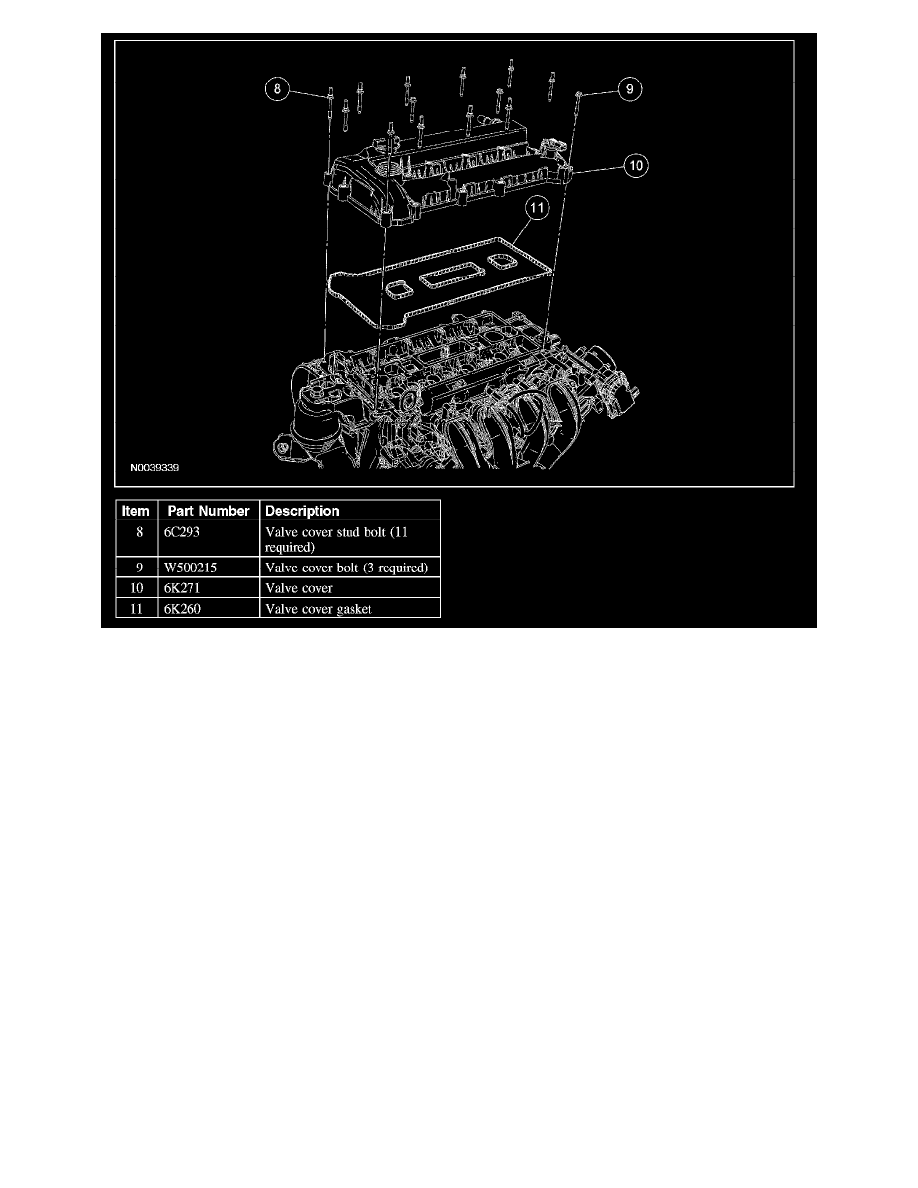
9. Remove the 14 valve cover retainers and the valve cover.
^
Discard the gasket.
Installation
1. CAUTION: Do not use metal scrapers, wire brushes, power abrasive discs or other abrasive means to clean the sealing surfaces. These
tools cause scratches and gouges which make leak paths.
Clean and inspect the sealing surfaces.
2. NOTE: The valve cover must be secured within 4 minutes of silicone gasket application. If the valve cover is not secured within 4 minutes, the
sealant must be removed and the sealing area cleaned with metal surface prep.
Apply silicone gasket and sealant to the locations shown.