
Fusion AWD V6-3.0L (2009)
Removal
1. Remove the air cleaner outlet pipe.
2. Disconnect the Throttle Body (TB) electrical connector.
3. Remove the 4 bolts and position the TB aside.
-
Discard the gasket.
4. Disconnect the Evaporative Emission (EVAP) tube from the intake manifold.
5. Remove the vacuum tube clamp bolt.
6. Disconnect the vacuum tube from the intake manifold.
7. Disconnect the PCV tube from the intake manifold.
8. Disconnect the EGR valve electrical connector.
9. Loosen the EGR tube-to-EGR valve nut.
10. Disconnect the Manifold Absolute Pressure (MAP) sensor electrical connector and the pin-type retainer.
11. Detach the wiring harness retainer from the front of the upper intake manifold.
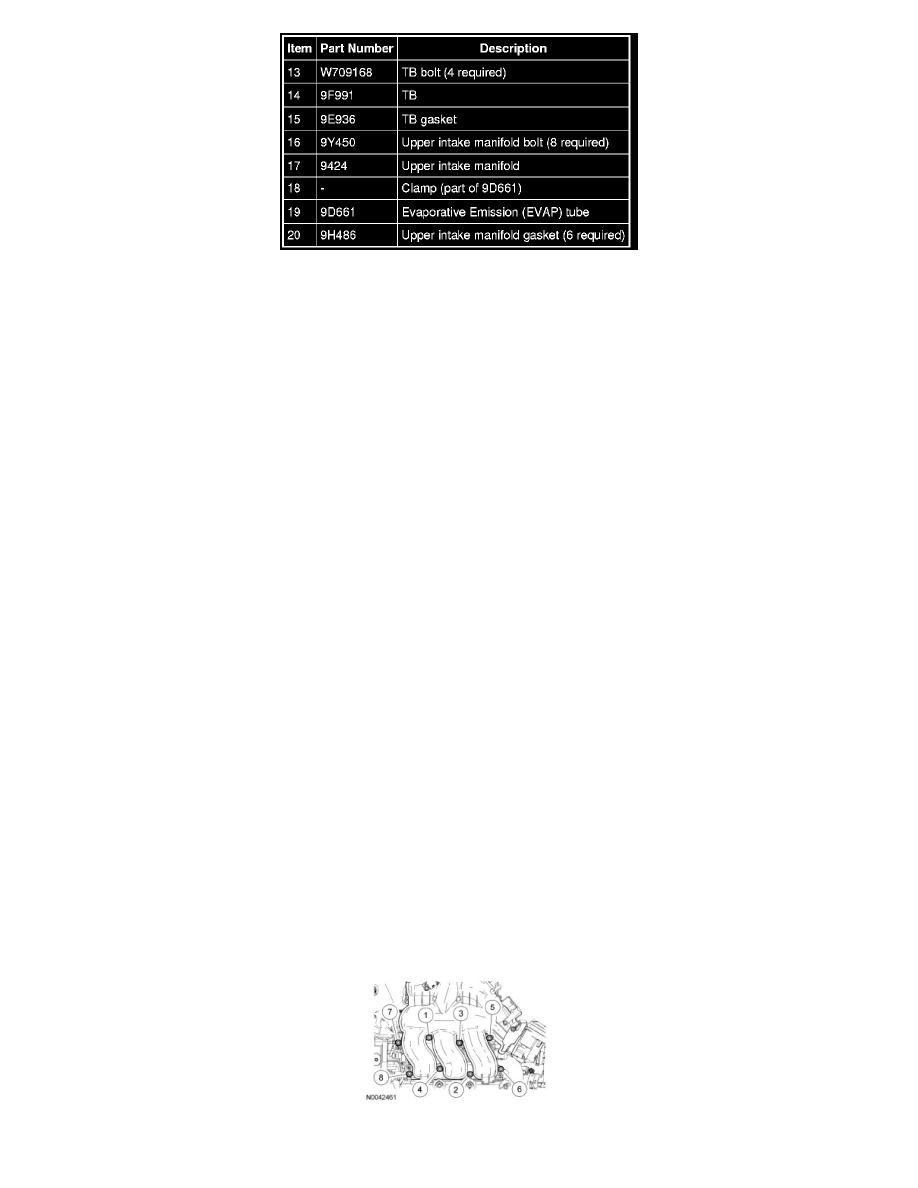
12. Remove the 8 bolts and remove the upper intake manifold.
-
Remove and discard the gaskets.
Installation
1. Clean and inspect all of the sealing surfaces of the upper intake manifold.
2. NOTICE: If the engine is repaired or replaced because of upper engine failure, typically including valve or piston damage, check the
intake manifold for metal debris. If metal debris is found, install a new intake manifold. Failure to follow these instructions can result in
engine damage.
NOTE: Install new upper intake manifold gaskets.
Install the upper intake manifold, gaskets and the 8 bolts.
-
Tighten in the sequence shown to 10 Nm (89 lb-in).
3. Attach the wiring harness retainer to the front of the upper intake manifold.