
Fusion AWD V6-3.0L (2009)
8. Using the Front Wheel Hub Remover, separate the halfshaft from the wheel hub.
9. Remove and discard the shock absorber lower bolt and flagnut.
-
If equipped, remove the shock absorber damper.
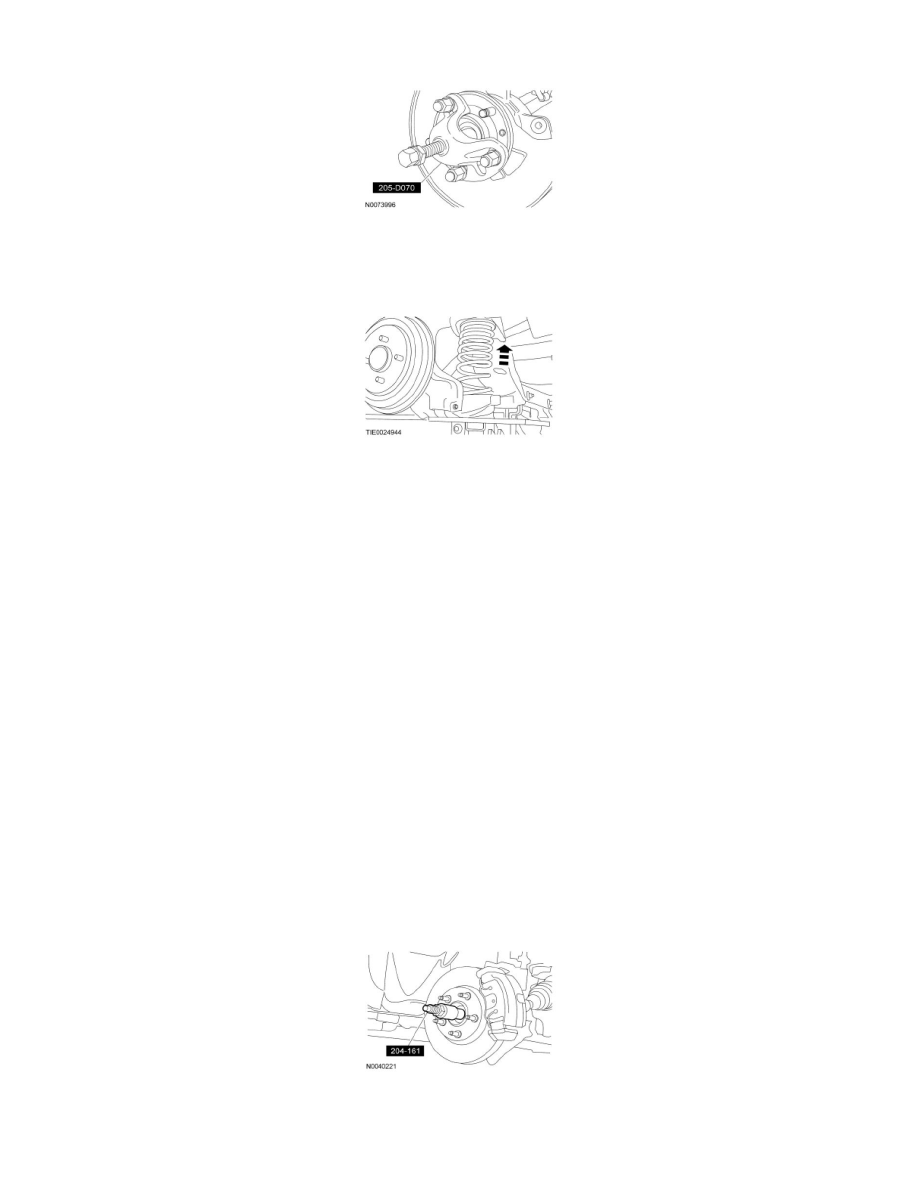
10. Using a suitable jack, raise the lower arm.
11. Remove and discard the upper arm outboard bolt.
12. Remove and discard the lower arm outboard bolt.
13. Remove the 4 trailing arm-to-knuckle nuts and the wheel knuckle.
-
Discard the nuts.
Installation
NOTICE: Before tightening any suspension bushing fasteners, the suspension must be at the bushing fastener tightening position. Use a suitable
jack to raise the suspension until the distance between the center of the hub and the lip of the fender is equal to 395 mm (15.55 in). This will
prevent incorrect clamp load and bushing damage.
1. Position the wheel knuckle and loosely install the 4 new trailing arm-to-knuckle nuts.
2. Loosely install the new lower arm outboard bolt.
3. Loosely install the new upper arm outboard bolt.
4. Loosely install the new shock absorber lower bolt and flagnut.
5. Install the brake disc and the 2 brake disc bolts.
-
Tighten to 20 Nm (177 lb-in).
6. Position the brake caliper and anchor plate assembly and install the 2 bolts.
-
Tighten to 70 Nm (52 lb-ft).
7. Using the Halfshaft Installer, install the halfshaft into the wheel hub.
8. NOTICE: Do not tighten the wheel hub nut with the vehicle on the ground. The nut must be tightened to specification before the vehicle
is lowered onto the wheels. Wheel bearing damage will occur if the wheel bearing is loaded with the weight of the vehicle applied.