
Fusion FWD V6-3.0L (2009)
during removal and may not remain attached if reinstalled. Install a new side shield during seat assembly (includes new retainers attached).
All seats
1. Remove the front seat. For additional information, refer to Seat - Front See: Service and Repair/Front Seat/Seat - Front.
2. Remove the manual height adjust handle, if equipped.
-
Remove the height adjust handle cover.
-
Remove the 2 screws and height adjust handle.
3. Remove the spring clip and manual recliner handle, if equipped.
4. Remove the manual lumbar control knob, if equipped.
-
Adjust the manual lumbar to the full relaxed position.
-
Pull outward and remove the manual lumbar knob.
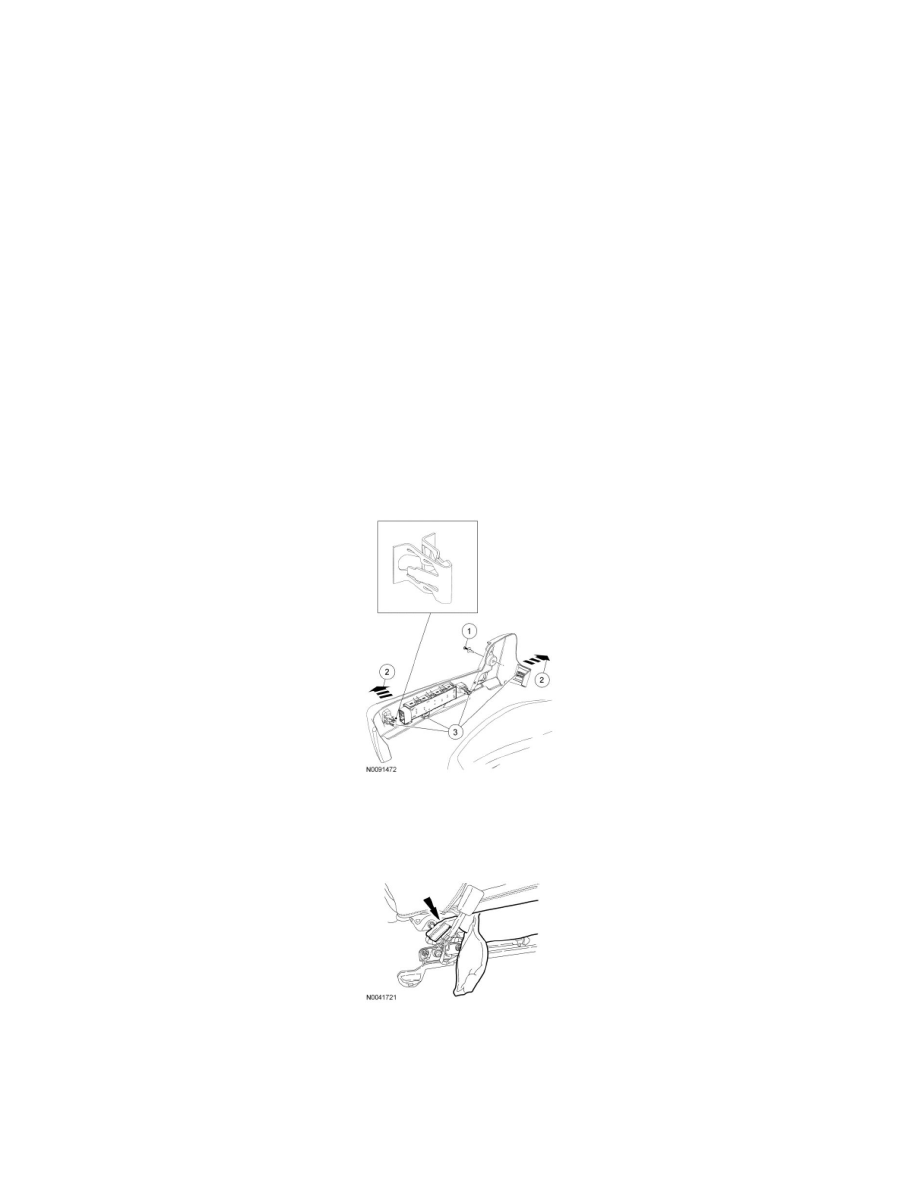
5. Remove and discard the cushion side shield and one-time-use retainers.
1. For passenger seat, remove the scrivet.
2. Pull out on the side and rear of the cushion side shield and release the retainers.
-
Separate the wire harness from the cushion side shield.
3. Remove the side shield and any remaining side shield retainers from the seat and discard.
-
For installation, install a new cushion side shield (includes new retainers attached).
6. Release the cushion trim cover hook-and-loop strips from the rear corners of the cushion, release the J-clip and detach the pushpin to gain access
to the backrest recliner to cushion bolts.
7. Release the trim cover hook-and-loop strap from around the safety belt buckle assembly.
8. Release the 2 trim cover J-clips from the rear of the cushion frame and disconnect the side air bag wiring harness electrical connector.
9. Detach the side air bag wiring harness electrical connector pin-type retainer from the cushion frame.
10. NOTE: Electrical connectors vary with power seat options.
Disconnect the backrest power feed electrical connector(s) and route out the wire harness.