
Fusion FWD V6-3.0L (2009)
13. Remove the 2 bolts and the steering gear heat shield.
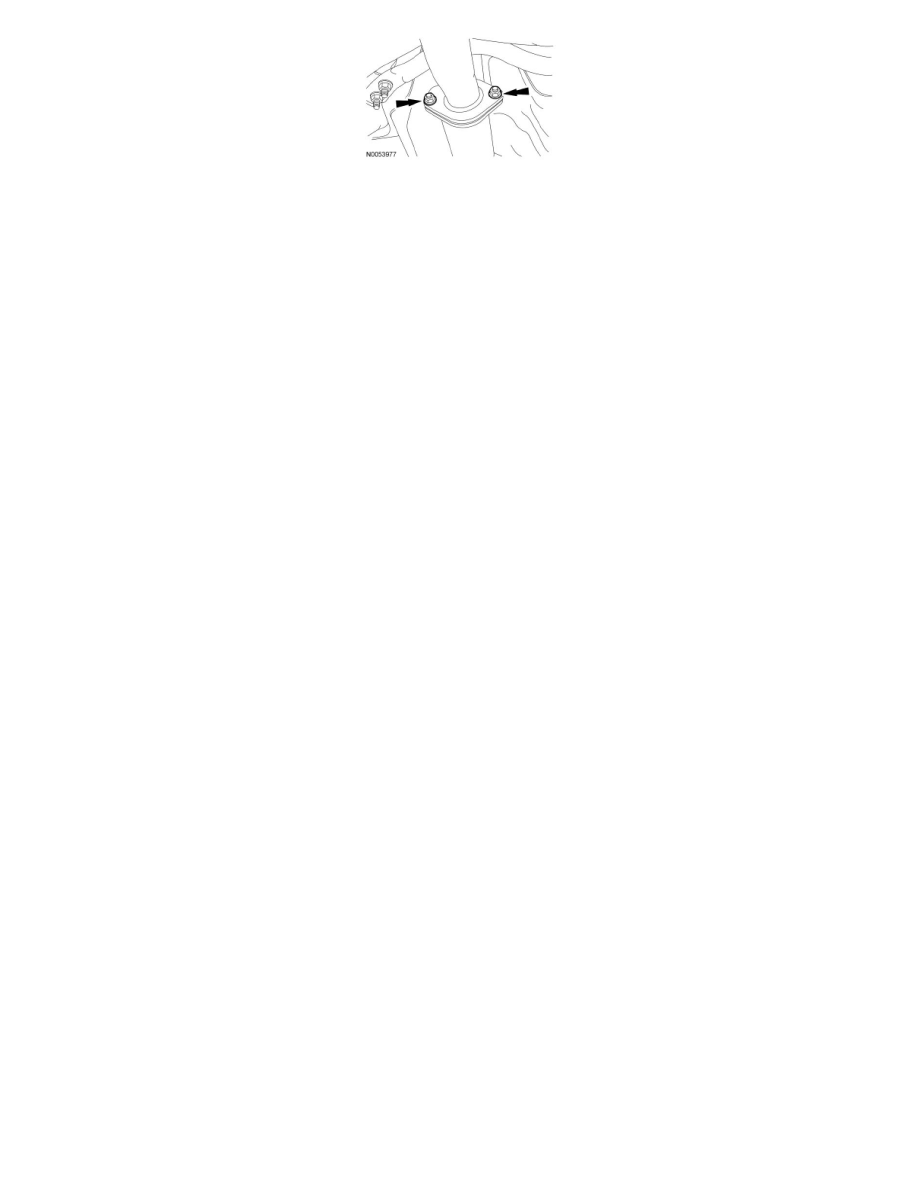
2.3L engine
14. Remove the pressure line bracket-to-steering gear bolt.
3.0L and 3.5L engines
15. Remove the pressure line bracket-to-steering gear bolt.
All engines
16. Remove the pressure line-to-steering gear banjo bolt.
-
Discard the bolt and 2 seals.
17. Support the rear of the subframe with a suitable jack and remove the 4 rear subframe bolts and 2 rear subframe nuts.
18. Lower the rear of the front subframe 76.2 mm (3 in) with the support of the jack.
19. Release the clamp and disconnect the steering gear-to-fluid cooler return hose.
20. Remove the 3 steering gear bolts.
21. Remove the steering gear from the LH side of the vehicle.
Installation
All engines
NOTICE: While repairing the power steering system, care should be taken to prevent the entry of foreign material or failure of the power
steering components may result.
1. From the LH side of the vehicle, install the steering gear.
2. Install the 3 steering gear bolts.
-
Tighten to 107 Nm (79 lb-ft).
3. Release the clamp and connect the steering gear-to-fluid cooler return hose.
4. Using a suitable jack, raise the rear of the front subframe.
5. Install the 4 rear subframe bolts and 2 rear subframe nuts.
-
To install, tighten the bolts and nuts in 2 stages.
-
Stage 1: Tighten the nuts to 150 Nm (111 lb-ft).
-
Stage 2: Tighten the bolts to 103 Nm (76 lb-ft).
6. NOTICE: New banjo bolts and new seals must be installed any time the power steering pressure line is disconnected from the power
steering pump and/or the steering gear or a fluid leak may occur.
Install the new pressure line-to-steering gear banjo bolt.
-
Install 2 new seals.
-
Tighten to 55 Nm (41 lb-ft).
3.0L and 3.5L engines