
Fusion FWD V6-3.0L (2009)
retention of these parts.
1. NOTICE: Do not allow the steering column to rotate while the steering column shaft is disconnected or damage to the clockspring may
result. If there is evidence that the lower shaft has rotated, the clockspring must be removed and recentered. For additional information,
refer to Air Bag Systems.
NOTE: Use a steering wheel holding device (such as Hunter(R) 28-75-1 or equivalent).
Using a suitable holding device, hold the steering wheel in the straight-ahead position.
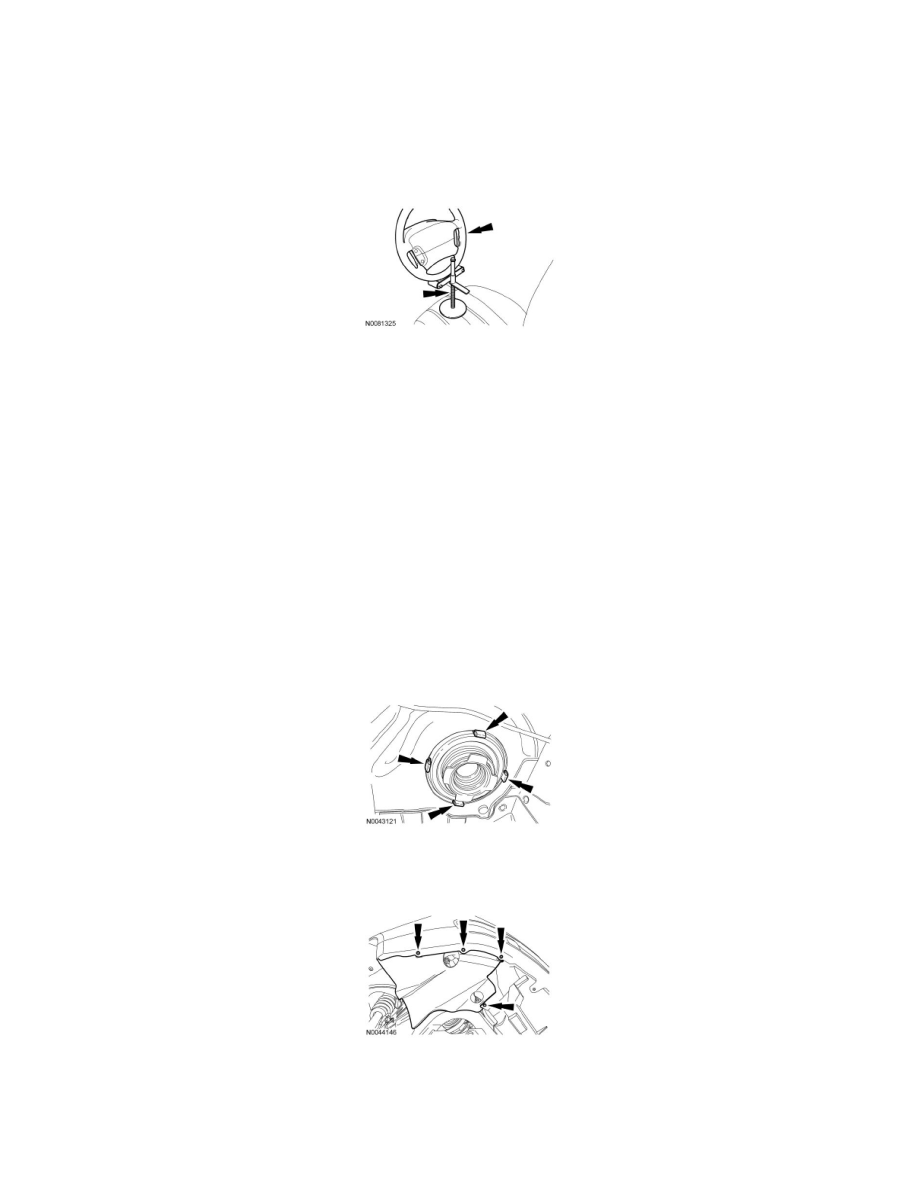
2. Remove the 2 lower steering column shaft joint cover nuts and cover.
3. NOTICE: Do not allow the steering column shaft to rotate while it is disconnected from the gear or damage to the clockspring can occur.
If there is evidence that the steering column shaft has rotated, the clockspring must be removed and recentered. For additional
information, refer to Air Bag Systems.
NOTE: If equipped with Hydraulic Power Assist Steering (HPAS), index-mark the steering column shaft position to the steering gear for
reference during installation.
Remove the bolt and disconnect the steering column shaft from the steering gear.
-
To install on HPAS vehicles, align the index marks and tighten to 25 Nm (18 lb-ft).
-
To install on Electronic Power Assist Steering (EPAS) vehicles, tighten to 20 Nm (177 lb-in).
4. NOTICE: Remove the steering column shaft-to-dash seal or damage to the seal can occur.
NOTICE: When installing, make sure that the dash seal is correctly positioned on the steering gear and the retaining clips are fully
engaged into the body or damage to the steering gear can result.
Remove the steering column shaft-to-dash seal.
5. Remove the wheel and tire.
6. Remove the 8 screws and position the LH and RH splash shields aside.
7. Remove the 6 pin-type retainers (4 shown) and the RH splash shield.