
LTD Country Squire V8-302 5.0L VIN F TBI (1983)
Evaporator Core Removal
4.
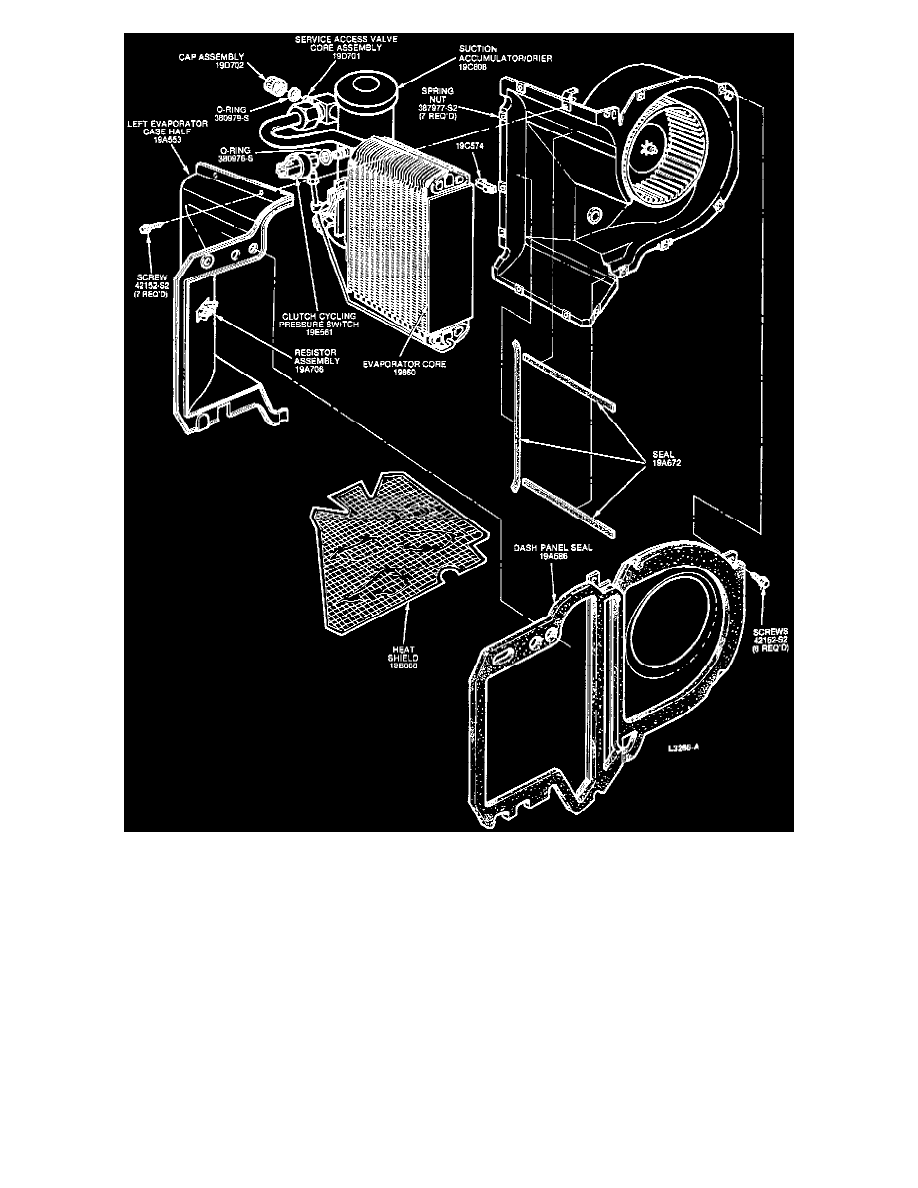
Disconnect electrical connector from clutch cycling pressure switch on models with Automatic Temperature Control System or the two connectors
from pressure control de-ice switch on accumulator/dryer on models less Automatic Temperature Control System, Fig. 18.
5.
Disconnect liquid line from evaporator inlet tube and cap both openings. Position liquid line away from assembly.
6.
Drain coolant from radiator, then disconnect heater hose from inlet and outlet heater core tubes.
7.
On models equipped with Automatic Temperature Control System, turn steering wheel to the left far enough to gain access to right wheelwell
splash panel support.
8.
On models equipped with Automatic Temperature Control System, remove screw and splash panel support bracket from back portion of
wheelwell. This will allow splash panel to be depressed slightly for extra clearance when removing evaporator.
9.
On all models, remove six screws holding right side of hood seal bracket assembly. Remove copper hood ground clip from underhood seal and
move bracket assembly to right side of vehicle.
10.
Disconnect emission hose which passes over top of evaporator case assembly, and position aside. Also, position aside any other vacuum hoses or
movable wires that pass over top of evaporator case.
11.
Disconnect blower motor ground from body frame.
12.
Disconnect blower motor wiring connector from harness hard shell connector.
13.
Disconnect two large wire harnesses, which cross evaporator assembly, at the various connecting points and position harnesses aside.