
LTD Country Squire V8-351 5.8L VIN G Windsor 2-bbl HP (1985)
Air Door Cable: Service and Repair
With Manual A/C
REMOVAL
1. Disconnect the ground cable from the battery negative (-) terminal.
2. Remove the glove compartment door stops and allow the door to hang by the hinge.
3. Pull the knobs from the radio control shafts.
4. Open the ashtray and remove two screws attaching the center finish panel to the instrument panel at the ashtray opening.
5. Pull the lower edge of the center finish panel away from the instrument panel and disengage the upper tabs of the finish panel from the instrument
panel.
6. Remove four screws attaching the control assembly to the instrument panel and pull the control out from the opening.
7. Remove the push nut retaining the cable end loop on the temperature lever arm. Then, disconnect the cable housing from the control assembly.
8. Through the glovebox opening, disconnect the temperature cable from the plenum temperature blend door crank arm and the cable mounting
bracket.
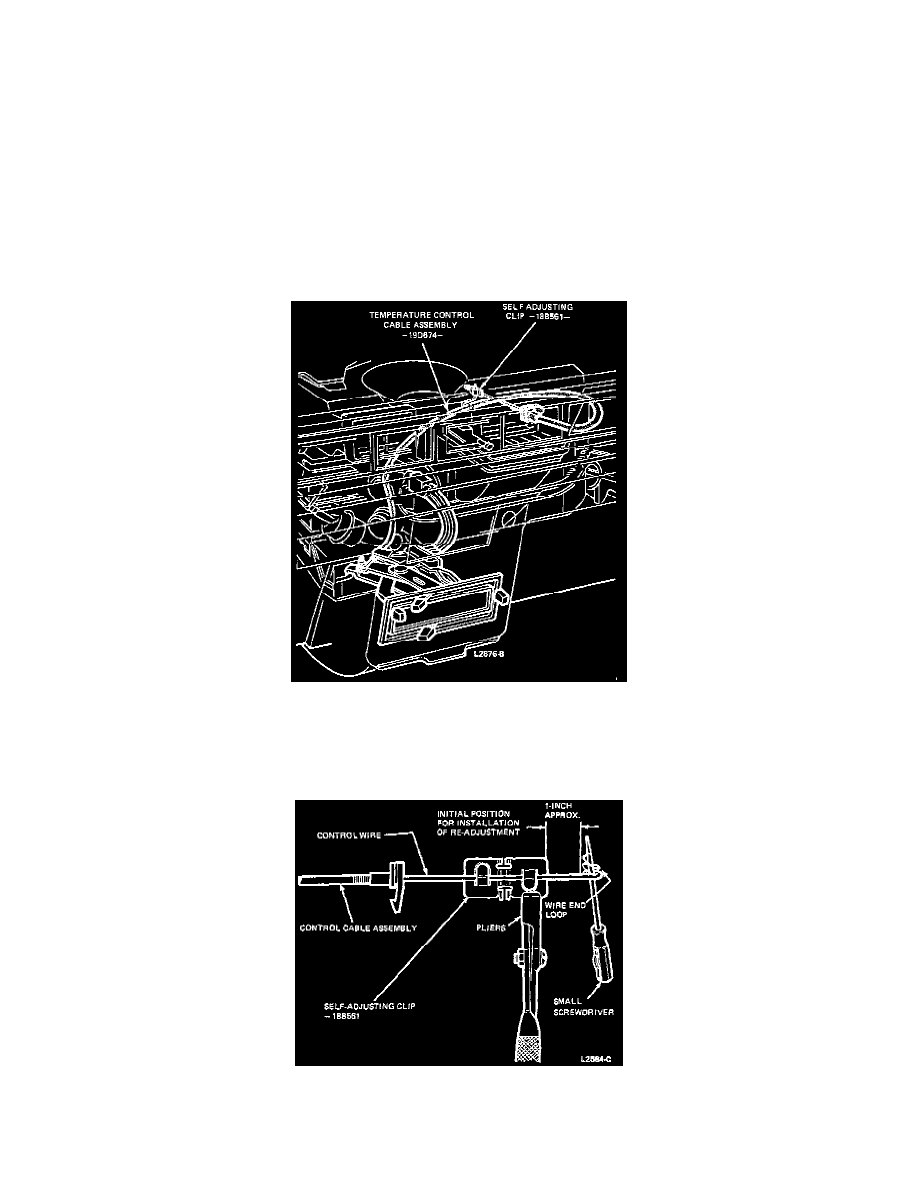
Temperature Control Cable Routing
9. Note the cable routing and remove the cable from the vehicle.
INSTALLATION
Control Cable Pre-Set Adjustment
1. Check to be sure the self-adjusting clip is at least 25.4 mm (1 inch) from the end loop of the control cable.
2. Route the cable behind the instrument panel and connect the control cable to the mounting bracket on the plenum.