
Mustang V6-4.0L (2008)
Brake Pedal and Bracket (Part 2)
Removal and Installation
All vehicles
1. CAUTION: Do not service the brake pedal or brake booster without first removing the stoplamp switch and speed control deactivator
switch. These switches must be removed with the brake pedal in the at-rest position. Switch plungers must be compressed for the switch
to rotate in the bracket. Attempting to remove the switch when the plunger is extended (during pedal apply) will result in damage to the
switch.
Remove the stoplamp switch and, if equipped, the speed control deactivator switch (brake).
2. Remove the redundant self-locking pin cover and the self-locking pin.
3. Remove the booster rod pin and bushing from the brake pedal.
Manual transmission vehicles
4. CAUTION: The clutch pedal must be connected to the clutch master cylinder actuation rod and in the at rest position before removing or
installing the speed control deactivator switch. Failure to follow this instruction will damage the switch.
Remove the speed control deactivator switch (clutch) and position it aside.
5. Disconnect the clutch pedal interlock switch electrical connector.
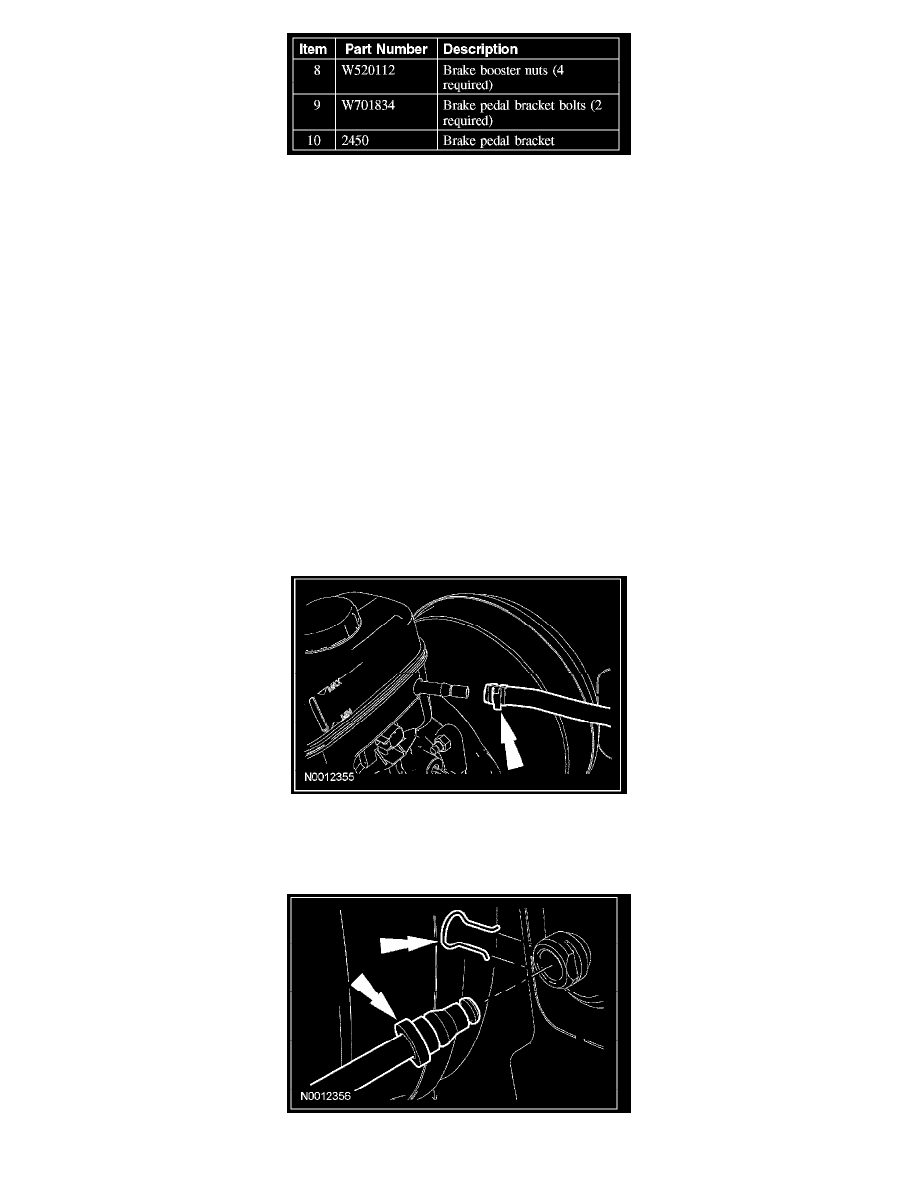
6. Disconnect the clutch pedal low pressure hydraulic hose from the master cylinder reservoir.
7. NOTE: The clutch master cylinder is self-bleeding. Pump the clutch pedal until all the air is forced back into the brake master cylinder reservoir.
Remove the hairpin clip and disconnect the clutch pedal high pressure hydraulic hose from the clutch master cylinder.
^
Install the hairpin clip into the clutch master cylinder.
All vehicles