Mustang V8-302 5.0L COBRA (1995)

Hall Effect Sensor: Service and Repair
REMOVAL
CAUTION: Do not attempt to replace distributor stator without an arbor press or damage to distributor drive gear and distributor may occur.
1. Remove distributor cap and position the distributor cap and ignition wires aside away from the work area.
CAUTION: The distributor drive gear cannot be replaced separately. If the distributor drive gear is worn or damaged, replace the complete
distributor.
2. Disconnect distributor from engine control sensor wiring.
3. Remove distributor rotor.
4. Remove distributor from cylinder block.
5. Remove two screws holding armature and remove armature from distributor shaft.
NOTE: Hold distributor drive gear to loosen armature retaining screws. Do not hold armature.
6. To ease assembly, mark distributor shaft collar and distributor drive gear with a felt tip pen.
7. Remove and discard pin in distributor drive gear and in distributor shaft collar.
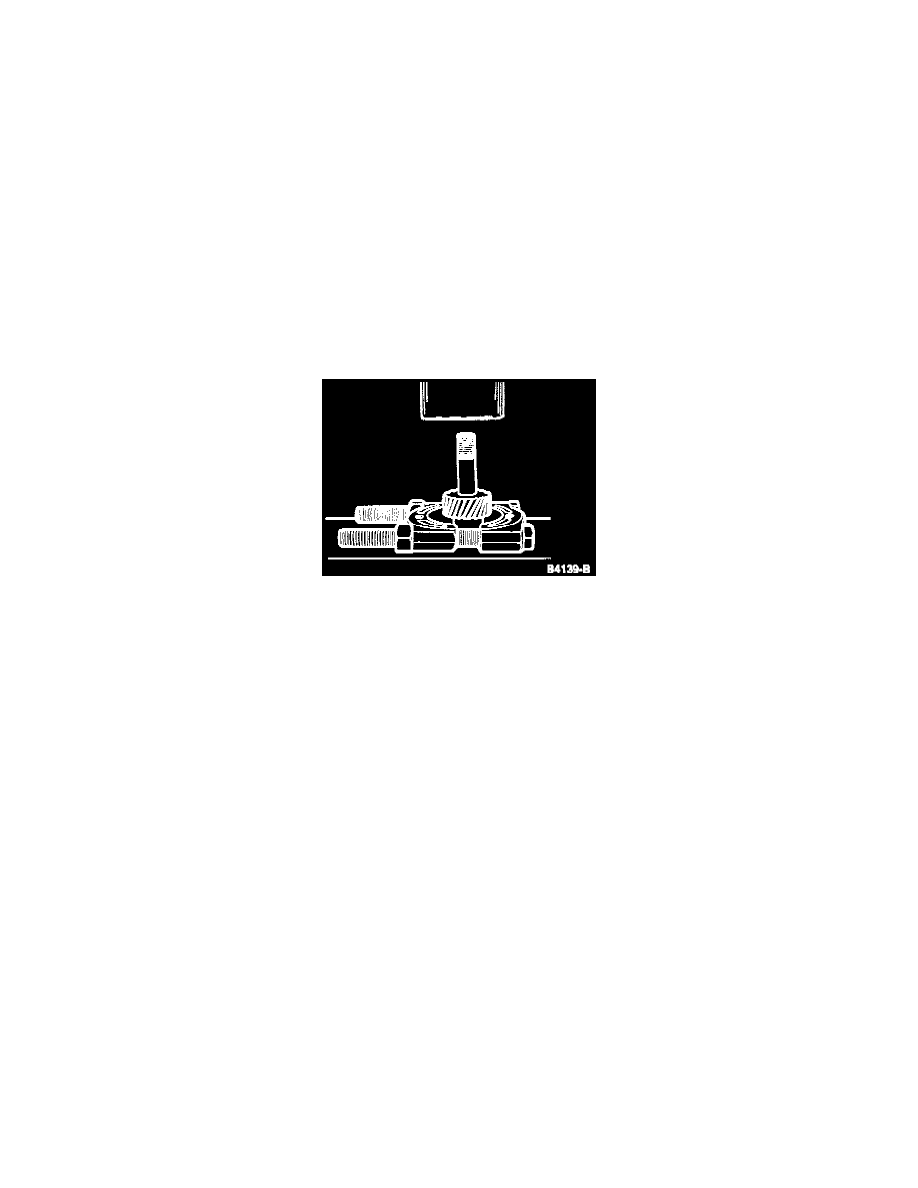
Pressing Distributor Gear Off Shaft
8. Invert distributor and support in Axle Bearing/Seal Plate T75L-1165-B. Press distributor drive gear off using Bearing Pulling Attachment
D79L-4621-A or equivalent.
9. Remove distributor shaft collar.
10. Deburr and polish distributor shaft with emery paper. The shaft should slide freely on the distributor base.
11. Remove distributor shaft from distributor housing.
12. Remove octane rod retaining screw and octane rod.
13. Remove two stator retaining screws.
14. Remove distributor stator from top of distributor housing.
15. Inspect distributor housing bushing for wear or signs of excess heat concentration. Replace complete distributor if damaged.
16. Inspect distributor housing for cracks and wear. Replace complete distributor if damaged.
