
Mustang V8-4.6L (2009)
3.
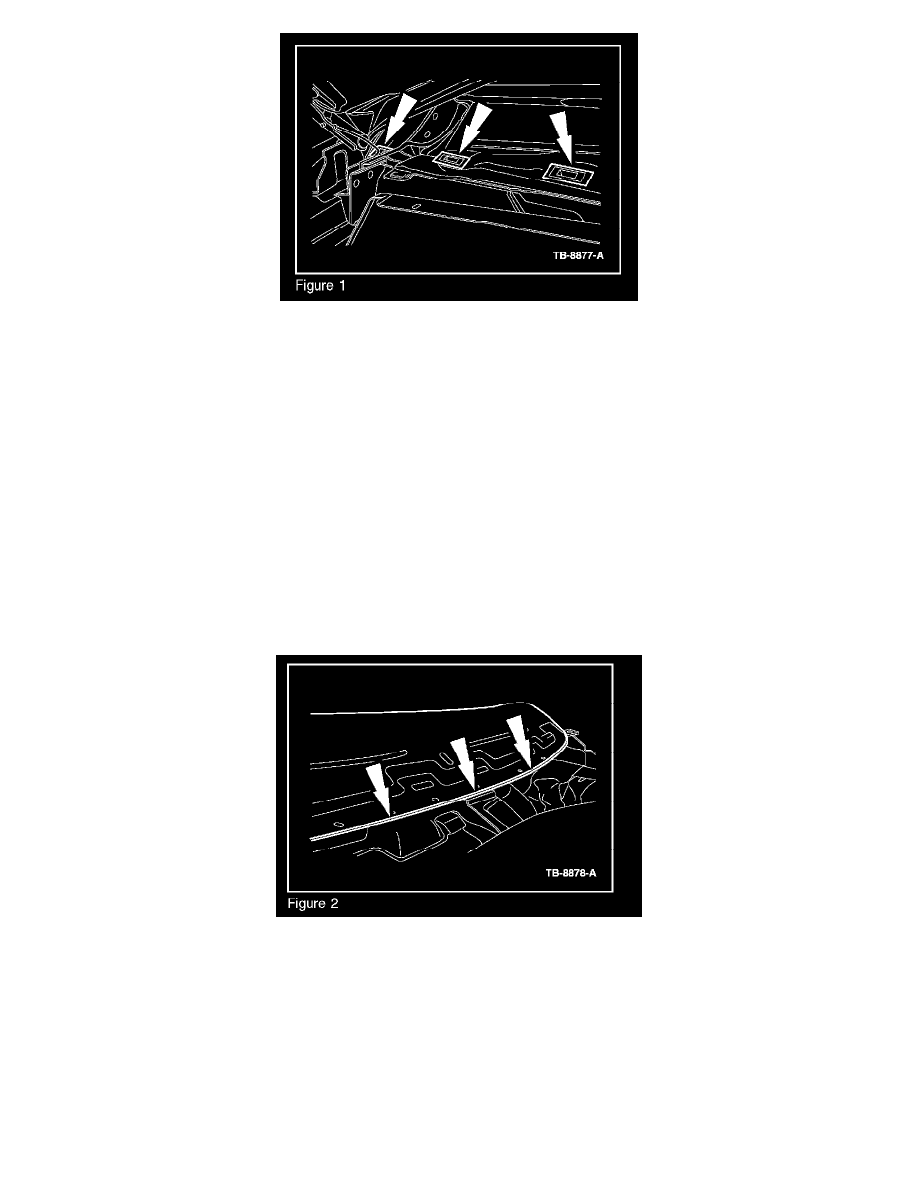
Verify that the ten (10) cowl panel mount grommets and seals are installed and sealing tightly to the vehicle. If any are missing, or the seals are
damaged, replace as necessary. (Figure 1)
a.
Remove old cowl grommets and clean entire cowl sur[ace with a suitable wax and grease remover. If silicone and/or seam sealer was used to
seal grommets, ensure all sealer is removed before installing new grommets.
b.
With surface clean and prepped, snap the hot melt cowl grommet into cowl panel.
c.
Using a suitable heat gun, heat the hot melt cowl grommet until the hot melt material begins to squeeze out from under the plastic grommet.
Do not over heat the grommet because deformation of the plastic grommet may occur.
d.
After heating the grommets, a light amount of pressure may be applied to the outer perimeter of the grommet to help sealing.
e.
Do not over heat around windshield or fender edges or damage may result.
NOTE
HEAT SEALED GROMMETS WERE USED IN PRODUCTION STARTING WITH VEHICLES BUILT ON 9/4/2008.
4.
Inspect the cowl panel to bulk head pinch weld and A-Post to cowl joint for any skips in seam sealer or excessive gaps between panels.
a.
To ensure a water tight seal, apply a small amount of Motorcraft Seam Sealer to the pinch weld and work into seam with fingertip, leaving a
small amount on the edge, especially near the windshield center bracket area. (Figure 2)
NOTE
DO NOT USE SILICONE.
5.
Check the main body wiring harness grommet for proper seating into the bulkhead on the driver / passenger side.